There is no doubt that food photography has become a popular form of art. With so many people taking to social media and creating blogs about their favorite recipes, cooking styles, or restaurants they have visited, it’s hard not to feel inspired by all the creativity. In this blog post, we will discuss some of the most important things you need to know before getting started with your own food photography journey!
Food photography
Food photography is an art form that needs a collaborative effort to create beautiful still life images of food. A typical shoot would involve the photographer, stylist and their two assistants who work on props as well. The editing process also involves both digital photo manipulation but no Photoshop filters are used in order not to mislead customers about what they’ll get from these foods when cooked at home.
History
The first known photograph to depict food as a subject dates back to 1845. This daguerreotype was shot and composed in the same way people were used to encountering their sustenance: laid out on a table setting, from an overhead perspective- i.e., from the point of view of someone who eats this dish themselves for dinner every night for years at home with family or friends without ever wondering what it would look like if photographed by another person’s eyes; not yet understanding how its cultural role had changed so drastically over time (as documented in other historic texts.)
Creativity is key to a good meal. Every dish should be arranged in such a way that anyone looking at it will want to eat right off of the plate! Recently food photographers have been utilizing techniques like selective focus, tilted plates and extreme close-ups which can help make your meal look more appetizing than ever before.
Food stylist
The food stylist is responsible for making the dish look appetizing in a photograph. The time and effort they take to carefully arrange everything reflects their attention to detail, which sometimes differs from how someone cooks or prepares the dish at home. You’ll need a keen eye as well as knowledge of color theory when it comes down to translating what you see on your plate into an appealing photo that captures your taste buds’ reaction perfectly!
As creative professionals, food stylists envision the finished photograph and style the food accordingly. They have a culinary background or professional chef training in addition to knowledge of nutrition and cooking techniques as well as resourceful shopping skills – all this makes them perfect for their job!
Setup
Photographing food is not an easy task. The process begins with the purchase of ingredients and only the most visually perfect are acceptable for use in a photo shoot, so purchases take some time to complete. Once selected by a photographer or producer as “hero” items they will be photographed and then later modified digitally if necessary to make them look even better than when originally purchased!
Stand-ins are a photographer’s best friend. They’re the cardboard cutouts of people that take place during photo shoot setups and test shoots, so as to get an idea for how it will all look together on film. The actual photography can happen in a studio under controlled lighting conditions or outside with natural light – whichever is more fitting based off what you want your final product to be like. Lighting, background color selection, camera angles – these are just some examples of things photographers must think about when photographing food items (and not forgetting their favorite models).
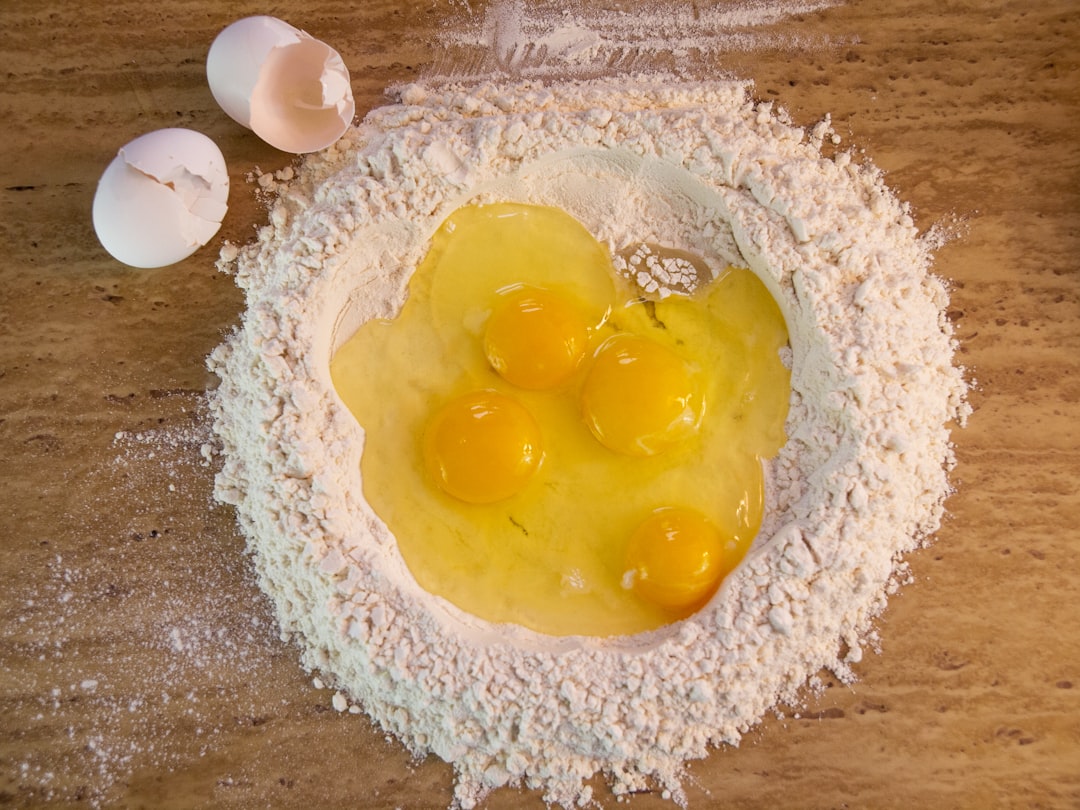
Styled food is usually marked as inedible and discarded after the shoot, because it may have been handled or treated in ways that make it unsafe for consumption. That means you can’t actually eat what’s on your plate during a photo session with some of these top models!
Styling food by hand before taking pictures has become an important part to creating impressive images – but this preparation comes at great cost. The process involves preparing dishes like sushi or pasta so they look perfect while posing, then disposing them afterwards due to their safety concerns; meaning photographers need whole new ingredients each time from start-to-finish just for one good snap shot taken during the photoshoot.
Camera
You will want to start off with a point-and-shoot camera because of its low cost and ease of use. These cameras are also great for beginners who do not know how all the different buttons work on other types, especially DSLR’s (digital single lens reflex). Pointing your finger can be enough to take pictures when using this type!
When you take a picture with an DSLR digital camera it first opens up its shutter then reflects an image onto what is called “the mirror” which then bounces light from that surface over towards the sensor inside the body.
The way to make your photos more interesting is not in the device you use, but instead by following a few principles of composition.
Best Camera Brand: Canon vs. Nikon vs. Sony
5 Best Cameras for Photography in 2022
Creating Bright Images
In order to take a perfect photograph, you need the right tools. Three elements that affect brightness and exposure are shutter speed, aperture size, and ISO level. Let’s talk about them in more detail!
Shutter Speed: The duration of time for which an image is captured by a camera before it moves on to record another one; this determines how much light gets into your images as well as any motion blur from subject movement during recording Aperture Size: This controls the opening inside your lens through which light enters onto the film or sensor imaging chip (depending on what type of photography we’re talking about) with different f-stops corresponding to varying levels–or amounts–of sharpness from blurred background details up close all way out there.
Aperture
The aperture of your lens determines how much light can enter. It also has a significant effect on the depth-of-field in an image, as well as which objects are blurred out by the camera’s sensor or left sharply focused. This is one way to change what gets attention in any given photo depending upon where you want people looking and what you don’t want them seeing at all!
A Comprehensive Guide to Aperture
ISO
ISO refers to how your camera reacts to light. It is the element I would adjust last, after shutter speed and aperture, because it can affect the quality of your image by creating “noise” especially in darker areas of a photo. If you don’t have an ISO lower than 500 or if my lens’ aperture was already wide open without any tripod support under me then there’s no turning back from raising this setting up higher such as 800-1600 depending on what type of noise level I’m willing to accept for that particular shot.
ISO Basics: What does this term mean in photography?
Using Light in Food Photography
The camera is a sensitive instrument, so it’s best to get acquainted with all of its functions. Using natural light can be tricky and expensive, but worth the effort when you consider how much we rely on our cameras every day for capturing memories!
Cooking is more than just following a recipe and it’s important to know how to take professional photos of your food. One thing that you should avoid are indoor kitchen lights as they cast yellow glows onto the surface, so if you’re trying out new recipes or want them perfect for social media channels then be sure not to use these types of lighting sources. But what do I do when all my photography needs must be met indoors? Well luckily there’s one trick which will help neutralize any color casts from those pesky yellow tones: adjusting the white balance on your camera! Switching over into tungsten will add in some blue light and make everything look much better without having too many harsh blues washing away natural hues.
When I’m deciding where to shoot, one of the most important things on my mind is which direction the light will come from. Do you like your subject backlit? Or front and center stage in a spotlight? Let’s say there was an option for both! You can even find that perfect mix between them if you try different angles – so experiment!
Top 5 tips for your food photography
1 – PERFECT YOUR SHOOTING ANGLE
Whether you want to create a sense of serenity or build up an appetite, there are only so many angles that will get the job done. However, when it comes time for choosing one angle over another consider how your perspective might change what story is being told.
When photographing food, think about the size and shape of each dish. Place the camera at a different angle to highlight these qualities in order for them to be viewed properly.
2 – SETTING IS EVERYTHING
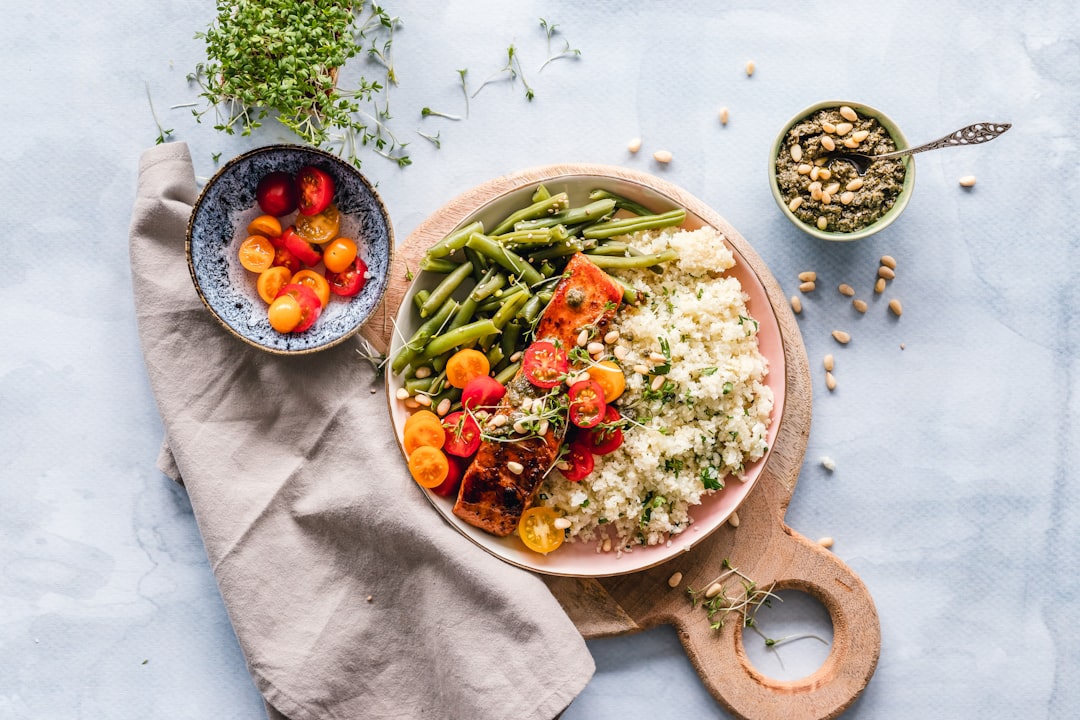
The best way to make your dish stand out is with a great composition. When shooting from the front of food, try to keep an eye on both foreground and background objects that will help give more life or tell a story about what’s going on in those spaces. Surrounding dishes with ingredients and props can be one way of doing this adding hidden details for viewers but also telling them how things are made it if you’re trying to show off cooking skills like I am!
When it comes to telling a story, the setting is everything. The more you can incorporate into your dish or meal that speaks directly about its origin and how it fits with the time period of where you are serving will make for an amazing experience!
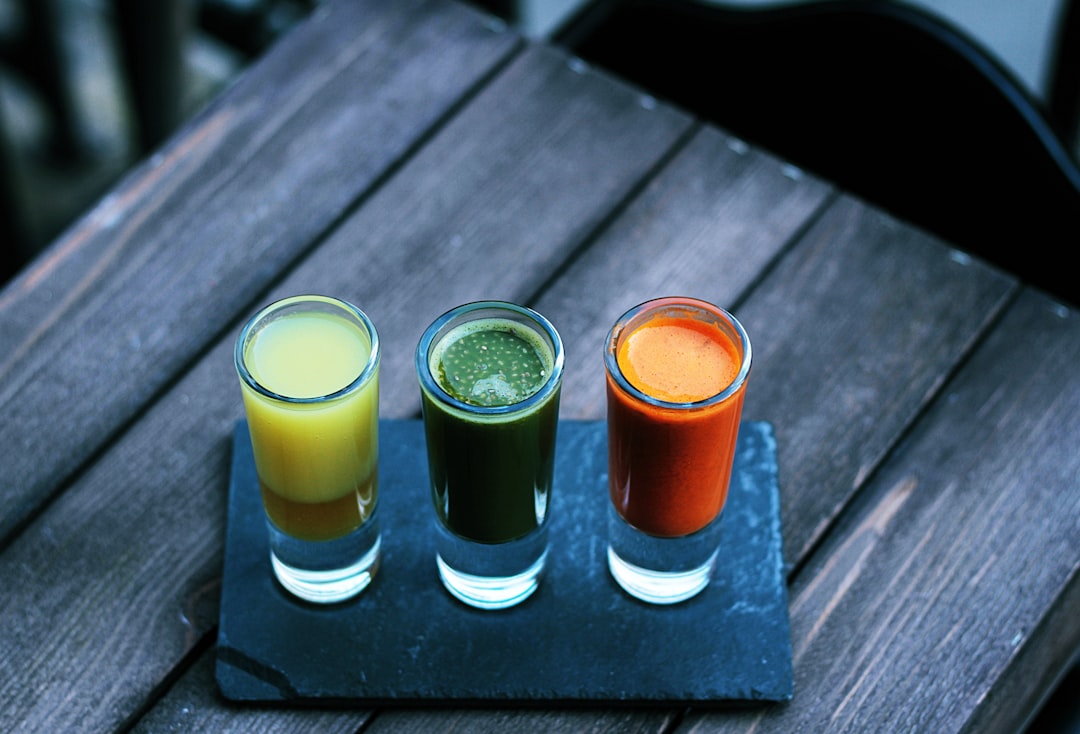
A few items that might be used in cooking could really paint a picture for people at home who want an immersive culinary adventure: tins, jars, herbs like lavender and mints which should speak volumes as to what they’re meant to do; glasses because wine pairs well with many dishes from around world.
3 – NATURAL LIGHT IS YOUR BEST FRIEND
Natural light is essential to a well-lit food photo, but there’s more than one way to get good shots. You can have it either too harsh or not enough with the right tools and techniques; here are some tricks you need for both scenarios:
Too much natural lighting? Try using reflectors when shooting vertically (e.g., on your phone) as they’ll bounce back an even amount of sunlight onto whatever side needs it most in order provide balance – this also helps if you’re trying to create shadows like under that lemon cake! And what about those times where all that sun just isn’t cutting it? If only we could control how things looked… Guess what?! Now we can thanks to diffusers!?
The first step to photographing food is proper lighting. Placing a diffusor between the window and your table will greatly reduce harsh shadows, bright highlights, and other unflattering light conditions caused by direct sunlight or artificial lights that are too strong. A white card can be used for contrast control while shooting in natural daylight; black cards can produce more dramatic shots when working with high-contrast scenes like lemon frosting on milk glass bottles under an indoor fluorescent lamp without a diffuser set up around it if you want them darker than they would naturally appear.
White and black cards are easy to make at home, using foam core boards available from any craft store. If you’re trying to see details in your photographs that might be hidden because of lighting or shade, try a white card for better visibility into shadow areas; if there’s too much light on the background of an image and your subject is getting lost in it all, use a black card instead
Blocking is a great technique for creating darker, low-key styled images. It can be used in many different ways and it’s something that everyone should know how to do! One way would involve using black cards on your background or other parts of the scene if they are brighter than what you want them to look like. You could also use an object such as a chair which has some sort of dark surface (such as leather) with light hitting it from behind so there will not be any glare coming off this area while still casting directional shadows onto the rest of your subject matter during post processing work
4 – EMBRACE LINES AND LAYERS TECHNIQUES
Line and layer techniques are great for directing your audience’s eyes to the subject of a photograph. This is done by using props, ingredients or other lines that create interesting layers in an image. Practicing these skills will help you make more captivating images!
When it comes to shooting from above, there are plenty of opportunities for you to create a variety of lines. One of the most difficult aspects about photography is composing images. Different types of shots can be taken with many different results; but, one type that always may produce a winner are layered photos.
5 – ALWAYS HAVE COLORFUL PROPS
It’s great to have props that are colorful, but if you’re not careful that brightly colored prop can easily upstage your food and steal all the attention.
Heeding this advice when placing items into your images of dishes will ensure they stand out from their background while still remaining neutral enough for a professional look
For more photography posts , you can read these articles:
Understanding the Types of Photography
Nude Photography: Learning about the Art
7 Tips for Vintage Photography that Every Photographer Needs to Know
Now that you know what makes a dish look appetizing, head on over to the blog for more photography tips. We hope this post has inspired your creativity and helped with some of the basics in getting those dishes looking as good as possible!
What are the best techniques for taking better food photographs?
The type of food you photograph will influence the way you take a photograph. For example, you’ll need to experiment to see what works best for different types of foods. If you’re photographing vegetables, for example, a clear, sharp image will work better than a blurry one.
It’s important to take a few steps before you start shooting. The best way to do this is to set up your camera on a tripod, so that you can compose your photos in advance. You’ll also want to make sure that your lighting is as even as possible, to avoid distracting shadows.
When you take the photograph, make sure it’s in focus and that it captures the true essence of what you’re photographing.
You can do this by focusing on the eye of the object (for example, a carrot). Make sure there are no other distractions, such as people or props.
Try using the manual settings on your camera. Manual settings will allow you to control the exposure, white balance and aperture, which will help to ensure your images are as sharp as possible.
The following list of suggestions can help you capture great-looking food photography.
• Take a variety of photos.
• Shoot a close-up, then a long shot.
• Shoot at different angles.
• Take several shots from the same angle.
• Shoot the food against a plain background.
• Use a flash, if possible.
• Take a shot with the sun behind you.
• Shoot in a variety of lighting situations, including natural light, sunlight, candlelight and low light.
• Take a picture at an angle, then move the food and repeat the process.






4 thoughts on “The Art of Food Photography”
Comments are closed.