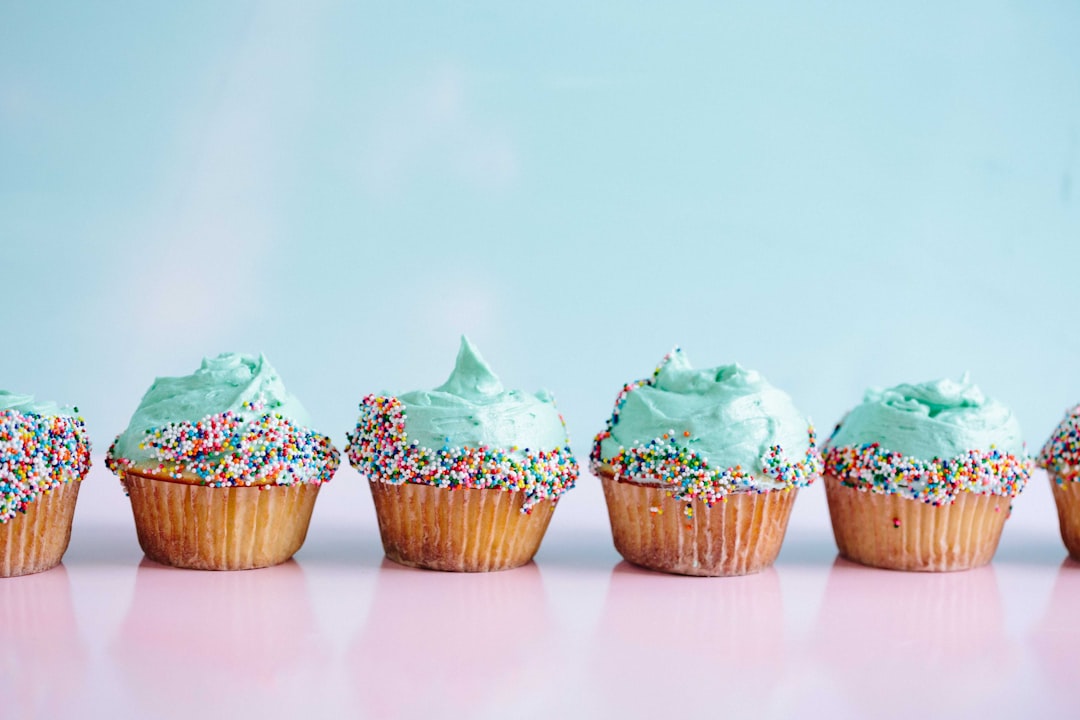
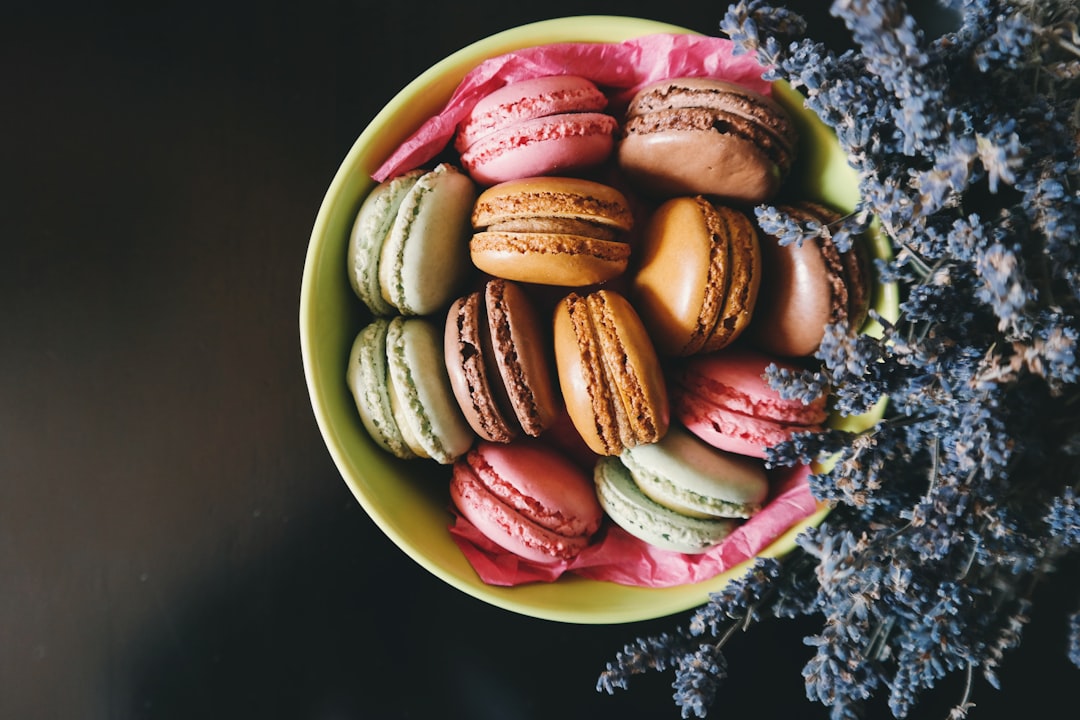
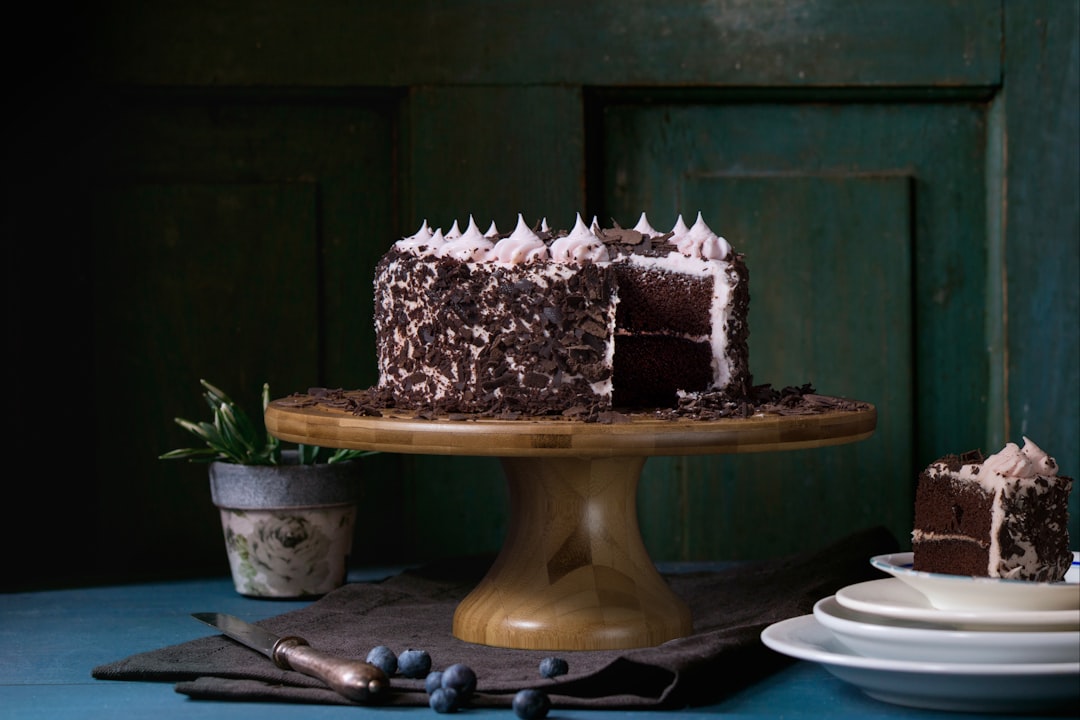
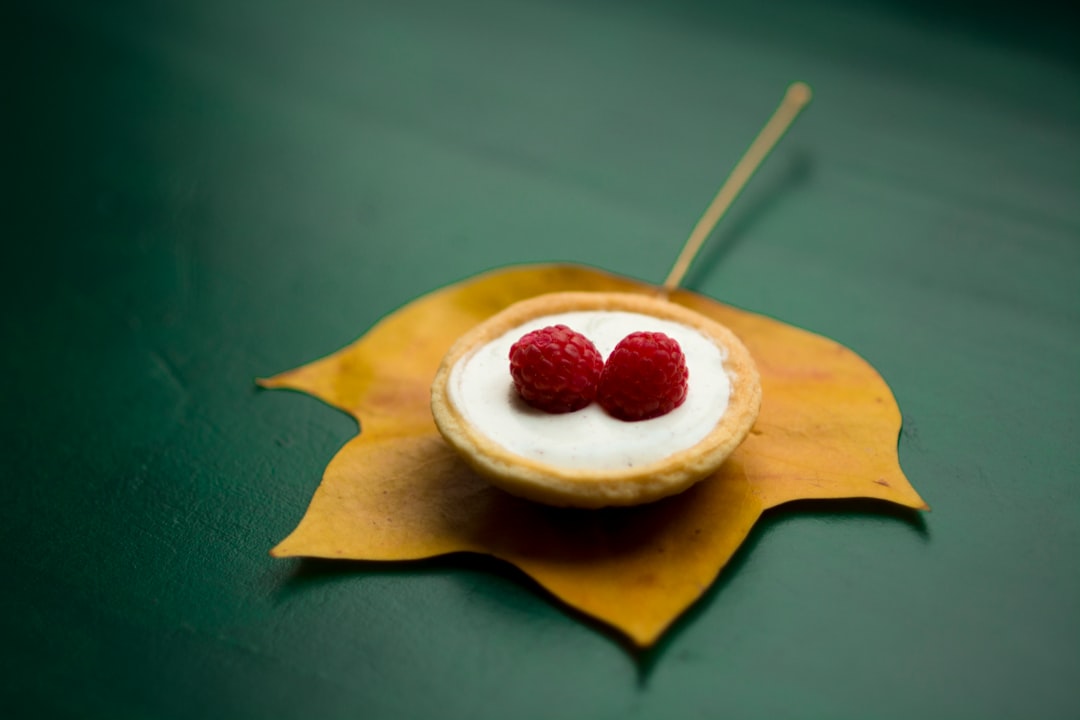
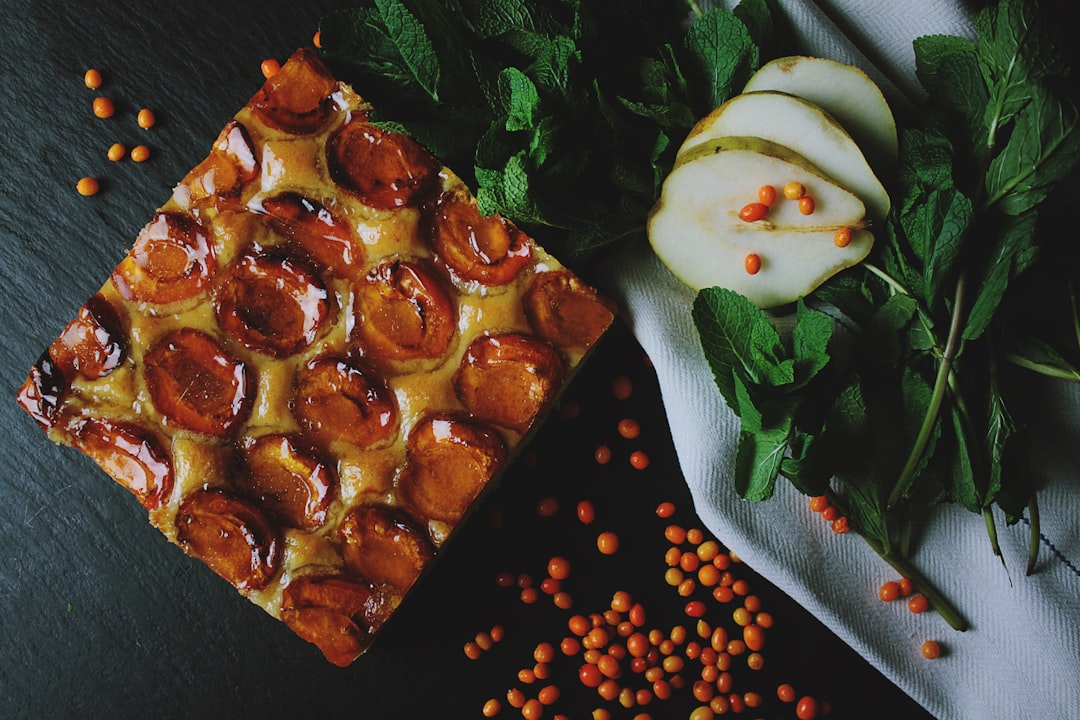
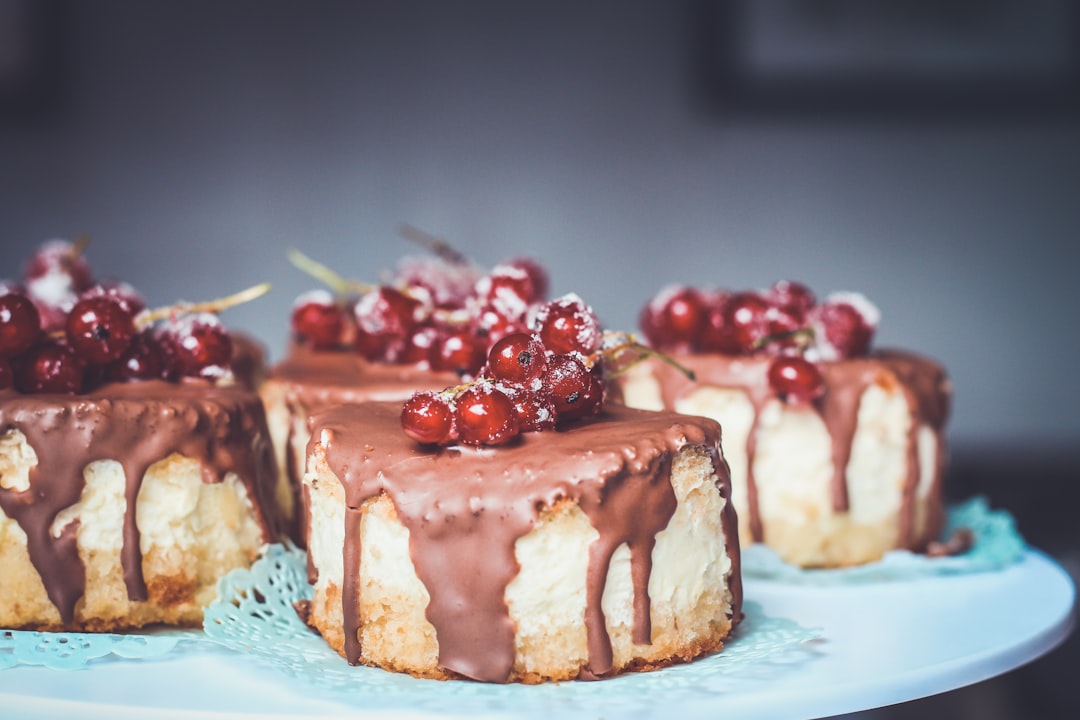
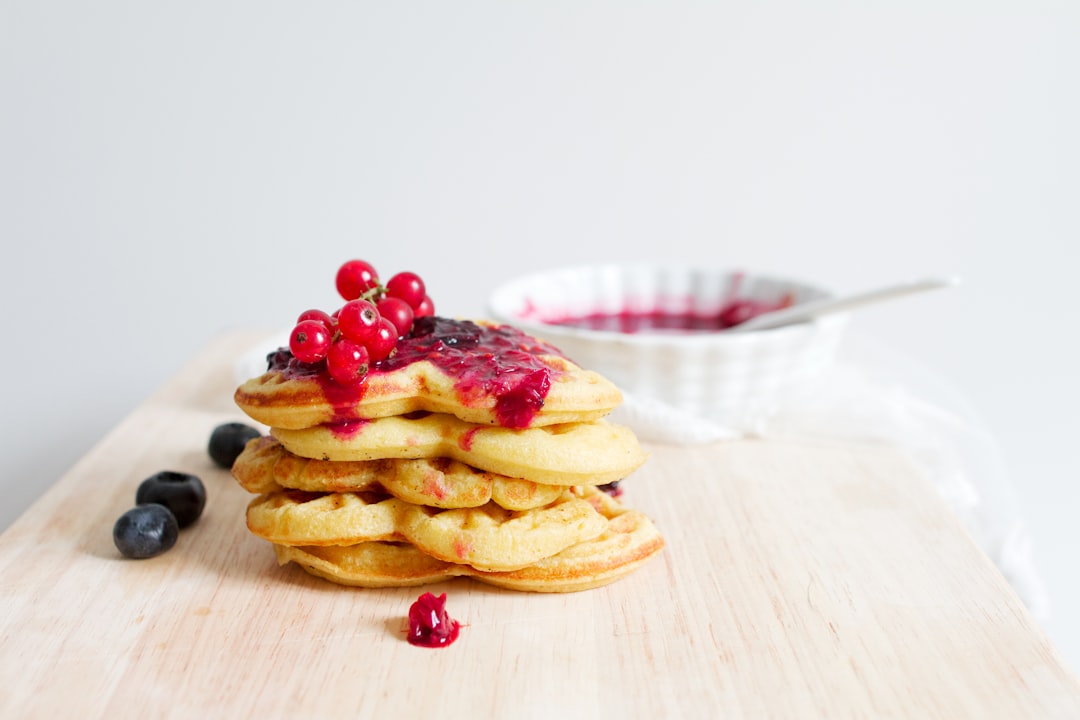
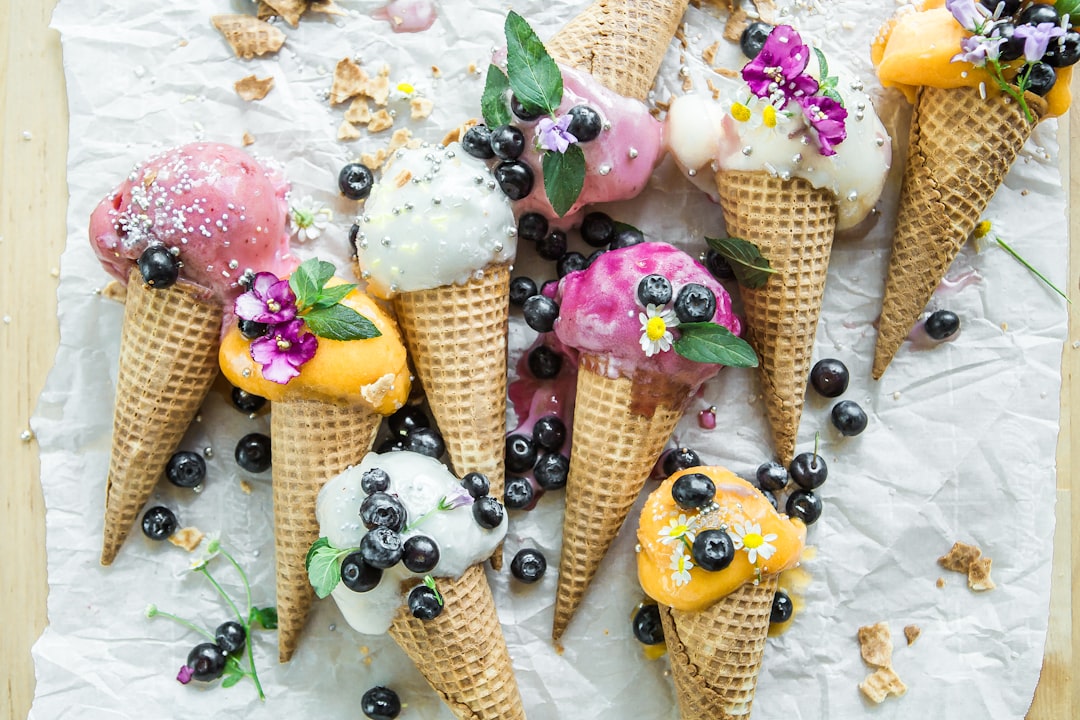
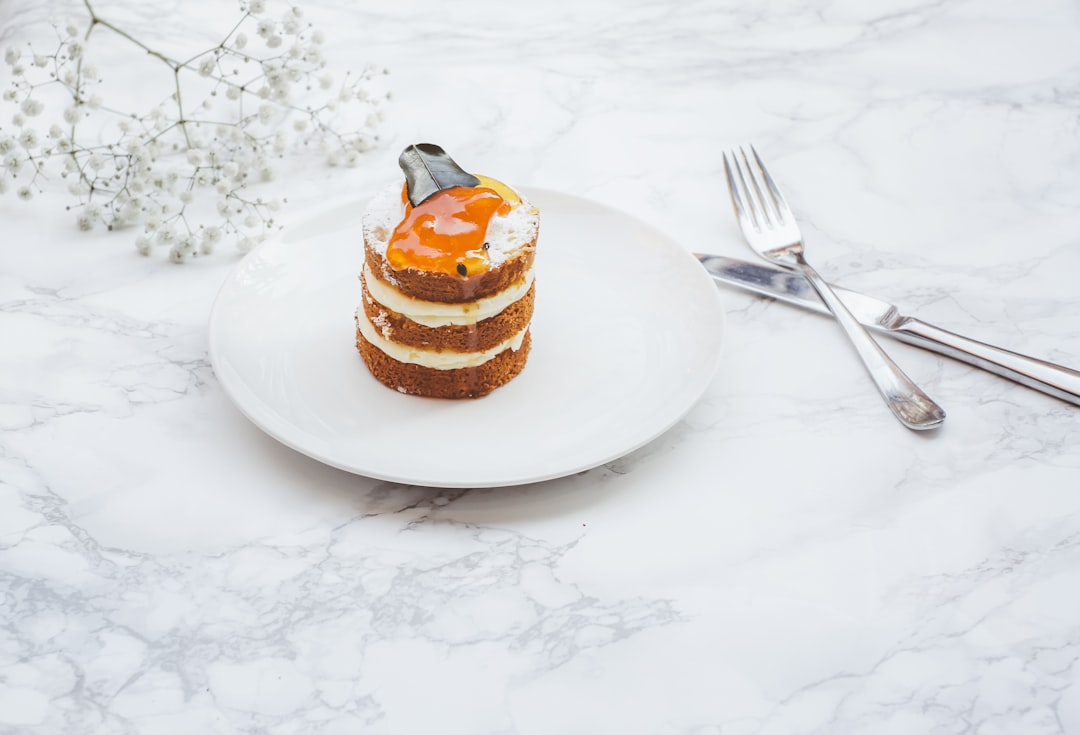
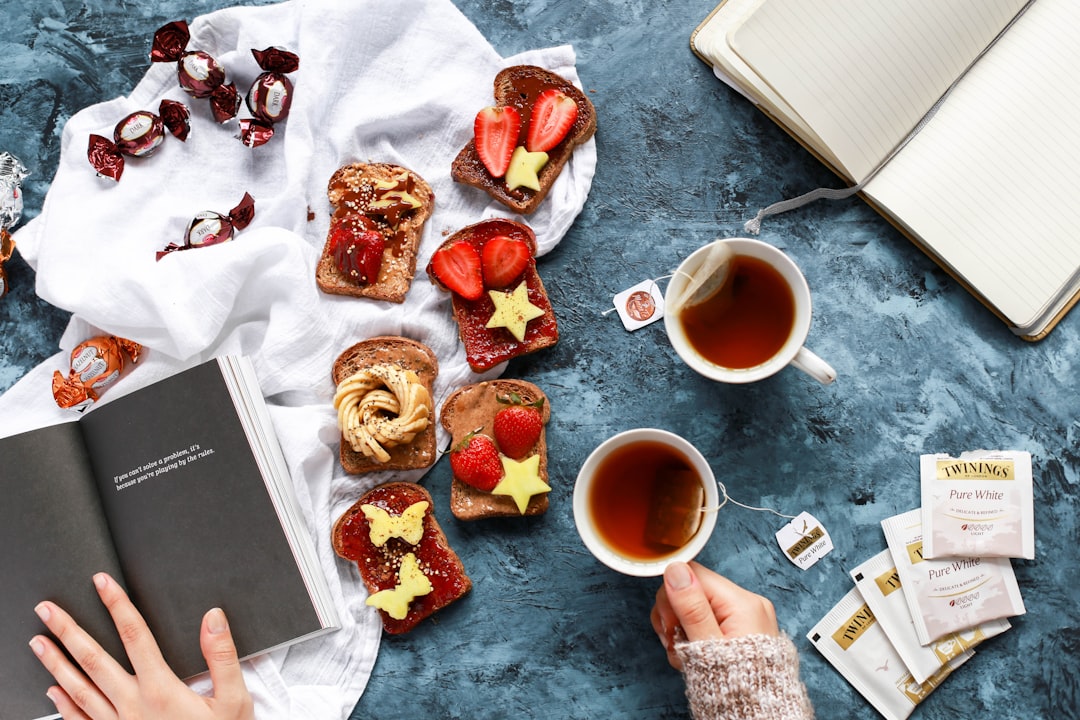
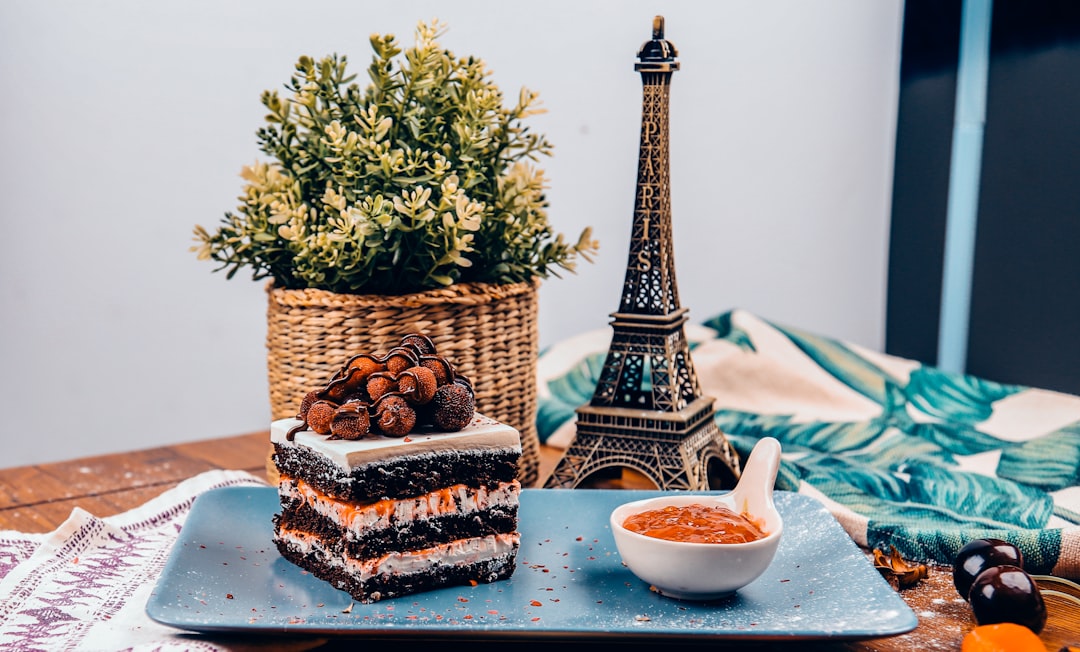
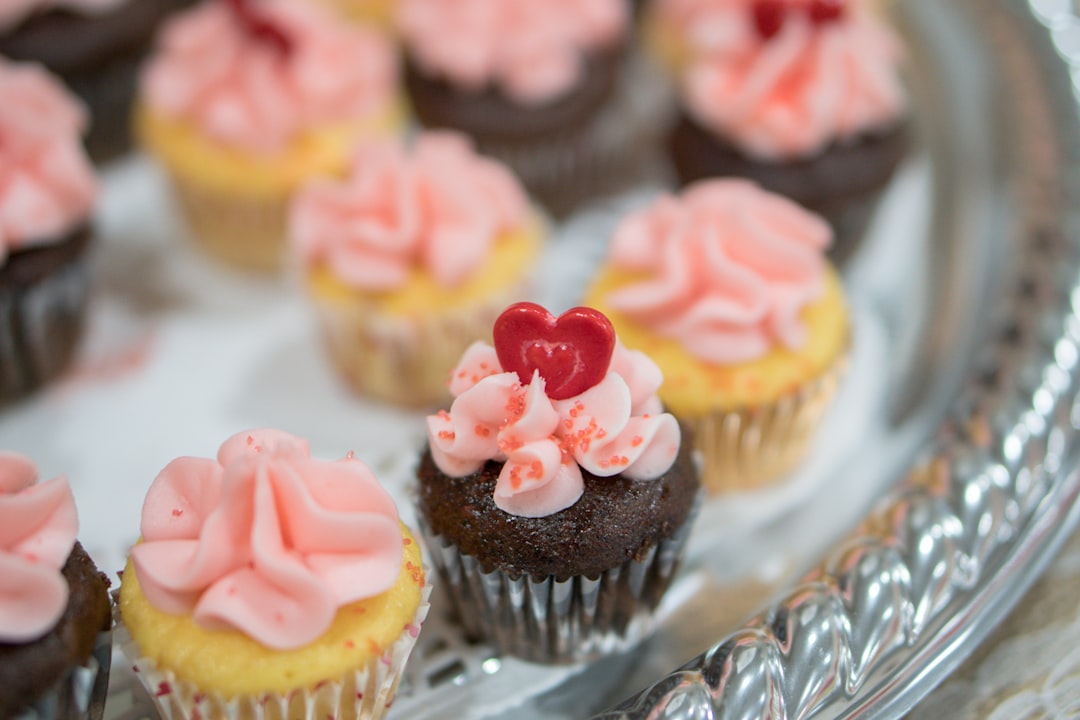
Have you tried photographing desserts? If not, then it is time to start as desserts have become increasingly popular on social media sites and magazines. While some people love their dessert photography, there are also many who dislike it. Here are a few suggestions to get you started:
Table of Contents
1. Make good use of your experience.
When you have a lot of experience in a certain field, do not hesitate to use this to help others. If you are an experienced photographer, then you might be able to help someone who is just starting out with their photography. You can also volunteer at local schools to help teach children how to take their own pictures using the camera on their phones.
2. Know your equipment.
This includes the camera you will be using and accessories like a tripod, remote control and flash. Make sure you understand what each of these does so that you do not have any surprises when you take your pictures. Also make sure you know how to use your camera features and settings. For example, most cameras have manual focus and exposure controls, but most smartphones do not. You should also take your camera to an expert photographer so that he or she can help you adjust it to suit your needs.
3.Know your settings.
Before you start taking photos, it is important to know your camera’s settings. The more you know, the better you will be able to achieve the desired results. There are a variety of settings for different situations, including the aperture, shutter speed, and focal length. Most DSLR and smartphone cameras have a menu where these settings are accessed and explained to you.
4. Plan ahead.
Decide which desserts you want to photograph in advance and what you will be doing with them. If the dessert is going to be photographed in the studio, make sure you are prepared for the environment. Is it going to be cold or warm? Will there be background music or noise? Is the dessert going to be too bright or dark?
5. Use the best lighting
When photographing desserts, there are two main types of light that can be used: ambient light and artificial light. Ambient light can be used as natural light from windows and skylights or artificial lights, such as candles, lamps, or flash. For some images, both types of light can be used. For desserts to look appetizing, you will need a certain amount of lighting. It is best to place the dessert at a distance from the light source. Depending on your situation, a reflector can also be used. If you have a reflective surface close to the dessert, this will help bounce the light back towards the camera, making the dessert appear brighter.
6. Use composition.
When photographing desserts, composition is very important. It will determine how well the light, subject, and background work together. The composition will also play an important role in determining how the dessert will look when it is printed or displayed on social media sites and magazines.
7. Capture the best moment.
Before you start taking photos, make sure you capture the best moment of the dessert. This could be when it is being served, when it is eaten, or when it is in the process of being eaten.
8. Don’t forget to drink!
It is important to stay hydrated when shooting desserts because they are generally high in sugar content. When photographing desserts, it is important to ensure that you do not have a stomach upset. You should try to have some water or milk with you before you start shooting so that you can take sips throughout the shoot.
9. Shoot a lot.
It can be very time-consuming to photograph desserts, so make sure you shoot a variety of them and do so frequently. This will help you practice and improve your skills, and it will also give you more opportunities to perfect your technique.
10. Think about editing.
Once you have photographed and edited your images, you will want to display them on social media sites and in magazines. If you do not have a particular skill for editing, there are a variety of software programs available that will allow you to apply special effects and filters. Make sure that you are comfortable with how these affect your photos before you use them.
11. Remember the details.
When editing your photos, it is important to ensure that you capture all the details. This is particularly important for desserts because each one will have its own unique features.
12. Don’t forget to have fun!
Photography is a great hobby and can be a lot of fun. Remember to have fun while taking pictures, and remember that you can always take a break and switch off if you get tired.
13. Share your work.
After you have completed your photography session, you should share your images on social media sites like Instagram, Facebook, Twitter, and Pinterest. This will enable you to show your friends and family what you have done. Your pictures will also be featured on other websites and magazines, giving you a platform where you can promote yourself and your business.
14. Use soft light
This is where you find your subject and then fill the room with soft white light. The light will be diffused so that it looks like there is no light at all. You will have to work harder than normal to get a picture. This is best used for desserts that have smooth, shiny surfaces like ice cream, cakes, biscuits etc. This type of lighting is also known as “bake light” or “bake light diffuser”. Soft light can be found from a window or through an open door.
15. Use warm light
Warm light is light that has more red colour in it. It makes the dessert appear warmer and less cold. Warm light can be created by using flash or shooting through windows with curtains or blinds. The light from the sun on a window will also give a warm light effect.
16. Use cool light
Cool light is where you find your subject and then block the light source from reaching your subject. Cool light is much brighter than soft light and can make your subject look very harsh and sharp. This is ideal for pictures of cakes, desserts and cookies etc. It is best to use cool light when you want to emphasise the shape and pattern of your dessert.
17. Avoid shadows
Shadows can make your photo look dark and lifeless. You should always aim to avoid them. Try to use a wide aperture on your camera. Aperture is the opening in your lens. You can also change the settings on your camera to use a smaller aperture. This will stop any of your subjects from being seen in a silhouette.
18. Work with colour
Colour is very important when photographing desserts. Using only white or black and no other colours will result in a very flat looking picture. Colours will help your dessert look alive and interesting. You can add colour by using white and black backgrounds, a blue sky or use props to give a more interesting backdrop.
Some ideas for Dessert Photography
You might be thinking about photographing desserts. Here are some ideas that we’ve found useful.
We’re all too familiar with those images of cakes, pastries and biscuits that are more often than not tastelessly over- iced and/or covered in sickly sweet or cloying frosting. I’m sure you’ve been to events where the cakes have been so sweet and decorated to death that you can hardly think straight! Yet we all know there’s a perfectly lovely, healthy dessert out there, just waiting to be discovered. And if you’re after some ideas on how to photograph them, here are some ideas to get you started.
Keep it simple.
If your idea is to photograph a selection of desserts, try keeping it as simple as possible. Choose the main type of dessert, such as cheesecake, a pie or cupcake, then consider what you want to communicate about it. If the dessert is particularly colourful, keep it simple with plain plates and bowls.
Another option is to choose one particular dessert, which can give a good idea of the whole category. It can be a simple selection, such as banana bread with a dollop of cream cheese, or a more elaborate one such as a chocolate lava cake with a drizzle of honey. Think about what you want to say by photographing just one item. Does it look delicious, for example? Or is it more of a demonstration of something you enjoy eating, such as a homemade brownie or a mousse?
In either case, think about how you want to photograph it. It might be nice to have your dessert on its own, but in some cases it could be better to show it next to other food. For instance, a pudding that looks very good on its own can be less attractive when placed alongside a piece of cake.
Play with the light.
Look at different places in the room where you’re going to take the picture. Different lighting is great for bringing out the best features in your food.
Use props.
What works best for you? It may be fun to add a little something to the dessert, such as a bowl of fruit, a candle or flowers. You might even try creating a story around the image, by adding a narrative caption to the picture.
Think about the background.
What does the background say about the dessert? Maybe it’s in a nice, modern kitchen, maybe it’s in a rustic setting, or perhaps it’s in an old-fashioned farmhouse or cottage. The choice will be up to you. But don’t forget that some desserts are much more effective when photographed in a particular environment. For example, a cake that looks great on its own could be less impressive if it has been placed in front of a busy street scene, which distracts from its deliciously moist crumb.
Dessert Photography Ideas


Conclusion
The goal of this article is to teach you some basic skills so that you can start capturing great images in no time. I will be covering lighting, composition, and other essential topics to give you a jumpstart.
I want to make sure that you are equipped with the right tools and knowledge to get started on your own path to success. So, let’s get started!
Want to learn more about food photography, check out these articles:
18 Tips for Shooting Better Burger Photography
Best Tips for Vegetable and Fruit Photography

