You don’t need a special skill to shoot a great picture but, for some, it takes special patience, persistence, knowledge, and determination to achieve this. If you are lucky enough to be one of those who are naturally talented in taking photos, then this article is written to help you. Here, we shall discuss how to blur is good in photography?
Table of Contents
What is Blur in Photography

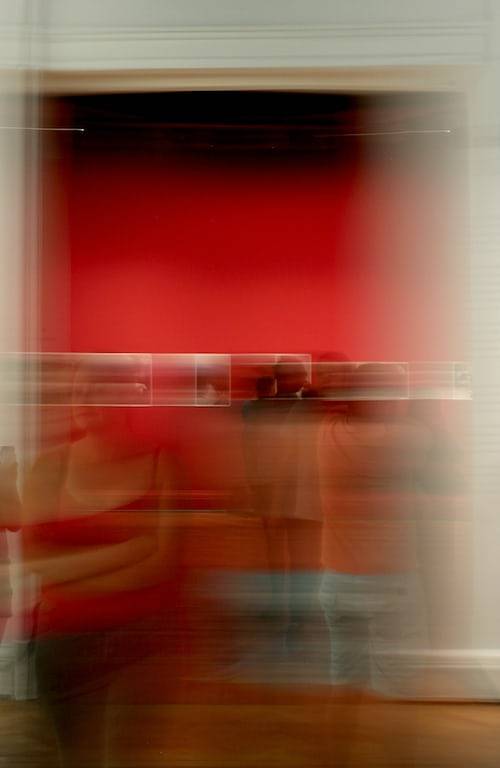
In photography, blur is a visual effect that softens the outlines of objects or makes them look as if they are moving or waves.
What do we mean by ‘blurry’?
The technical term used for this type of image is depth of field. The camera is able to capture a sharp picture of an object, but in front of it (in focus) and behind it (out of focus), because it has been given a wide aperture. In other words, the object has been stopped down (using the aperture).
We see the blurred effect as a result of using a wide aperture. The size of the aperture, or ‘hole’, is what controls the depth of field – the range between in and out of focus. The bigger the hole, the shallower the depth of field and the less in focus.
Using a smaller aperture, with a smaller hole, gives a tighter depth of field and less blur, meaning that more of the scene is in focus, with no noticeable blurring.
Blur is one of the most difficult concepts to understand in photography. It’s a very powerful tool that can be used to create some amazing effects, but it can also create some pretty horrible ones if you don’t know what you’re doing.
When Blur is Good in Photography
Blur is a great effect to use in photography because it can create a realistic and dream-like look. It can also add an element of mystery and intrigue to your photos. When used correctly, blur can add a surreal and dream-like quality to your photography. It can also create a sense of mystery and intrigue, which can be a great addition to your photos.
When a photographer uses a shallow depth of field, it can create an image that’s more detailed and interesting. The blur in the background can add a sense of mystery to the photo and make it more appealing to the viewer.
You can use blur to draw the eye to a particular area and create a sense of motion. It’s also useful for creating a feeling of depth and dimension in an otherwise flat photograph.
Here are some examples:
- 1) To create depth and dimension in an image: Blur adds depth to an image by creating a sense of distance between objects in the foreground and background. This can make an image more interesting and dramatic.
- 2) To highlight something specific: Blur can accentuate a subject by making it stand out from the background; this is especially effective when using shallow depth of field (DOF).
- 3) To show movement: Blur can create a sense of movement when an object is moving quickly, such as when photographing racing cars or fast-moving people/animals.

However, there are times when you don’t want any blur at all in your image. For example, if you’re taking photos of an object or person that requires clarity, then using a shallow depth of field will make them appear blurry.
You also need to consider whether blur is appropriate for your subject matter. If you’re taking photos of something that requires sharp focus, such as a person’s face or an object that has intricate details, then using a wide aperture setting may not be appropriate.
In addition to considering what type of blur you want to achieve, there are several other factors that affect how much blur will appear in your photo:
- Focus distance
- Aperture setting
- Camera movement
How to create a blurry shot
Shooting a person, you will need to take some time and shoot the subject in different positions. For example, you might start with a full face, then move on to a profile and then, if you are lucky, you will get a shot where the subject looks away from the camera. The depth of field will also play a big role in whether the subject is sharp or blurred. The smaller the distance, the more the subject will be in focus.
Blurred background
To create a blurred background, you will need to focus on the foreground and take a picture that includes a bit of the background. You will also need to use a low ISO setting and a slow shutter speed.
Blurred Subjects
There are two ways of blurring your subject, and they are called shallow and deep blur. Shallow blur is used when you want the subject to be blurred. To achieve this, you simply increase the distance between the subject and the camera. For example, if you are shooting a flower, you will get a more blurred effect by shooting it in the middle of a large garden. If you want your subject to be sharp, you will need to increase the depth of the subject. To do this, you need to decrease the distance between the subject and the camera.
Some Beatiful Blur Photography Ideas


