The key to great photography is good light. To produce a professional quality image, whether in black and white or color, you need a variety of lighting.
Light is one of the most powerful creative tools available. It can enhance almost any subject and it has the ability to shape people and their surroundings.
You can use ambient natural light (such as sunlight), or artificial lights, such as flash. It’s often said that “light is the best camera.” But you can also create interesting light effects using your camera’s exposure modes.
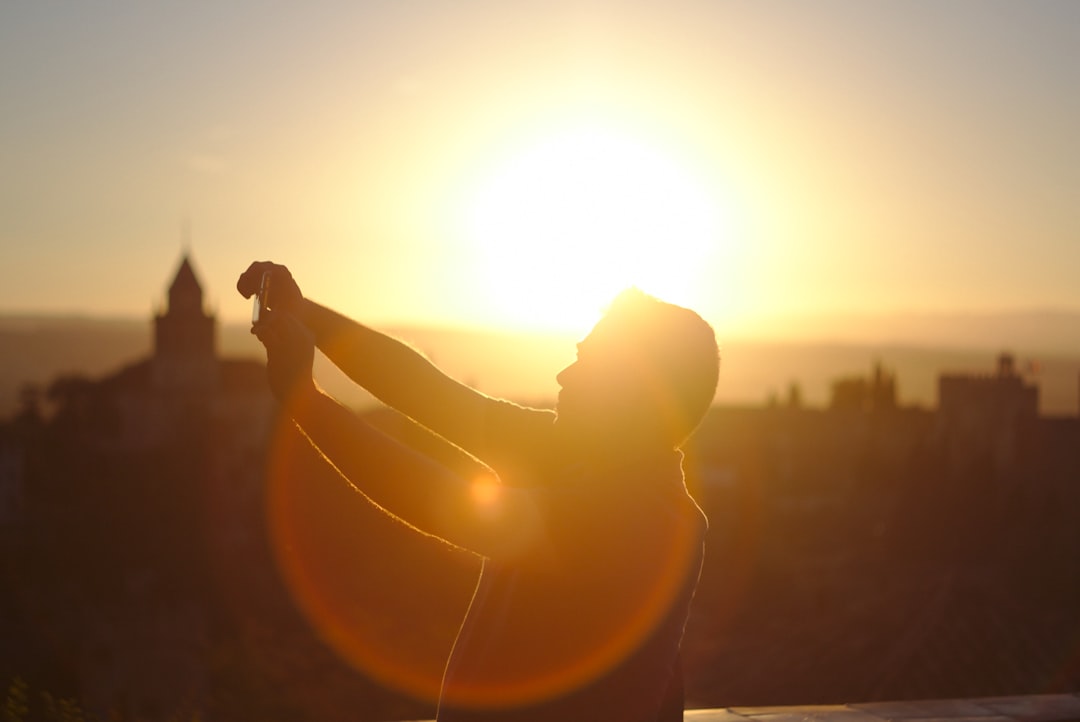
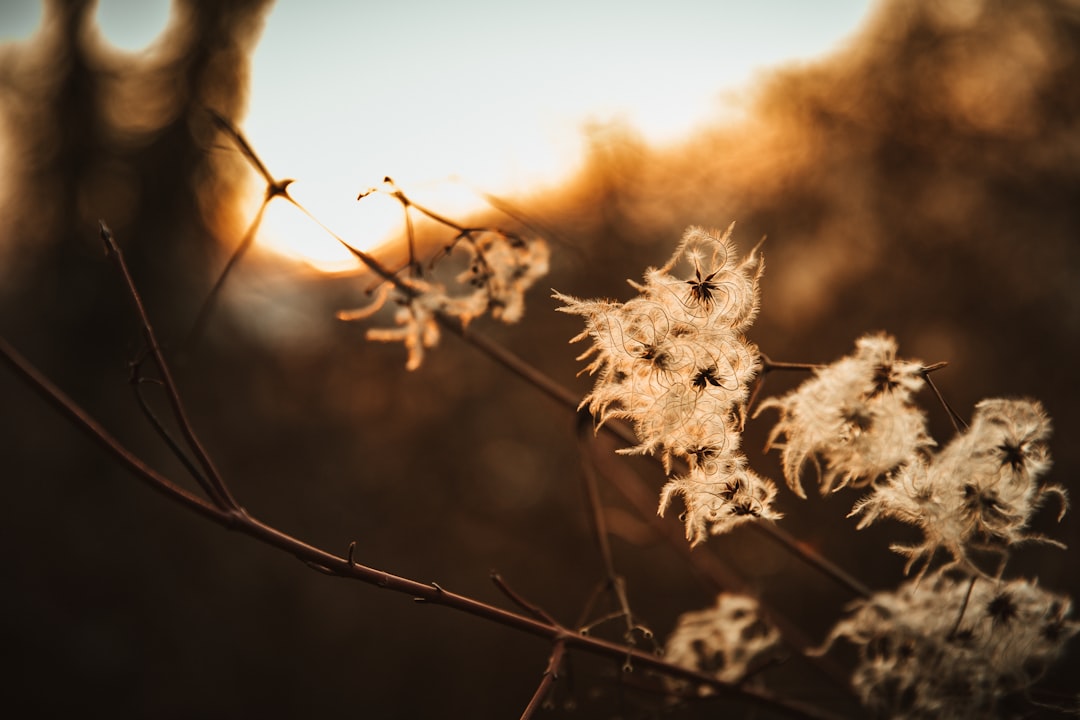
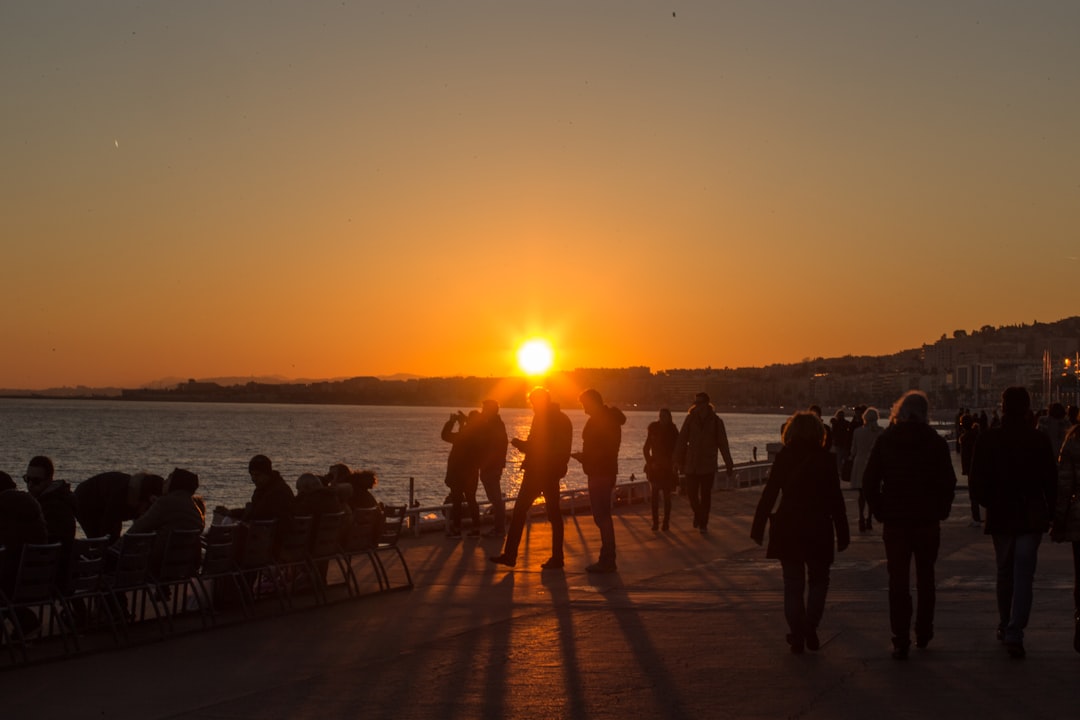
Here are a few ways to use backlight to create a stunning image.
Table of Contents
1. Backlight
This technique is great for creating dramatic images, particularly portraits. Backlighting adds depth to an image and gives it a dramatic look. The light source should be behind the subject (and ideally off-camera) to give a dramatic effect.
As with any image, you need to decide the best place for the light source to fall. This can be tricky when photographing a face. The subject will want you to focus on their features but you can easily end up with a harsh shadow under their eyes.
To avoid this, you need to plan where the light will fall and how to position your camera.
You might want to use a large reflector to bounce the light onto the subject’s face from above or to the side.
Alternatively, you could use a single light placed far to the side. The light source should be on a high stand so that it falls on to the subject.
If you are using a light box or other artificial light source, you will probably need to modify the light to achieve the desired effect.
It’s important to set the camera to manual focus. When you use auto-focus you’ll find that your subject will move slightly and the camera will lose focus.
2. Highlights
Highlights are the brightest areas in an image and they can draw attention to particular objects. They are often used to draw attention to an eye or a mouth.
You can also use highlights to create an overall pattern of light.
The light source should be placed above or below the subject so that it reflects off the surface of the object. This will create the highlight and darken the rest of the scene.
If you are using a single light, you can use a softbox or other light modifier. Alternatively, you could place your subject directly in front of a light source.
Again, you will need to set your camera to manual focus. This will ensure that the subject doesn’t move slightly and your camera loses focus.
3. Fill-in Light
Fill-in light is a technique used to brighten the main light and fill in shadows. It is usually used to add a bit of contrast and to lighten dark faces.
You can use the same techniques as with highlights to achieve this, but instead of a single light source, you will need a background light.
Place a small light source (a ring flash, light box or reflector) just in front of the subject to reflect off the surface of the object.
Setting the camera to manual focus will ensure that the subject doesn’t move slightly and the camera loses focus.
To get the most out of fill-in light, you should use a fast shutter speed. It will also help to use a low ISO setting.
4. Bounce Light
Bouncing is a technique that uses a light source to lighten dark areas. It’s generally used to lighten faces and places where the light is too dim.
You can use the same techniques as with highlights and fill-in light, but you’ll need a larger light source, such as a reflector.
Set your camera to manual focus and set the aperture to a wide setting.
The wider the aperture, the more light will enter the camera. You will need to set your shutter speed to 1/2 to 2 seconds, depending on the ISO you choose.
Use a reflector that is at least 10cm from the subject. You will probably need to stand further away. The reflector should be positioned so that the light bounces off the surface of the subject.
5. Ambient Lighting
This is another way of adding contrast to a photo. It is used to add a glow or a sheen to a subject, such as a wedding dress.
It’s best to use an older, more sophisticated camera with a long exposure. You could even experiment with a polarizing filter to help brighten the image.
To create this effect, position the light source in a corner of the room and turn it on. The light will be diffused by the curtains and walls and fall softly over your subject.
It’s a good idea to use a tripod, as you don’t want to move the camera during the exposure.
This is one of the most difficult techniques to master. It requires a steady hand and an understanding of light theory.
6. Bokeh
Bokeh, or out of focus blur, is a technique used to soften images. It creates a softer look and can make images appear more natural.
You can use it to achieve a soft look or a dramatic effect.
You can make bokeh with a shallow depth of field (focal length less than 35mm), which will allow the entire scene to be in focus.
Shallow depth of field is achieved by setting the aperture to a wide setting.
The larger the aperture, the greater the amount of light that enters the camera.
There are three ways to use bokeh:
* To make the background blurry. This can be achieved by using a shallow depth of field.
* To soften the subject. This is achieved by focusing on the background, which is in sharp focus and the subject is blurred.
How to use Backlight for better photography
Backlight: create a unique atmosphere
Backlight can work well in a variety of situations, from interiors to portraits. The main benefit is that the light hits the surface in a certain way.
This creates a different and unique atmosphere. Shadows are bolder, highlights softer, colors brighter and the light is more intense. It’s great to use backlight in a portrait situation, because you can work on the subject’s eyes, and the background will still look beautiful.
Here in this part, we will give you some tips on create a great atmosphere with backlight within rooms or for interior photos.
Set up the light correctly
The room needs to be well-ventilated and well-lit. Walls and ceiling should be white, as should the floor. Your subject will need to stand against a white backdrop. Position the light source slightly above the subject and you can position the light directly onto the back of their head. This will help create a strong shadow. If you want to create a soft, glowing highlight, use a diffuser sheet or gel. You can place this on the wall behind the subject, to diffuse the light.
Use a soft box as a light source, as this will give a softer, warmer light. A key light can work well too, if you choose a large one. Use a flash or a continuous light, either of which will create a powerful highlight. The biggest advantage of the flash is that you can control the direction of the light.
If you want to add more drama, use a flash with a grid pattern. It will help to create even light and shadows.
Use a wide-angle lens or zoom lens to include more of the room in the image. If possible, include the floor and the light source too. This will create a sense of depth.
Use a tripod, and set the aperture to f/11 or higher. You may also want to experiment with varying shutter speeds.
Take a number of shots with varying shutter speeds. Choose a combination of settings that works for the scene.
Create a beautiful image
Make sure your subject stands against a white backdrop. Position the light source slightly above the subject and you can position the light directly onto the back of their head. This will help create a strong shadow.
If you want to create a soft, glowing highlight, use a diffuser sheet or gel. Place this on the wall behind the subject, to diffuse the light.
Use a soft box as a light source, as this will give a softer, warmer light. A key light can work well too, if you choose a large one. Use a flash or a continuous light, either of which will create a powerful highlight. The biggest advantage of the flash is that you can control the direction of the light.
If you want to add more drama, use a flash with a grid pattern. It will help to create even light and shadows.
Use a wide-angle lens or zoom lens to include more of the room in the image. If possible, include the floor and the light source too. This will create a sense of depth.
Final Thoughts
Photography is about capturing moments, which is why it’s so much fun. There’s something special about looking back at a photo of yourself with a smile on your face, and realizing how much of a difference a little bit of practice and practice makes.
It’s about being creative, seeing the world differently and capturing moments in a new and interesting way. Backlighting can really bring a whole new dimension to a photo shoot.
When you’re creating a portrait, it’s all about the eyes. With backlight, you can play around with different positions of the light to create a striking image. This is a fun, creative process.
The beauty of using backlight is that it creates a different and unique atmosphere. The light hits the surface in a particular way, creating shadows and highlights that are really striking.


