Table of Contents
What is Off-Camera Flash?
Off-camera flash is a light source that produces flash light outside the camera’s viewfinder. When you take a picture with an external flash unit attached to your camera, you can use the flash as a fill-in light to lighten shadows or brighten dark areas. You might also use a flash unit as a supplementary light to help illuminate a particular subject.
To use an external flash unit, you need to know where your flash is located and how to set up the flash unit to work properly. You also need to know how to use your camera settings to control the flash light.
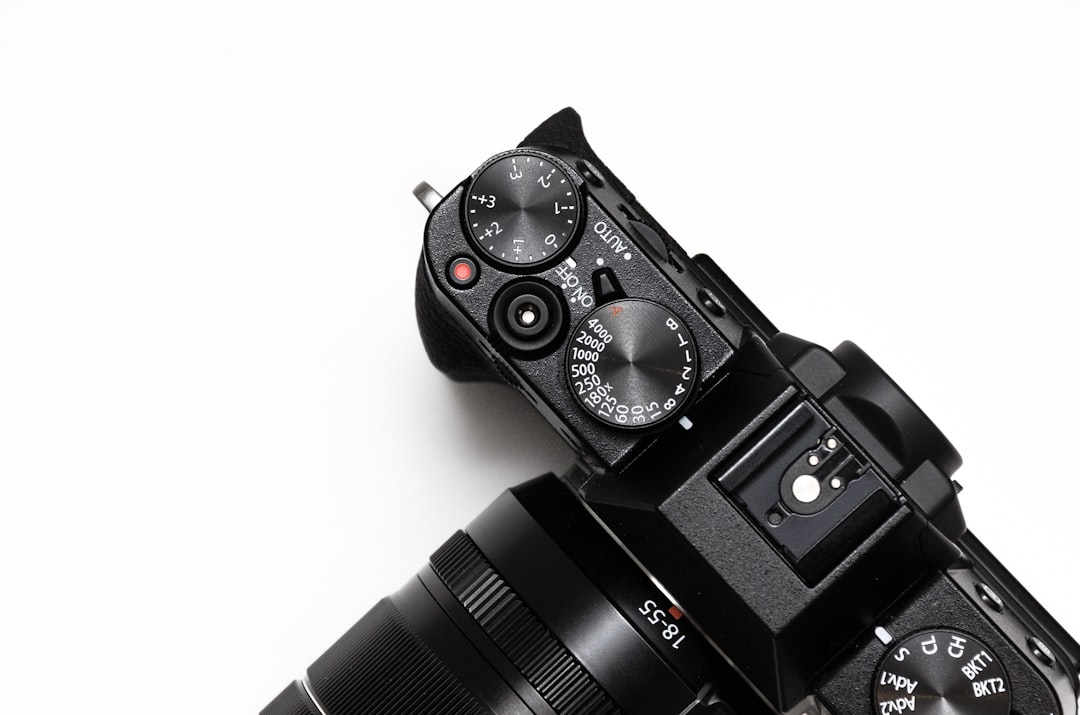
To find out where your flash is located on your camera, look at your camera’s instruction manual. On some cameras, the flash unit is located in a position below the lens and above the viewfinder. Other cameras have the flash unit located behind the lens. In most cases, your flash is located on the camera’s hot shoe, on the side of the camera.
Off-camera flash units have three different light-emitting modes: auto, TTL (through the lens), and manual. TTL mode is the most common. With this mode, the camera uses the flash light to determine the correct exposure. The camera then opens the aperture to let more light into the camera.
The other two flash modes—manual and auto—are less common. In manual mode, the flash unit emits a pre-set amount of light. In auto mode, the flash unit emits as much light as the camera’s light meter tells you is needed to ensure the correct exposure.
Some camera manufacturers provide an in-built flash unit, which works as described above. Some external flash units, however, produce light differently. If you are using a flash unit with a different light-emitting mode than your camera’s built-in flash, the flash unit may require different camera settings.
Why You Should Use an Off-Camera Flash
It’s a great way to take the ‘look’ away from your images.
With digital photography there has been an increasing demand for photographers to use off-camera flash units as it allows for greater creative freedom and gives the photographer total control over the look of the image. The problem is that most people aren’t aware of the range of options available. So here is a short guide to help you make the right choice.
The main factors to consider are:
1. Where you want to shoot.
Can you afford to rent the equipment you need or do you want to buy it? If you want to rent, you need to factor in the cost of the hirer (if you are not working with a pro agency). You should also think about how much of a commitment you are prepared to make, especially if you don’t have a studio. Most rental firms require at least one day’s notice. If you are serious about renting you may be able to find a short notice deal but this means you won’t have much flexibility when it comes to location.
If you are serious about buying it is probably best to go with a flash unit that is compact so that it can fit in your bag and can be used in situations where space is limited.
2. Exposure
Off-camera flash units are only useful when they are pointed at the subject. This means that you need to make sure that the light hits the subject at the same angle as you would normally have in natural light.
To do this you need to have the correct lighting conditions. The amount of light that falls on to your subject will depend on how far away you are from the subject and how bright the light source is. For example, if you are using a bare bulb, you will need to find a dark room where there is no other source of light. If the room is very bright, you might need to use a diffuser to soften the effect of the light.
3. Focusing
With a small flash unit, it is impossible to focus at the same distance as you normally would with your lens. So unless you are shooting macro shots, you will need to use a close-up lens. Even with a macro lens, you will still need to get as close as possible.
4. Power
The size of the flash unit will have a major impact on the power you need to use. It’s important that you use a unit that has the same number of flashes as your camera and can deliver the maximum amount of light. Remember that you will not be able to increase the power if you buy a larger flash unit.
5. Compatibility
How easy is it to use your flash? When you buy a flash unit you need to make sure that it fits your camera. You will need a flash bracket to attach the flash to your camera. You will also need to make sure that your camera is compatible with your flash.
6. Ease of operation
In order to be successful, it’s vital to have a flash that is easy to operate. You will need to be able to switch the flash on and off with a single button. Some flash units will work with wireless triggers. If you plan to take part in a photography competition or exhibition, make sure that your flash is easy to operate and that it is not the cause of any problems.
How to Use an Off-Camera Flash
It is possible to use off-camera flash and there are some useful pointers below.
Choose the right setting.
The flash is on either side of the lens, about 10cm away, so it is natural to think that its power should be set to full. However, this can be dangerous if there are other lights behind the subject. Use manual exposure and the flash as the main light. Take the flash to full power but dial down the strength of the other lights. This will ensure that the main light is the brightest but that the shadows don’t appear black.
Check the light meter.
If the flash is firing a bright light, the light meter will show the exposure is under or overexposed, even if you are shooting in Av mode. Most light meters have two different modes: Av and M (manual). In Av, the flash fires at full power and the camera automatically adjusts the shutter speed and aperture settings to suit. When you use M the flash is turned off but the camera uses the light meter to find the correct settings.
Choose the right setting for the light.
When you fire the flash, the light meter finds the light level, the shutter speed and the aperture and then tells the camera what to do. There are two main light levels, high and low. Low is useful for catching faces and the flash can produce a lovely soft lighting effect, but it tends to wash out colors and can cause red eyes. If you are having trouble with red eyes, go to low.
High is ideal for outdoor portraits. The light is brighter, more natural looking and the colors will be more true to life. However, if you are shooting in Av mode, the camera will only open the shutter if there is enough light to see through the viewfinder. If the light level is too low the light meter will warn you and the camera will open the shutter even if there is not enough light to see.
Aperture priority (Av) mode.
When you are using Av mode, the camera chooses the aperture and shutter speed settings.
Shutter priority (Tv) mode.
Shutter priority (Tv) mode works exactly the same as Aperture priority (Av) except that the shutter speed is fixed and the aperture is adjusted to suit the light level.
Manual (M) mode.
In Manual (M) mode, you control both the shutter speed and the aperture.
Set the aperture.
The aperture is measured in f/stops. The larger the number, the smaller the opening in the lens. As you change the aperture, the depth of field, the distance within which objects are in focus, will change. When you are using a 35mm camera, the smallest aperture is f/2.8 and the largest is f/22. For most people, f/4 is the aperture that will make the image look right.
To see the effect of changing the aperture, hold the camera firmly on a flat surface and look through the viewfinder. Focus on a distant object, then change the aperture by pressing the aperture ring, until you get the best depth of field. Try varying the shutter speed to see how the camera changes the speed of action.
Set the shutter speed.
The shutter speed is measured in seconds and, like the aperture, affects the depth of field.
If you are using a camera that has an automatic exposure system, you will not need to change the shutter speed or the aperture. However, if you are using a camera without an automatic exposure system, you will need to change the shutter speed and aperture.
If you are using a slow shutter speed, the light meter will tell you if the light level is too low for you to see through the viewfinder.
When you are using a high shutter speed, the camera will automatically adjust the shutter speed to suit the light level.
Get close.
The flash is aimed directly at the face, so it can look harsh and unflattering. To soften the light, move closer to the subject.
Flexible flash.
A flexible flash is a light that can be pointed to a different angle to the face, for example, to the side of the head.
Things to remember
An off camera flash unit is small, light and easy to use. It is used when you need to use the flash for your camera, but you want to avoid having to look through your viewfinder to do so. In fact, you may not be able to use the viewfinder at all, as you have already removed the lens cover of your camera.
When you are using your camera with an off camera flash, there are two main things to think about:
1. The direction that the flash fires. The flash usually fires upwards and in front of the camera, so if you are photographing someone, you will be able to see the flash, but they won’t be able to see it. However, this can mean you will need to point the camera directly at them (unless you have a mirror to bounce light off of).
2. The length of time the flash is activated. This is typically around one to three seconds. If your subject is moving away, you will need to activate the flash again in order to keep them in frame.
An off camera flash is also useful for taking photographs of items that are close to you, such as your hands or head. You simply position the flash on a level surface and use the camera’s self timer function to take the photo.
An off camera flash, also known as “hot shoe flash”, “strobe flash” or “speedlight”, is a flashgun that attaches to a camera body via a bracket and is controlled by the camera’s built in flash control system. When an off camera flash is triggered, it projects light at approximately the same time and in the same direction as the main flash (the light that is produced when you press the shutter button), but it cannot be seen by the camera’s viewfinder. Off camera flashes usually produce softer, diffused, softer and less intense light than main flash units and the effect is similar to using a flash diffuser. Off camera flashes offer various advantages and are often used on models for creative purposes. They allow photographers to create interesting effects in low light and to work without the risk of camera shake. They can also be used to illuminate subjects or light up scenes in dark interiors.
There are three types of off camera flash – electronic, optical and mechanical. Electronic flashguns are smaller, more compact, cheaper and lighter than their manual counterparts, while optical ones use light sensors to determine the correct exposure and intensity. Mechanical ones are heavier, bulkier, more expensive and harder to use.
To use an off camera flash, you need to attach it to the camera’s hot shoe – a small bracket that holds the flashgun – and wire it into the camera’s flash control system. There are two types of hot shoe – the newer type is a metal socket that accepts the hot shoe accessory shoe, while the older type is a plastic socket that accepts the older hot shoe accessories (i.e. a “Speedlite” brand flash). For most Nikon DSLRs, the Hotshoe Mount Adapter allows you to attach the Speedlite cordless flashgun to the camera’s hot shoe.
On most DSLRs, there are two buttons on the back of the camera – the Mode Dial and the Set button. The Mode Dial has modes such as Auto, P, S, M, A, etc. The Set button can be set to use a specific mode by pressing the button once to set the camera into the mode you require, and pressing it again to switch to that mode. The Mode Dial is usually found on the top left of the camera’s back panel, with the Set button to the right of it.
The camera’s built-in flash controls can also be accessed from the camera’s menu system. However, some models use a separate flash unit, such as a Speedlite cordless flashgun, for additional lighting. To use an external flashgun, first turn the power on and then place it into the Hot Shoe Mount Adapter. The adapter should be attached to the camera’s hot shoe and plugged into a standard wall socket (120v AC, 50hz) with a Speedlite Cord. If you have an older camera, you will need to use a cable to connect the hot shoe to the flash gun.
For most off camera flashes, you will need a flash sync cord to connect the hot shoe adapter to the flash. A normal household 110v/240v AC to 230v/110v AC plug is used to connect the flashgun to the camera. The length of the cord varies depending on the camera’s range. On a DSLR, the flashgun can be connected to the camera’s hot shoe via a cable and the Speedlite Cord.
If you are using a corded flashgun, you will need to use a flash stand. The flash stand holds the flashgun in a fixed position and prevents it from moving when you shoot. If you are using an older flashgun, you will need to use a flash bracket to hold it in the desired position. If you have a wireless flashgun, you will also need a wireless trigger, which will give the flashgun the ability to fire.
For best results, test your off camera flash first. You will probably need to experiment a little to find the settings that suit you. Once you have found the settings that work best for you, you will only need to change these on a few occasions throughout the year.
Conclusion
An off camera flash (or speedlight) is a small flash unit used in conjunction with your main flash unit to illuminate a subject further away from the camera.
This can be useful when you’re taking portraits or other photos where you need a light source to illuminate a subject further away from the camera.
The beauty of using an off camera flash is that you can use it when your main flash isn’t firing, allowing you to photograph in low-light conditions.
You can see that we have a very simple solution. A cheap, small, reliable unit that just needs to be triggered. This is a great option for beginners because it’s so easy to use.

