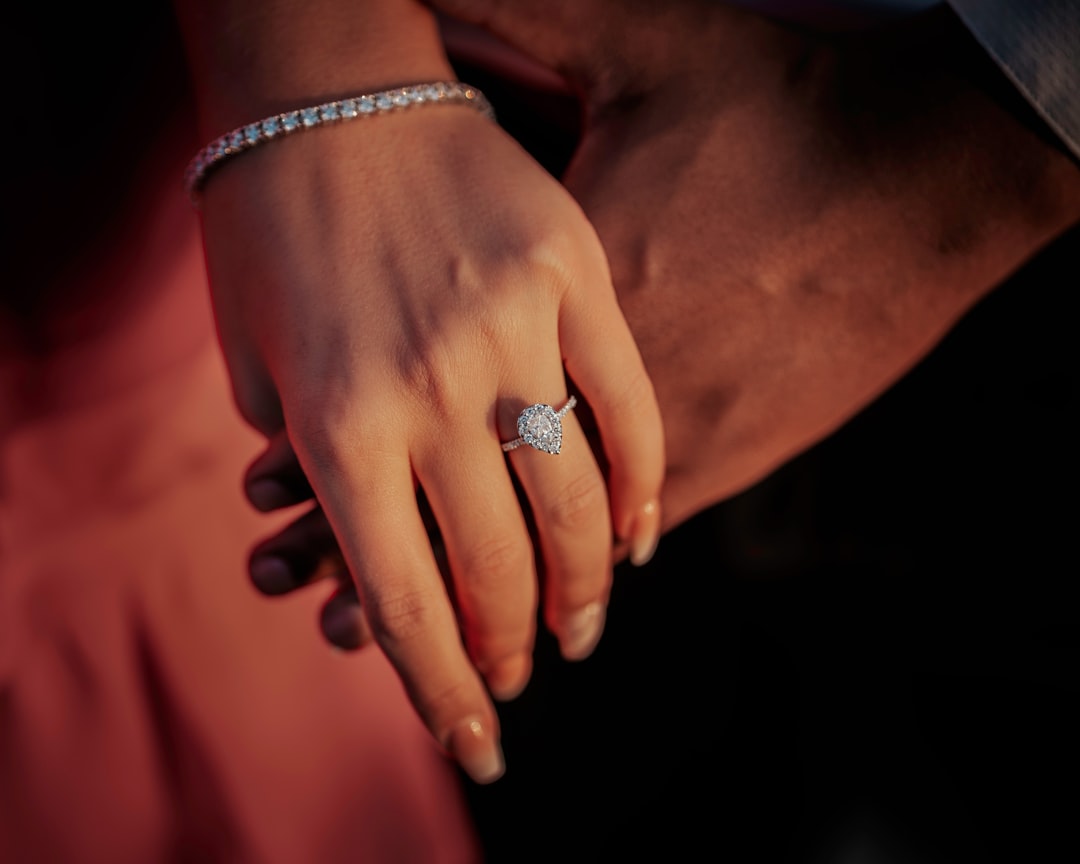
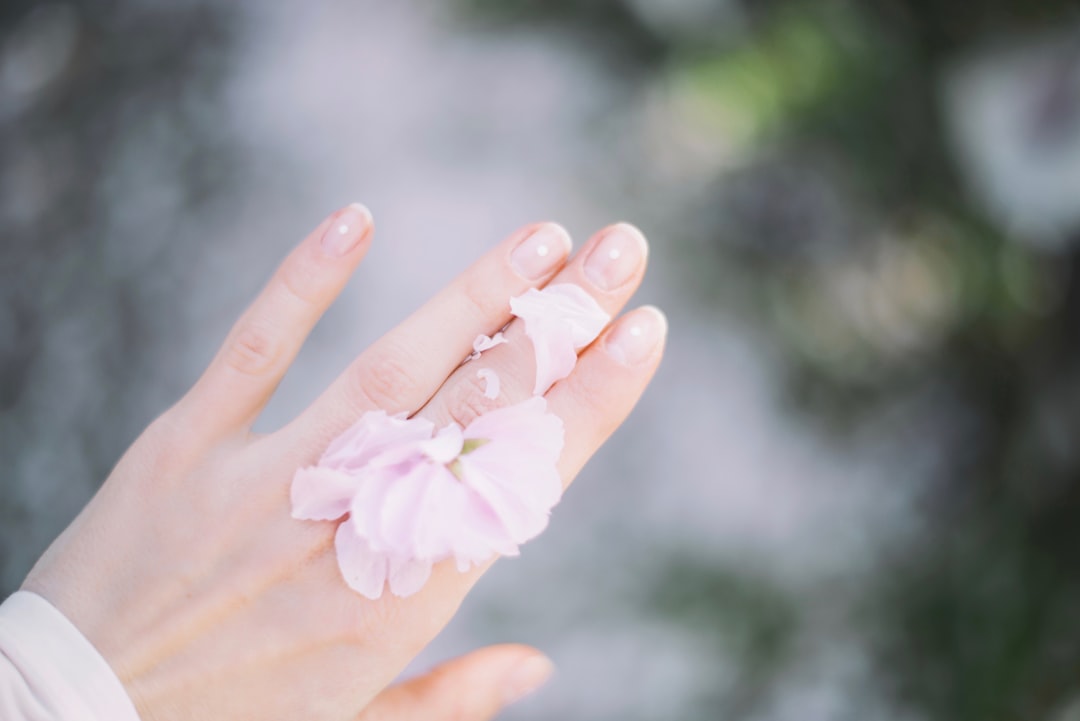
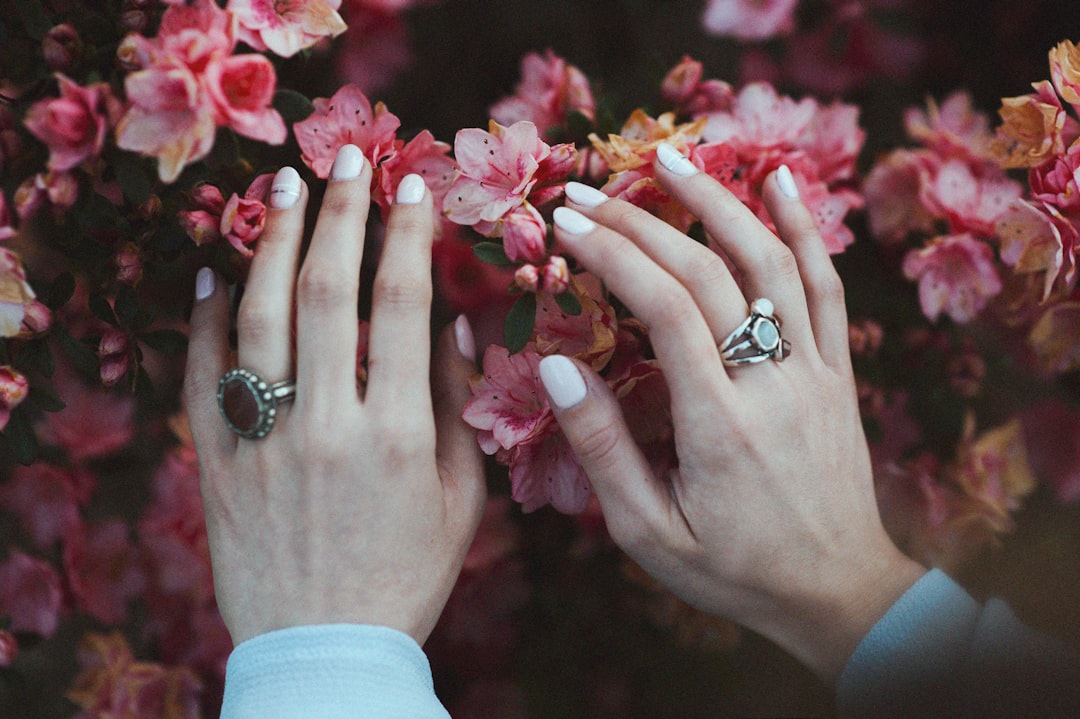
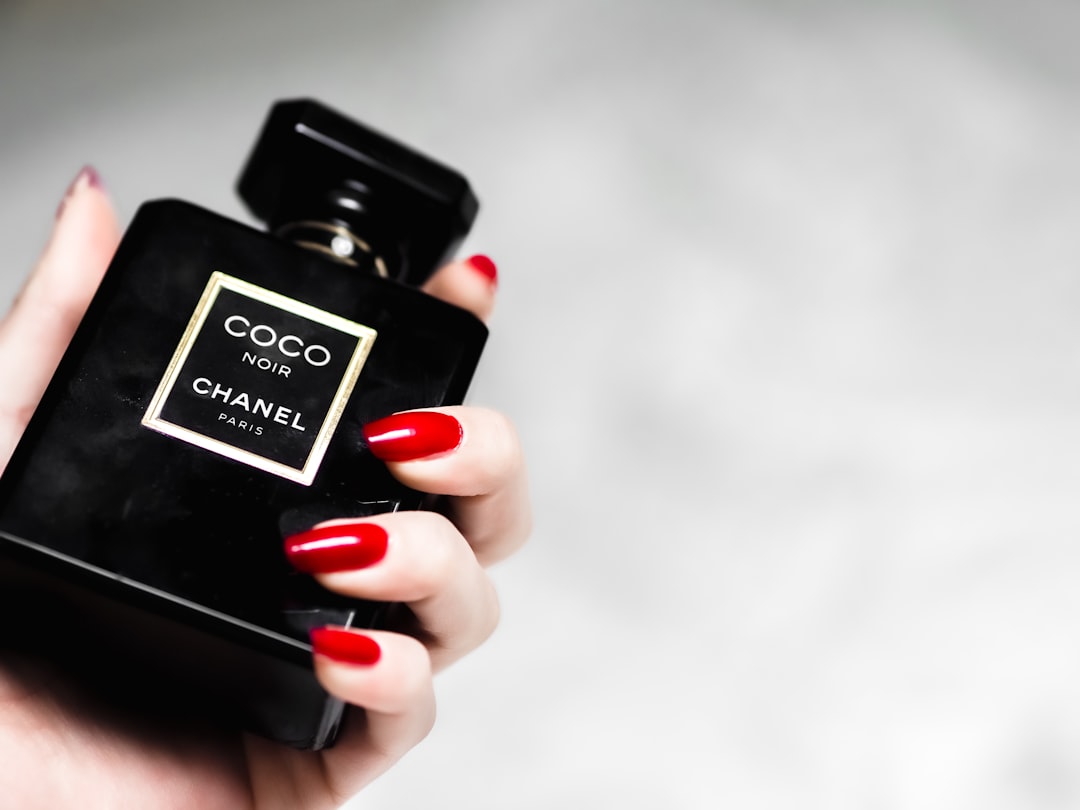
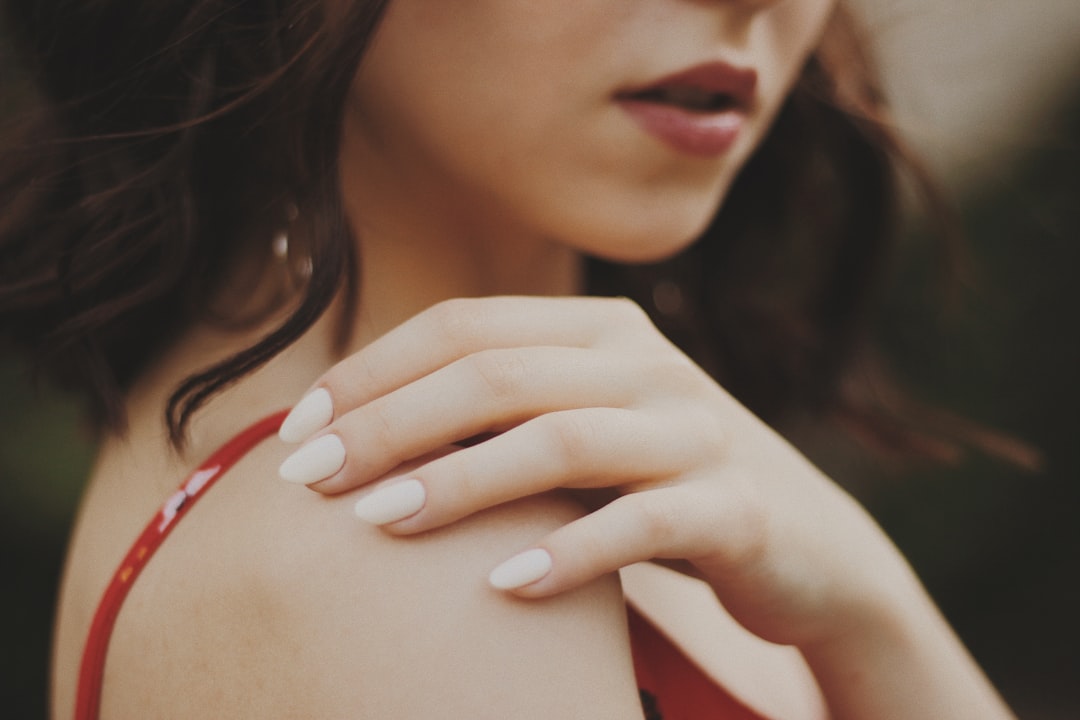
When we think of a perfect manicure, we are probably imagining glossy, flawless hands that look like they have never been seen before, in a magazine. But what about the nails? Do we really expect nails to be perfect? Nails are usually covered in products, so taking pictures is difficult. Even if you manage to get a picture with no product on, it may be very hard to see details. We want to offer some pointers on how to take clear, close-up, nail-perfect pictures.
Table of Contents
1. Start with a clean slate
Before you start taking pictures, take your time and get your nails in the right condition. It’s easy to go too far with polish, so do consider doing two coats of polish and a topcoat, but also make sure to wait at least 15 minutes between applying and painting the second coat. To avoid the polish running into the cuticles, use a cotton ball and apply clear base coat as well. After that, don’t rush when you apply your polish; let it dry completely before moving on to the next step.
2. Find a light that is low in contrast
Using a light that has high contrast means the colours and details of your nails stand out. This can result in a picture that looks overly colourful, so use a light with a lower contrast setting. If you have any problems getting your pictures looking good, try adjusting the contrast in software like Photoshop (or Gimp).
3. Get your hands clean
Wash your hands before taking pictures, because dirty hands will make it harder to see the nails in their true colours. Wash your hands in warm water and dry them thoroughly before taking the picture. You can use a cotton pad or brush to remove any excess dirt. It’s also a good idea to use an antiseptic wipe on any cuts or scrapes on your hands.
4. Don’t use a flash
Using a flash will wash out the colour of your nails and will make them look fake. Instead, use natural light. If you are having problems finding natural light, put a light behind you to act as a reflector. You could even use a lamp or desk lamp for this purpose.
5. Take a close-up shot
To make the picture more clear, take a close-up shot of the nail. To do this, move in close to the nail with the camera (at least a few centimetres away), so that it is close enough to get a clear picture. You can take several photos at different angles to get a range of close-ups.
6. Try out a different angle
Sometimes you can’t get a close up of your nails. This might be because the light is too bright or the camera lens is not wide enough. In this case, try taking the picture from another angle, so that the camera has a different perspective. It may also be easier to take pictures when your nails are wet, so have a quick soak and then dry your hands before taking the picture.
7. Keep things simple
Don’t use lots of different products on your nails, especially if you are taking pictures indoors, where there will be lots of distractions. You can add some natural shine by using nail polish remover and a cotton pad. You could also use some nail polish to add a little colour to the picture.
8. Use some good lighting

If you are taking photos indoors, use a light with a soft or even white light. This will mean the light is not harsh and will not wash out the colours of your nails.
9. Be patient
Taking photos is a long process, as you can see from our tips above. It may be tempting to give up halfway through, but keep going. If you find the picture you took is not clear enough, take another one.
10. Find your style
There are many different looks to be achieved by nail polish. Think about your favorite nail designs—from a french tip with thin lines to a glittery polish with large flakes—and how they match your personal style. You may want to try out a nail look with a unique texture, such as a gradient with matte topcoat or a polish that reflects light differently from the background. The best way to find your style is to experiment. Start with a single color, a simple shape, and a single type of polish—for example, matte or shiny, and choose a style that you think suits you.
11. Choose a background
Whether you are taking pictures of your hand, your feet, or your hands on a table, you need to make sure that there is something behind you to give your nail look depth and contrast. If you are in a studio, you can use a piece of white paper for this; if you’re in your house, just use any plain backdrop.
12. Add highlights
Highlights are a great way to add some visual interest to a picture. They are usually in the form of light-reflecting flecks, which give the nails a more 3D look. You can either add them to the tip or sides of the nails or put them in the center of the nails. If you’re taking pictures of your hands, try using a different polish for each nail; for example, a red nail for your thumb, a yellow for your ring finger, and a blue for your pinkie. You can also use a nail art pen to add some highlights to the tips.
13. Find your lighting
You may be used to shooting your nails with flash, but natural light is a great alternative. To get the most out of your pictures, you need to find a light that gives enough contrast to highlight your nails and a background that works well. Natural light often gives a bright look to your nails, so if you want to have a soft look, you might need to use a diffuser or use a flash with a diffuser.
14. Add shadow
Shadow is the perfect way to bring depth and contrast to a picture. It makes nails look more 3D and less flat. To achieve this, use a dark-colored nail polish that contrasts well with the rest of your nail. If you are taking pictures of your hands, try using the same color on your fingers and hands, and use a darker color for your thumb nail. You can also use an accent nail for the thumb nail.
15. Use a camera with a macro lens
The right camera is essential for good nail pictures. A macro lens will give you a close-up look at the detail of your nails. To get the best results, position your camera so that you are looking down on your hand when you take the picture.
16. Take a few pictures
Once you’ve found your style, set up the camera, take your pictures, and repeat until you are happy with the result. If you want to take more than one picture, do so in separate sets of pictures.
17. Choose a clean surface.
A clean desk or table top is best. But if that’s not possible, use newspaper (not glossy) or a clean white sheet. Avoid using carpets as the dyes from polish can get onto the fibres and make them dirty.
18. Get the light just right.
You need to have the light coming from behind you to catch the nail polish. If you are taking photos of hands on a table or desk, move the light source behind the hands. If you are taking photographs of hands by a window, put a light stand on the floor by the window.
19. Look for reflections.
The polish on your nails may cause the light to reflect off the polish onto your skin and make it look dull. Use a piece of dark paper to cover your hands or use an old T-shirt.
20. Make sure you’re steady.
A tripod is handy to hold your camera so that you don’t have to hold the camera, but if you do want to try holding the camera yourself, make sure you’re steady.
21.
If you’re going to do a manicure that involves using a glue top coat, wait until it’s completely dry before photographing.
22.
If you have a large space to photograph, put your hands close together.
23.
Look at the photos after they have been taken. If you see anything wrong with them, like a bit of polish showing through, then fix it before you post your photos on social media.
24. Make sure you are comfortable.
Ensure that you are sitting comfortably, so that your hands are at ease. If you don’t like a particular pose, be confident to change it. It is also important to avoid putting any pressure on your nails, as this may make the picture look crooked.
25. Make sure your nails are clean.
Dirty nails are never attractive, but they can also cause problems with the camera.
26. Test with a picture.
Before you take the photograph, be sure to position your hand with the nail facing upwards. Your nails will look more attractive if they are vertical rather than horizontal.
27. Use good lighting.
Avoid taking photos when there is glare or when your face is in shadow. Good light will enhance your features.
28. Experiment with different poses.
In addition to the vertical pose, try taking your hands up and down for variety. You can always change the pose as the mood takes you.
29. Don’t cut your nails.
If you have long nails that you want to keep, it is possible to use a thin nail file to achieve the shape you want. However, if you have short nails it is best to leave them as they are.
Conclusion
The most important thing to remember when taking a nail picture is that it’s a snapshot in time.
When it comes to nail pictures, the best way to make sure you’re getting a good shot is to use a tripod or a selfie stick.

