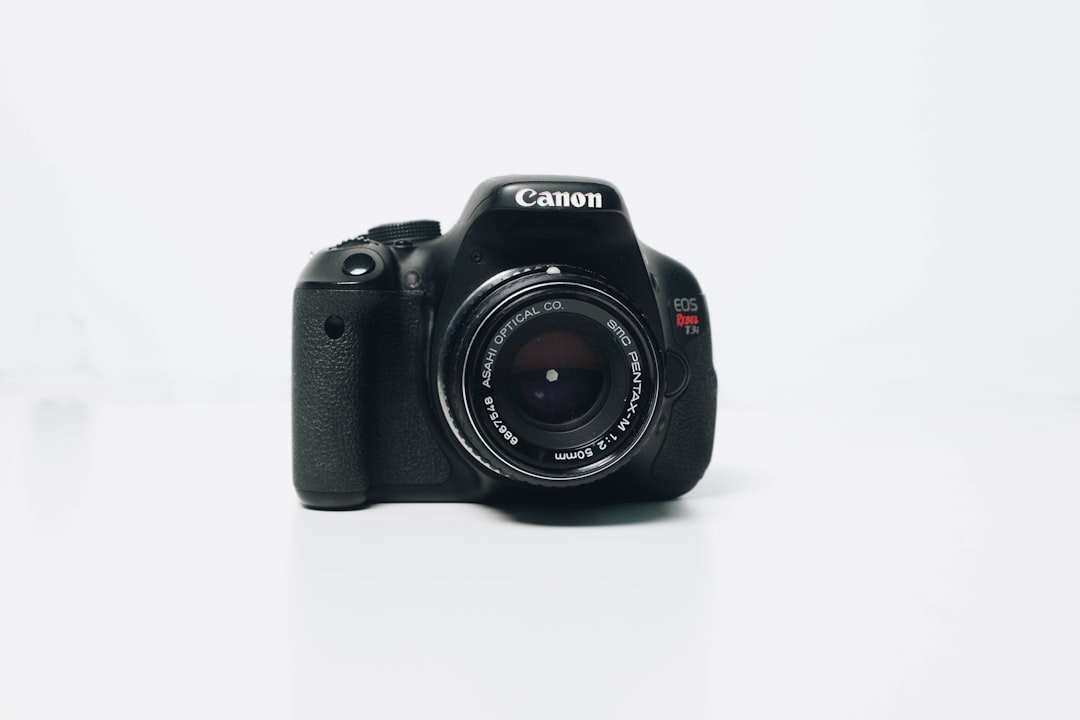
If you are a beginner photographer it can be confusing to figure out how a camera shutter works. Here is a simple explanation of the mechanics of a shutter. If you have problems understanding this, do refer to the manual.
Camera Shutter
A camera shutter is a mechanical device that controls how much light enters the camera. When you press the button to take a picture, the shutter closes down. This cuts off the light coming into the lens and stops the image from being exposed on the film.
The shutter is made up of two components: a front element and a rear element. The front element (also known as the diaphragm) is a piece of glass or plastic that covers the camera lens. When you press the button, the front element slides across the lens. The part that moves across the lens is called the shutter curtain. The rear element is fixed in position and usually consists of a metal plate. As the front element moves across the rear element it stops the light entering the lens.
Tthe shutter can also consist of a ‘blade’ or a metal strip that can open and close the aperture of the lens. This is often referred to as the shutter speed.
When you press the button again to take another picture, the front element of the shutter retracts and the light starts entering the lens again. You have captured a single image.
As you can see, there is a lot going on in a camera shutter, but it works fairly simply. However, you need to pay attention to some details to make sure your photographs are properly exposed.
How a Camera Shutter works?
Camera shutter works through a process called exposure. In simple terms this means capturing light in a scene and then converting it to a permanent record (in other words, taking a picture).
The exposure occurs in two stages. The first stage is called aperture setting and is used to control the amount of light entering the camera. Aperture setting is usually indicated by a number in the viewfinder, such as f/2.8, f/16, etc. This number determines how open the lens is to allow light to enter the camera. The larger the number, the more open the lens. The second stage is called shutter speed and is used to control the length of time the shutter remains open. The shorter the time, the less light entering the camera. Shutter speed is usually indicated by a second number, such as 1/30 sec, 1/60 sec, 1/125 sec, etc. This number determines the length of time the shutter remains open.
Aperture and shutter speed work together to form the basis of the exposure. By choosing a combination of these two numbers you can control the amount of light entering the camera and the length of time the shutter remains open. Together they determine the amount of light that is converted to a permanent record of the scene.
An easy way to understand the effect of different combinations of aperture and shutter speed is to practice exposure by hand using the following technique. Place a card, piece of paper, or any other white surface in front of a window in your home and take a picture. Repeat this a few times. Now move to a nearby mirror and place a sheet of white paper in front of it. Then set the camera and use a slow shutter speed such as 1/20 sec. Once the camera has taken the picture press the shutter button and observe the image you see on the screen. The picture you have taken will be dark due to the slow shutter speed. However, if you now quickly move the sheet of white paper to one side, you will notice that the image on the screen is lighter. This is because you have allowed more light to enter the camera as the shutter speed has increased and the aperture has been opened.
Next place a sheet of white paper in front of the mirror again. This time, set the camera and use a fast shutter speed such as 1/1000 sec. Now the image on the screen will be brighter than the first picture. This is because you have opened the aperture and closed the shutter, which prevents light entering the camera. If you now move the sheet of white paper to one side of the mirror you will see that the image on the screen has become darker. This is because you have allowed more light to enter the camera as the aperture is closed and the shutter remains open.
In order to take a good photograph, it’s important to select the correct combination of aperture and shutter speed. An easy way to do this is to set the camera to auto and make the aperture setting and shutter speed automatic. As you know, the camera will choose the correct combination automatically. However, if you have difficulty selecting the correct combination you may find it easier to experiment using the method described above. It’s a good idea to practise this technique in advance, outside in the daylight, to get used to how the camera works.
Camera shutter settings are not affected by the time of day or weather conditions. They only respond to the brightness of the scene. If the room you are taking your photograph in is not very bright you may need to increase the sensitivity of the camera, by changing its ISO setting. This is done in the same way as increasing the ISO setting on a mobile phone camera. To change the ISO setting, turn the camera’s switch to Auto and then scroll through the available options to ISO 200. Set the camera to the desired number and press the Shutter button.
