Water Photography Tips
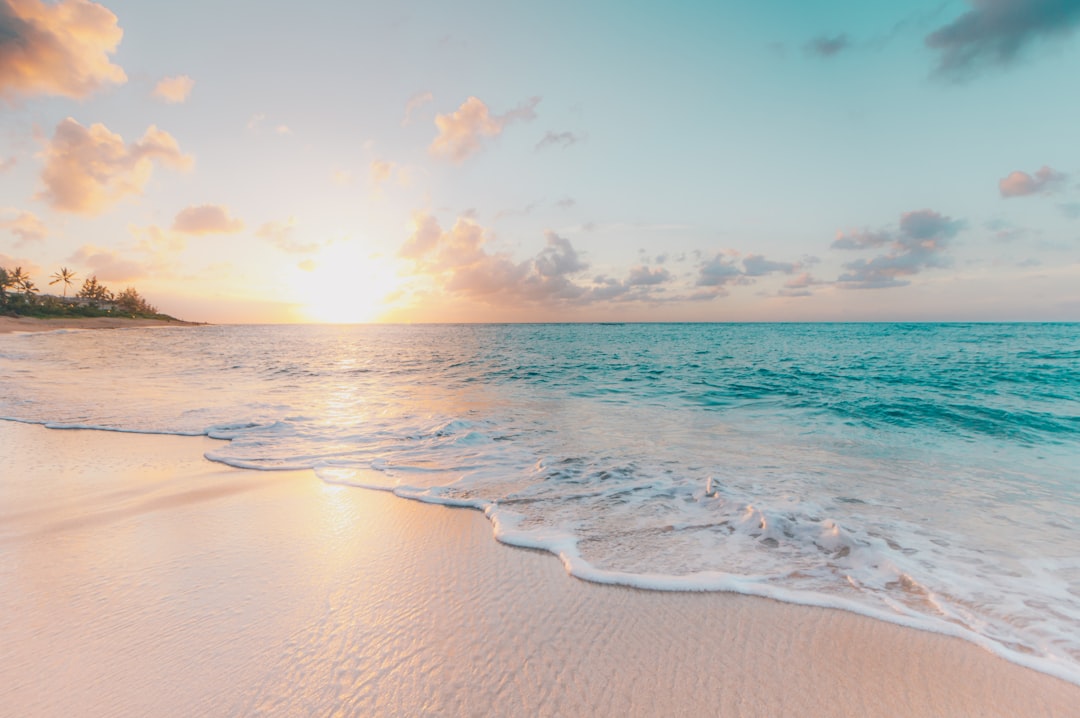
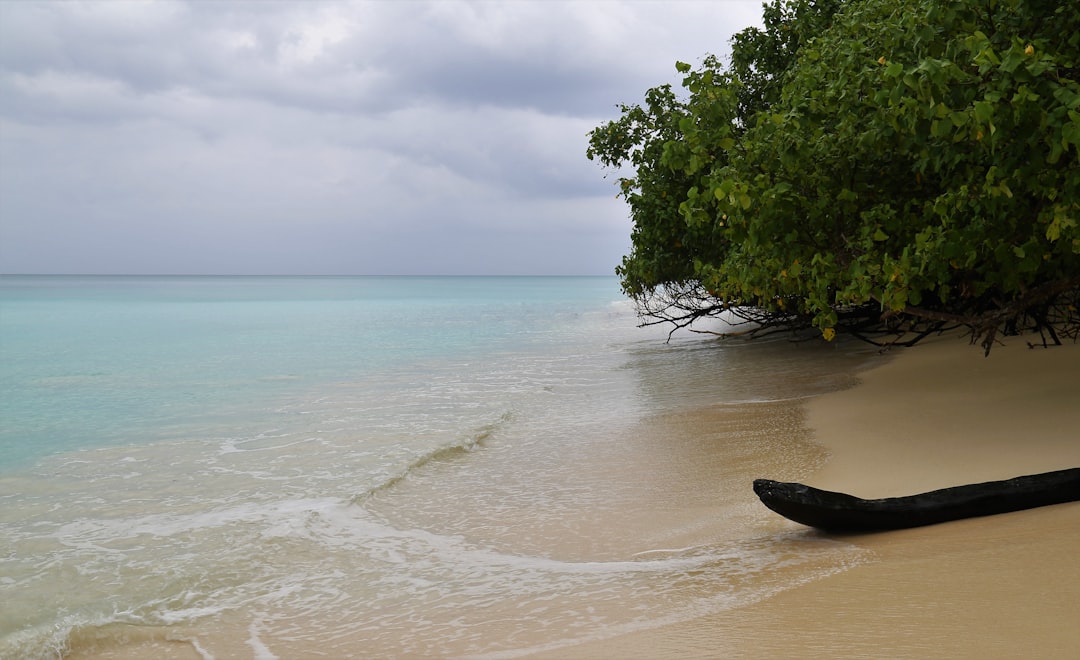
Water photography is one of the most popular subjects of photography for a reason. You can capture images that evoke emotions and feelings; water is beautiful and unique and there is nothing quite like the experience of taking a photo in front of the sea or river. And because the subject is so varied, you can use different techniques and ideas to create great images.
If you want to capture a wide variety of photographic opportunities, consider using a large aperture (a setting of the lens that makes the camera’s lens open wider and lets in more light) and then close down the aperture to narrow the depth of field (the area within which focus is sharp). This means that everything in the image will be in focus, but only those parts will look sharp.
You can also use an ultra wide-angle lens (also called a fish-eye lens), which gives you a very wide perspective. These lenses work particularly well when you want to capture a feeling of depth and distance, as the wide angle creates a distortion effect, making the horizon line appear higher.
One of the most important things when you are capturing underwater images is to ensure that the camera has the correct level of exposure. Most cameras have an auto-exposure setting, which means that the camera will work out the correct amount of light for the subject automatically. But if you want to get a perfect photograph you need to set the correct exposure manually.
In general, you should choose a shutter speed and aperture that allow the amount of light into the camera to match the brightness of the scene. This means that if it’s bright outside, you should use a faster shutter speed to reduce the effects of motion blur. Conversely, if it’s dark outside you may need to use a slower shutter speed to prevent blurring of moving water. If you are unsure, take a series of images with different settings to see which works best.
You can also use a polarising filter to improve the quality of the image. This reduces reflections in the water and makes colours more vibrant.
You can take photos of a scene from different angles by tilting the camera sideways or backwards. Look for a point where there is a gap between objects that you can step across to shoot from another side. You can also shoot underwater scenes from above using a technique called ‘underwater mirror’.
If you want to take photos of animals underwater, you may need a waterproof housing (sometimes called a dry box) to protect the camera from the water. Alternatively, you can place the camera in a small plastic bag. The bag will protect the camera from the shock of being immersed in water.
When you are shooting underwater, you may find it helpful to wear a mask and snorkel. This will make it easier to breathe underwater, making it possible to hold your breath longer. It’s a good idea to practice breathing in a mask beforehand, to get used to the feeling of breathing underwater.
When you are underwater, make sure that the camera’s manual settings are set to neutral. This means that the camera will not automatically adjust the exposure settings. If you accidentally turn the camera’s settings to portrait or landscape, you can correct them afterwards.
When you are underwater, it is a good idea to use a self-timer. This will make it much easier to take the perfect shot. A self-timer is usually marked with a little picture of a camera, and it is activated when you press the button on the top of the camera. You can also buy a timer that fits into your camera.
While underwater, you can use a wide-angle zoom lens to get an overview of the scene.
Waterfall Photography Tips
If you want to capture the magnificent beauty of a waterfall, be prepared to invest in equipment. Here are our top five tips for photographing waterfalls.
Take your time.
Waterfalls can look different depending on the time of day and the weather. They’re also prone to changing their appearance quickly, so you should set yourself goals. For example, if you want to capture the moment the sun hits a waterfall, set your camera to manual mode, select the lowest ISO and set a long exposure of 1/4 sec. If you want to shoot a waterfall at its brightest, set the camera to automatic mode, select the highest ISO and set a short exposure of 1/250 sec. Be patient and take many shots until you find the one you’re after.
The best light.
Waterfalls have great opportunities for light – and not just during the day. The trick is to find a way of using natural light, whether it’s coming from the side, above or below. For example, to create a moody shot of a waterfall, set your camera to manual mode, select the lowest ISO and set a long exposure of 1/20 sec. To create a dramatic shot of the sunlight breaking through the clouds, use a tripod and shoot in RAW format to preserve more detail.
Set up a tripod.
Waterfalls are prone to movement and the slightest breeze can cause a ripple. If you’re shooting at slower shutter speeds, it’s vital to set your camera on a tripod. The best place to position the tripod is either beside the water or on the edge of a cliff. A sturdy rock base is also useful for stability.
The right focal length.
When you’re photographing waterfalls, it’s essential to choose a focal length that will allow you to include the entire length of the cascade. Use a wide angle lens (50mm-200mm) to capture the full expanse of the water and a zoom lens (70-200mm) to include the surrounding landscape. Don’t forget to adjust the camera settings to suit your specific requirements – for example, to set your aperture to f/5.6 when shooting in low light.
A steady hand.
Because waterfalls are prone to movement, you need to ensure your camera settings are stable, including the shutter speed. Set the camera to Manual Mode, select the highest ISO setting and set a slow shutter speed of 1/10 sec to avoid blurring. If you’re photographing the sunlight breaking through the clouds, use the lowest ISO setting and set a shutter speed of 1/250 sec.
Use natural light.
Try to capture a waterfall in a natural light setting. The best lighting is from the sun, so avoid using flash. If your camera does have a flash feature, be careful not to turn it on. Light levels vary greatly throughout the day and the result can be disastrous if your image was taken with poor lighting.
Choose a low ISO.
The ISO setting on your camera controls how sensitive the camera is to light. By choosing a low ISO, you will be able to shoot a darker scene without overexposing the picture. If you don’t know what the right ISO setting is, get the camera out and take some test shots of your waterfall. You will soon find out what the best setting for you is.
Use a wide aperture.
A wider aperture will produce a shallower depth of field, which will blur out the foreground and background and allow you to include a lot more of your waterfall in the frame. It will also help to prevent overexposure. A large aperture also allows you to use a slower shutter speed to stop the action of the waterfall. You can use this effect for a blurred background or a movement within the water.
Use a tripod.
Tripods are great for taking pictures of fast moving subjects and are a must for capturing the action of a waterfall. If you use a tripod, make sure that it can accommodate a wide lens. Your tripod should allow you to get a shot that includes as much of the waterfall as possible. When you take a photo of a waterfall, make sure you use a zoom that will allow you to get a wider view.
Be patient.
The final tip we will look at is patience. Sometimes you will get a lot of practice before you get the shot you want. It can take weeks, months, years, or even your whole life to master a particular technique. Don’t give up too early if your results are not coming out the way you want. With persistence and practice, you will get there eventually.


