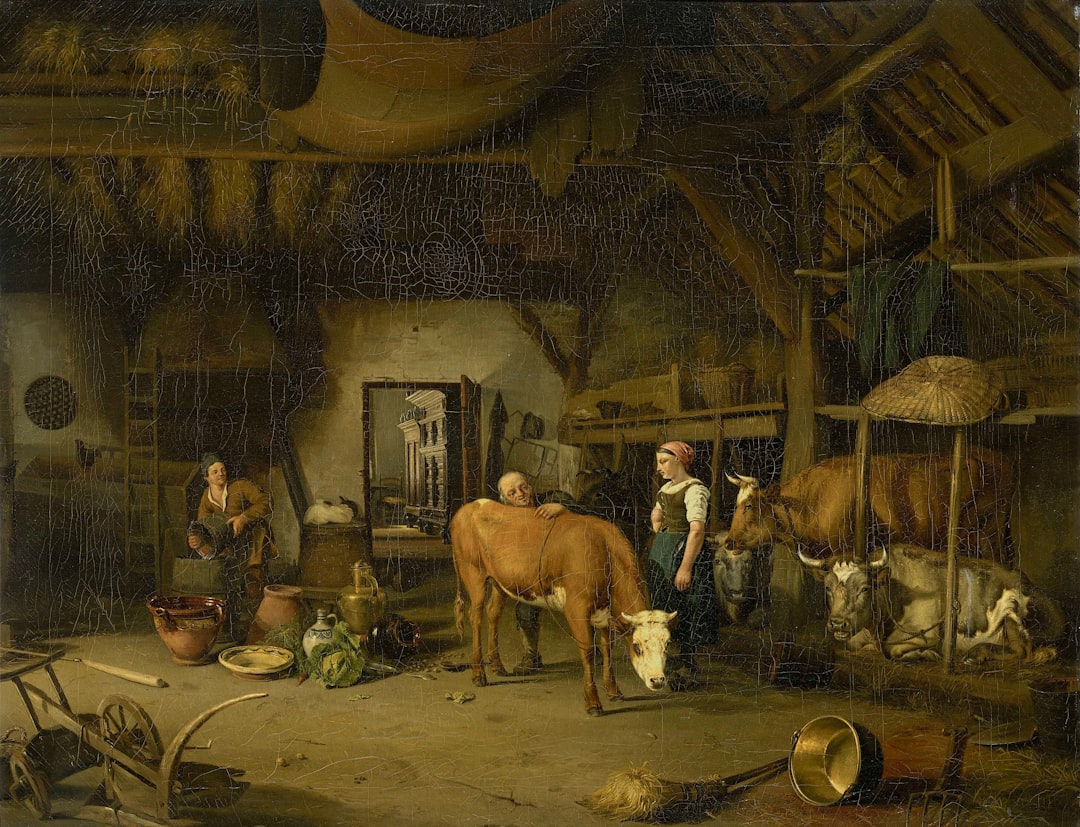
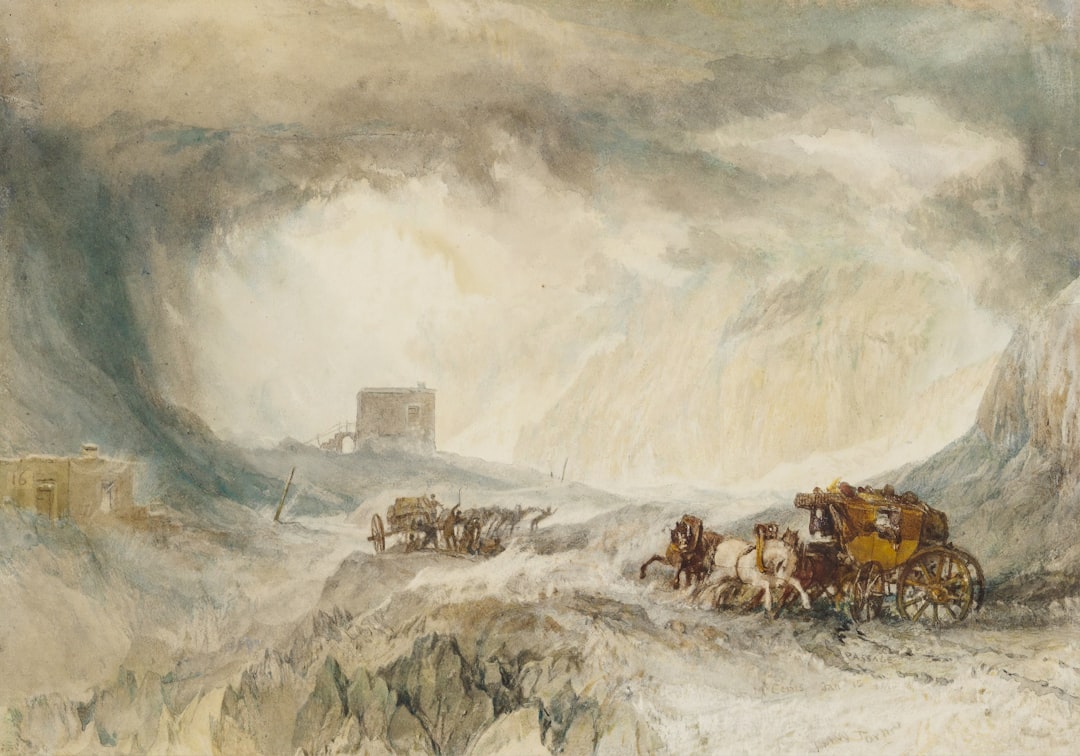
You probably love art, perhaps in particular paintings. But have you ever wondered what goes into making that art? If so, you might be wondering how you can find out more about the process, the materials, and how the different artists work. This is where learning how to photograph artwork comes in. Here are some tips on how to capture beautiful images of your favorite artworks.
Table of Contents
What’s an image?
An image is a two-dimensional picture that captures something in the real world in such a way that the viewer understands the scene, even if it’s just a part of it. For example, a photograph of a person usually captures only a part of the person and the rest of his or her body, which is hidden behind the camera.
Why should I take photos of my art?
This is a really great question! There are many reasons why you should take photos of your artwork. The most obvious one is that they are fun to do. You will probably enjoy taking photos and your pictures will look much better than those you take with your phone. In fact, the quality of the images will be so much better that you may want to put them on display alongside your work. Another reason is that your photos are likely to have a greater effect than any written description. If you show a photo, your viewers will be able to see and judge the work of art as well as understand how it came to be. They’ll also appreciate that the artist worked hard to make it!
What kind of camera should I use?
If you’re planning to photograph artwork, you’ll need a camera that has good resolution. The best cameras for this job are DSLR (Digital Single Lens Reflex) or Mirrorless cameras. These are the most popular types of cameras because they give a wider choice of lenses than point-and-shoot cameras. It’s best to get a camera with manual settings; it’s more fun to be able to change the settings yourself rather than rely on automatic settings.
What about lighting?
Lighting is important when photographing artwork. If you don’t light the scene correctly, you may get an image that looks flat or even out of focus. You can light your subject from the front, the back, or above or below it. When you light from above, there will often be a dark area in the middle of your picture, known as a ‘hollow’. This is caused by light not hitting your subject at exactly the right angle. To avoid this problem, try lighting from below. You can use reflectors and soft boxes to create soft light, but you’ll also need to use a flash to add more light to your subject and prevent the ‘hollow’ effect.
How do I photograph my artwork?
If you’re new to taking photos of artwork, you’ll need to practice! Most cameras have a manual mode. Once you’ve taken a few photos, you can adjust the settings for each image until you get something that you like.
What settings should I use?
You might choose to use aperture (A), shutter speed (S) and ISO (I) settings. A is a measurement of how much light your camera allows into the lens; a higher number means less light will enter. The shutter speed is how long the camera will allow you to take a photo before it automatically closes again. ISO is a measure of the sensitivity of your camera’s sensor. It determines how sensitive the sensor is to light, so a lower number will give more accurate pictures.
Aperture settings are important because they determine the amount of blur in your picture. You can change the setting from wide-angle to normal or telephoto lenses. For example, if you’re photographing people, you may want to use the widest angle setting to show them in their environment. You may also want to use a telephoto setting when you’re photographing landscapes and buildings.
How do I use manual settings?
First, set your camera to manual mode. Then, set the aperture setting using the dial on the side of the lens. Next, select the shutter speed from the dial on the back of the camera. Finally, choose the ISO setting with the button on the back of the camera. This will give you complete control over the image quality, so it’s great for practicing. If you’re still not sure what settings to use, turn on your camera’s Live View function. You can then see exactly how different settings look before you take the photo.
Artists and photographers use different ways to photograph artwork. When taking a picture of a painting or other work of art, you need to have some understanding about what works and what doesn’t in order to get good results. For example, if you are photographing a landscape, you will need to know that the composition needs to be carefully planned before you take the picture. In this case, the artist has created the perfect setting for a picture. However, if you are photographing a sculpture, you need to understand that the sculptor has had to create something with a certain appearance and then make it look natural by the light falling on it. You can also get artistic effects from using light, which is called ‘artistic lighting’.
Your camera’s settings will determine how well you can capture the essence of an artwork.
If you are taking a photograph of a landscape, you will need to know that the composition needs to be carefully planned before you take the picture.
Digital cameras use settings for everything from taking the picture to adjusting the exposure, which means determining the amount of light falling on the subject. You should use these settings when you want to make the most of your camera.
Exposure is the amount of light that falls on your subject and how dark or light the photo will appear. When you set up your camera’s settings, you can use a few settings to control the exposure, including the f-stop, aperture (also known as the opening), shutter speed, and ISO sensitivity.
F-stop is an important setting to understand because it controls the amount of light entering the lens. The higher the f-stop number, the smaller the opening of the lens. For example, a setting of 1/60 sec. means that the camera is letting in only 60% of the light entering the lens. A setting of 5/1 means that the camera is letting in only 1% of the light entering the lens. This means that if you want a picture with a darker background, you should select a higher f-stop setting. If you want a brighter background, then you should select a lower f-stop setting.
The aperture setting controls how much light enters the lens. The lower the f-stop number, the larger the opening of the lens. For example, an aperture setting of f/2.0 means that the lens has a large opening of 2 inches.
The shutter speed is the time the camera takes to allow light to fall on the subject. You can set your camera to use a continuous shutter speed to take a photo without moving the camera, or you can set it to use a ‘normal’ shutter speed (1/30 sec., 1/60 sec., 1/250 sec., or 1/500 sec.). When you are photographing a fast-moving object such as a sports event, you will need to choose a faster shutter speed to freeze the action. A slow shutter speed will not give the right effect when you photograph a waterfall or a fast-moving car. If you want to photograph something that moves quickly, such as a person running, you can use a shutter speed of 1/1000 sec., 1/2000 sec., 1/4000 sec., or even 1/8000 sec. However, if you want a slow-motion effect, then you can use a slower shutter speed, such as 1/8 sec., 1/15 sec., 1/30 sec., or 1/45 sec.
The ISO sensitivity setting affects the quality of the picture. When you select a low ISO setting, you get a better image, but the picture will be grainy. For most people, this will not matter much, but for a portrait photographer, it can make a difference. The higher the ISO sensitivity setting, the more light you need to take the picture. You can adjust the settings on your camera’s LCD monitor or in its menu system to determine what setting will work best with your camera and subject.
If you are taking a photograph of a sculpture, you need to understand that the sculptor has had to create something with a certain appearance and then make it look natural by the light falling on it.
If you are taking a photograph of a landscape, you will need to know that the composition needs to be carefully planned before you take the picture.
Shutter speed is the time the camera takes to allow light to fall on the subject. A slow shutter speed will not give the right effect when you photograph a waterfall or a fast-moving car.
If you are photographing a fast-moving object such as a sports event, you will need to choose a faster shutter speed to freeze the action.
F-stop is an important setting to understand because it controls the amount of light entering the lens.
ISO sensitivity setting affects the quality of the picture.
Artwork Photography Ideas


Conclusion
Photographing artwork is not easy, but it’s an important skill to have. It’s one of the best ways to make money online if you’re passionate about your work and want to share it with the world.
However, if you want to be taken seriously as a photographer, you should know that it takes time to develop your skills. This includes learning how to use different settings on your camera, taking classes, and practicing until you get comfortable with the basics.
If you’re serious about this, I recommend starting out by buying a photography book or two and reading them cover to cover. After that, it’s time to start experimenting with different techniques.

