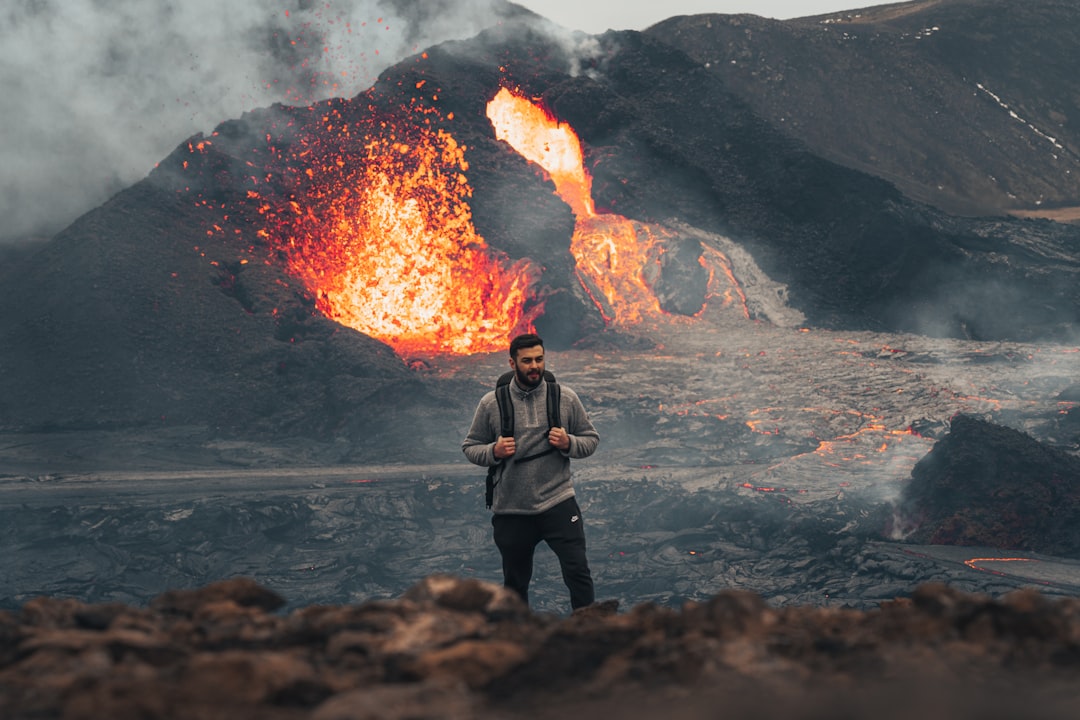
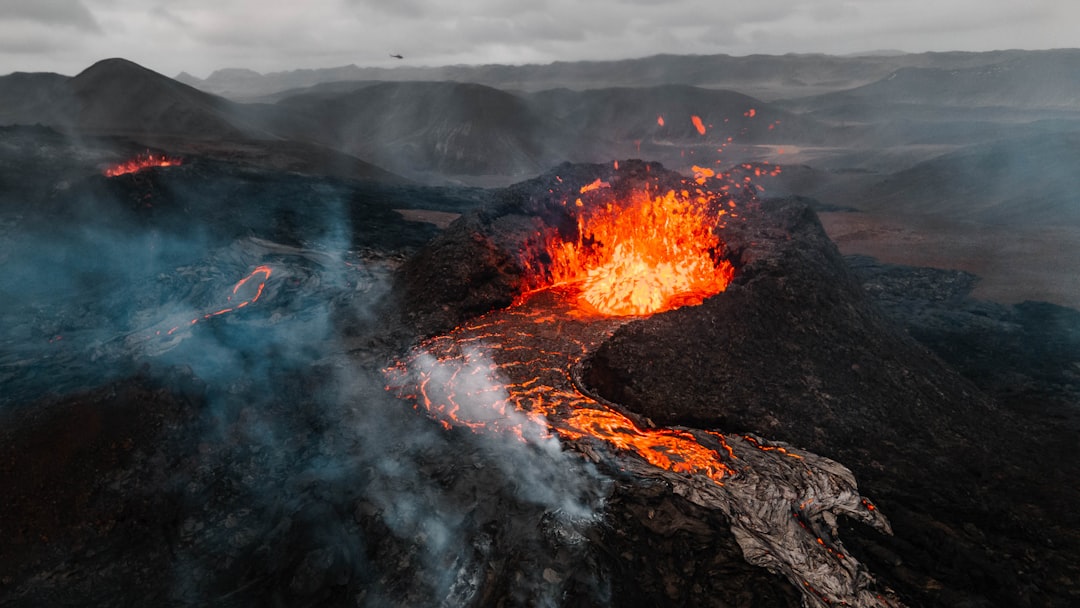
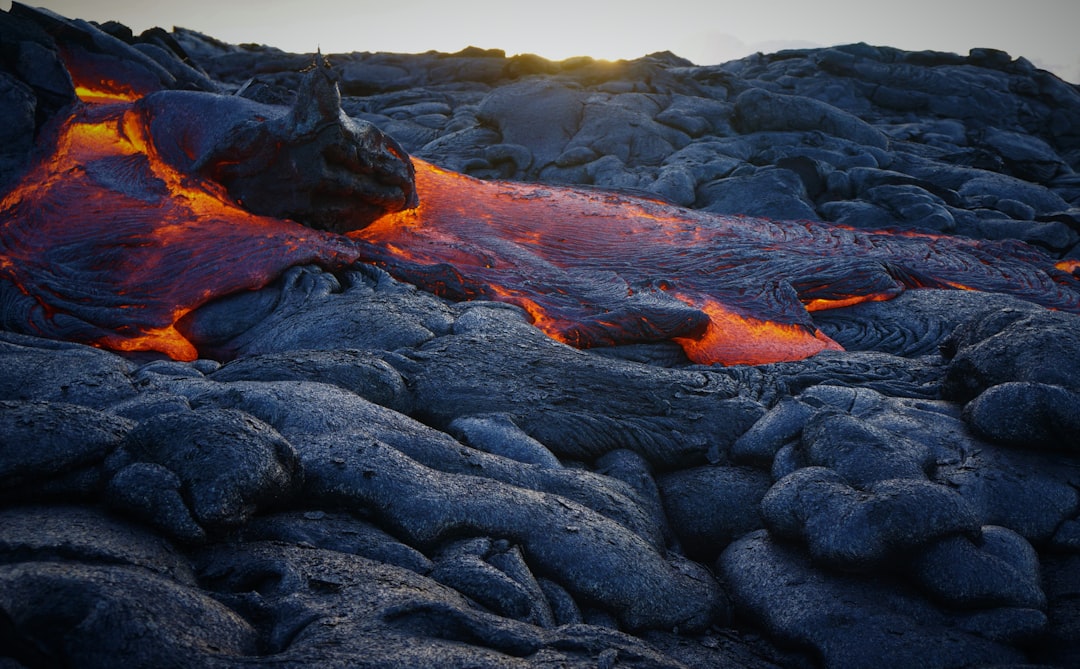
Volcanoes and lava are fascinating natural phenomena that can make amazing photographs. They are unpredictable and can erupt unexpectedly. If you want to capture volcanic activity it’s best to plan ahead, keep a watchful eye on the sky and always be prepared to run for cover.
Shooting volcanoes and lava requires a great deal of patience and planning. The safest place to photograph these phenomena is far away from the activity. You can use a tripod and camera to achieve the best results. The key is to use a lens that is fast enough to catch the fleeting eruptions but not so wide angle that the scene becomes blurred. A telephoto lens (300mm-600mm) works well. To increase the odds of capturing interesting images, focus on the movement of the molten lava rather than the solid rock that forms the volcano. For more information see our article, How to Photograph Volcanoes and Lava.
Table of Contents
Stay calm.
As soon as the volcano is active, you need to decide on a suitable location. There are few places where you are safe to stand still, and many where it’s impossible to do so. It’s vital to work out in advance exactly where you can safely stand. You should take into account the safety of nearby communities and your physical state, as well as that of the volcano. It is wise to keep away from any areas where there is a risk of flash-boiling.
If you are near an eruption point, make sure your tripod is firmly secured. Take a number of spare batteries and be prepared to run for shelter at a moment’s notice. It’s important to be aware of the weather conditions – it’s a good idea to carry a jacket in case you find yourself standing outside in a strong wind or rain. If you have an umbrella it’s helpful to bring it along.
The safest place to photograph a volcano or lava flow is from a distance, well away from the action. It’s a good idea to plan your trip in advance. Try to choose a location that’s both close to the phenomenon and safe for you. If you’re shooting lava, keep in mind that you may need to retreat quickly, so it’s best to avoid areas that will be too hot to stand in. You might want to consider photographing the phenomenon in the early morning, before it has time to build up steam and when it is less likely to erupt. It’s a good idea to check out the area beforehand, to make sure it’s suitable for your planned shoot.
When setting up your equipment, make sure it’s stable and that it won’t be damaged by the intense heat. Set up your tripod far enough from the action so that it won’t be disturbed. Choose your position carefully. You can use a tripod, but a handheld camera will give a better shot. Make sure you’re using the correct settings for your lens, focusing on the lava and not the solid rock.
Use a tripod to stabilize your camera and keep it steady, as you won’t be able to change your position easily. It’s useful to have two cameras, one to hand and one to use as a backup.
You may want to take extra batteries, as the heat of the lava can drain them quickly. If you’re shooting in cold or damp weather, bring a small fire blanket. You can also use a tripod that’s designed specifically for lava photography, which will make your life easier.
Try to get a clear view of the eruption, without being too close. Try to shoot from a low angle, at around 20 degrees from the surface. This will allow you to pick out the movement of the lava as it cascades and flows, rather than the solid rock that forms the volcano. It’s important to work quickly, as the eruption could end any second. It’s a good idea to test your tripod and camera thoroughly before taking them out.
Learn to accept your situation.
You will experience some ups and downs during your volcano and lava photography. Be prepared for disappointment, which is a common part of the process. It’s not easy to capture a perfect shot and if you’re unlucky, you might get burned by the lava. The only way to overcome these obstacles is to practice and keep working at your craft.
Remember that the volcano and the lava are a part of nature and you are just a visitor to the area. You will never capture every moment, and that’s perfectly normal. Your best bet is to remain patient and try again later.
Do your homework.
It’s important to work out how you will get back safely to your car. It’s advisable to have a local guide with you, who knows the best route and can help in an emergency. Make sure you know where the nearest hospital is, as well as the emergency numbers, in case of an accident.
Think about the weather.
In winter, the air temperature will be around 0°C, and it may be snowing or raining. You should be prepared for this, as it’s unlikely that you will be able to warm up your tripod in the middle of a blizzard. When the weather is fine, make sure you pack your coat, waterproof boots and gloves. It’s important to keep your lenses covered, even if it’s cloudy.
If you’re using a long focal length lens (say 300mm-600mm), it’s a good idea to cover it with a lens cap. This will stop dust from settling on the glass and it will protect the front element from the effects of sunlight.
Be aware of wind and rain.
Rain will ruin your shot, so make sure you keep your tripod dry and have a weatherproof camera bag. Wind can disturb your shots, and if the ground is frozen, it will be hard to get a firm footing. If you’re planning to shoot the eruption on a cold, wet day, it’s essential that you wear rubber boots and gloves, and keep an eye on your camera for any potential damage.


