The night sky is a fascinating and mysterious place. Sometimes, you need to stare into the night sky for long periods of time before something beautiful happens. Other times, it’s just there waiting for you to capture it with your camera. Whether you are looking for inspiration or want to take some stunning photographs of night skies yourself, this guide will help get you started!
Table of Contents
What is night sky photography?
Night-sky photography is the new big thing, and people are taking their cameras into dark corners of forests or out to sea. The internet – mainly Instagram – has some beautiful images for you to take in with your morning cup of coffee, like star fields stretching across a sky littered by thousands upon thousand stars glittering brightly against its black canvas background.
What night sky photography is not, however, are the distant stars that can be seen with a naked eye from within an urban environment. Night-sky photographers use long exposures and any number of other tricks to reveal night skies in all their glory – which often require them being away from city lights.
The night sky has always been a vast and beautiful, but now it’s also the subject of recent fascination. The reason? Modern cameras that can capture galaxies in vivid detail have made capturing stunning shots an easy process for anyone who cares to try!
Things to prepare for your night-sky photography
If you are looking for a big sky in the night, invest in a wide-angle lens. The best camera to use is one with an inch sensor or DSLR that can adjust ISO and aperture as well as shutter speed. This will lead to better results when trying capture the Milky Way at night!
You can use night-sky photography skills to capture the night sky and its beauty. The first step is understanding how your exposure affects night sky photography so you get clear, sharp images that are not blurry or out of focus. Night time exposures will always be longer than day shots because there isn’t as much light around at night. You should balance out exposure times in order for bright areas don’t blow out completely while those more shadowy parts remain visible; it would also be wise to avoid shooting during times when moonlight causes light pollution across natural night views (such as near full moons) or if you need a tripod due to low shutter speeds!
In order to get long exposures, it is important that you use a tripod and remote shutter-release cable. The latter should be set up in advance so the camera does not move when taking an image.
For those interested in night photography, it’s worth investing in a torch with red light mode. This will help you preserve your night vision and is also part of knowing how to properly manipulate the camera by touch instead of sight; an easy way for beginners to learn this skill is switching off all lights at home so that they can set up their cameras without any assistance from sights or sounds. It’s important for photographers who take pictures late into the evening hours (or even during twilight) to be prepared beforehand as well – especially if shooting outside! Make sure not only yourself but things around you are wrapped up warmly before going out on shoots and taking hot drinks when necessary too.
Key principles: start with a reasonable aperture (such as f/11 if shooting at night) and remember there’s less available light! Use shorter focal lengths such as wide angles which will give you higher resolution images of stars without using too much ISO sensitivity; alternatively, use a telescope or telephoto lenses to get closer shots of night sky subjects.
– Be aware of the moon phases! There’s no point taking night sky pictures if it will be too bright due to the full brightness of the moon at a certain phase. It’s not just about getting out for night photography, but also being mindful in general – and making sure you are able to take care of yourself with these considerations while shooting night skies.
A good place is critical for night photography
Since night sky photography is more than just getting out and taking a quick snap, you want the conditions to be perfect. You’ll need to find an area that has natural sunlight without all of those pesky distractions like people or lights causing glare on your shot. It’s not easy finding such a place but it will make night shooting much easier!
It is essential to plan ahead for night sky photography. One of the most important considerations in planning a shoot at this time, is timing. The perfect location will have no moonlight between dusk and midnight. I recommend shooting one week before new moon or three days after it sets below your horizon line, as significant light pollution can result from any other times during these periods if there was some lingering sunlight near the ground which would then bounce off high clouds onto nearby surfaces such as buildings and trees. Once you’re in an optimal dark-moonless place with spectacular views that are clear without obstruction by natural or artificial lights at precisely when they should be unobscured (dusk), consider composition; just like any landscape scene shot under regular circumstances, night sky photography is not just about the stars.
– Take care to avoid shooting directly into oncoming car headlights or street lights, as this will cause your camera’s sensor to be exposed to a large amount of light which may wash out the night sky and produce an overexposed photo.
– If you’re close enough, try taking night photos with friends that are near Orion’s Belt in conjunction with other constellation members like Sirius, Pleiades, and those below it such as Auriga (the Charioteer), Gemini (The Twins) or Leo (The Lion).
– Be sure to take shots from different angles: straight down for dramatic perspective; high up over head looking back at silhouettes of trees against the night
Your camera settings
Nighttime is the perfect time to take great photos. When it’s dark, you have a lot of options for shutter speed and aperture that will help capture your subjects beautifully in low light settings. To get started with taking nighttime photographs:
1) Switch on manual mode by turning the dial under “mode” until M appears;
2) Set a longer shutter speed (30-60 seconds);
3) Pick an appropriate f stop between 8, 11 or 16 depending on how many people are present – this typically ranges from 15mm up to 100mm;
4) Adjust ISO accordingly so it doesn’t go over 200 generally speaking but if there isn’t enough light try raising it gradually.
5) Finally make sure your shoot is captured as Raw data because JPEG compression loses precious information about exposure level and contrast by reducing them one stop each after processing two stops worth of tonal levels from raw data before.
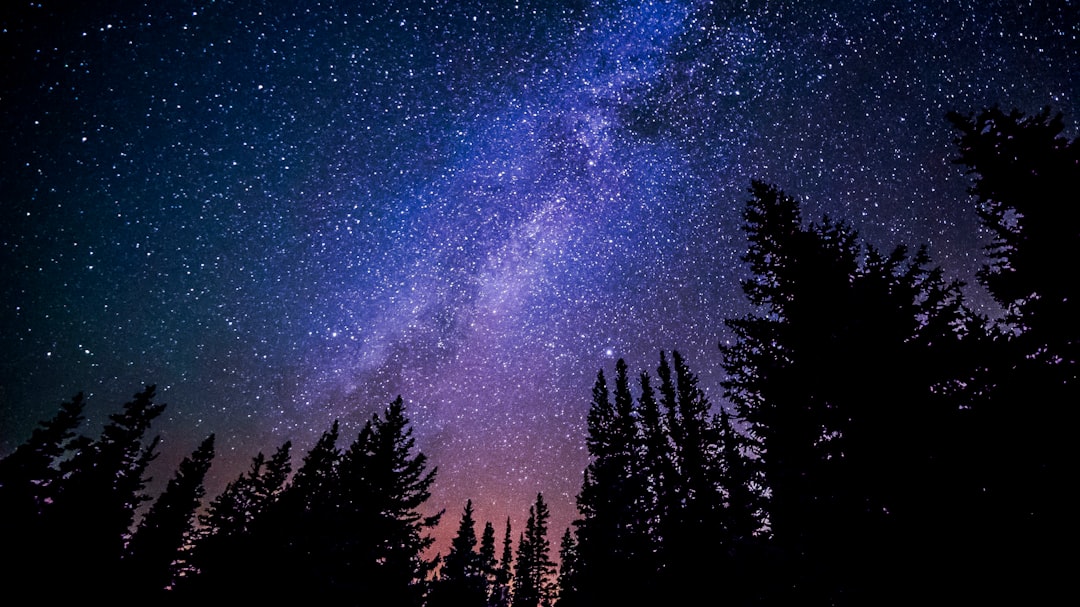
How to Photograph the Milky Way
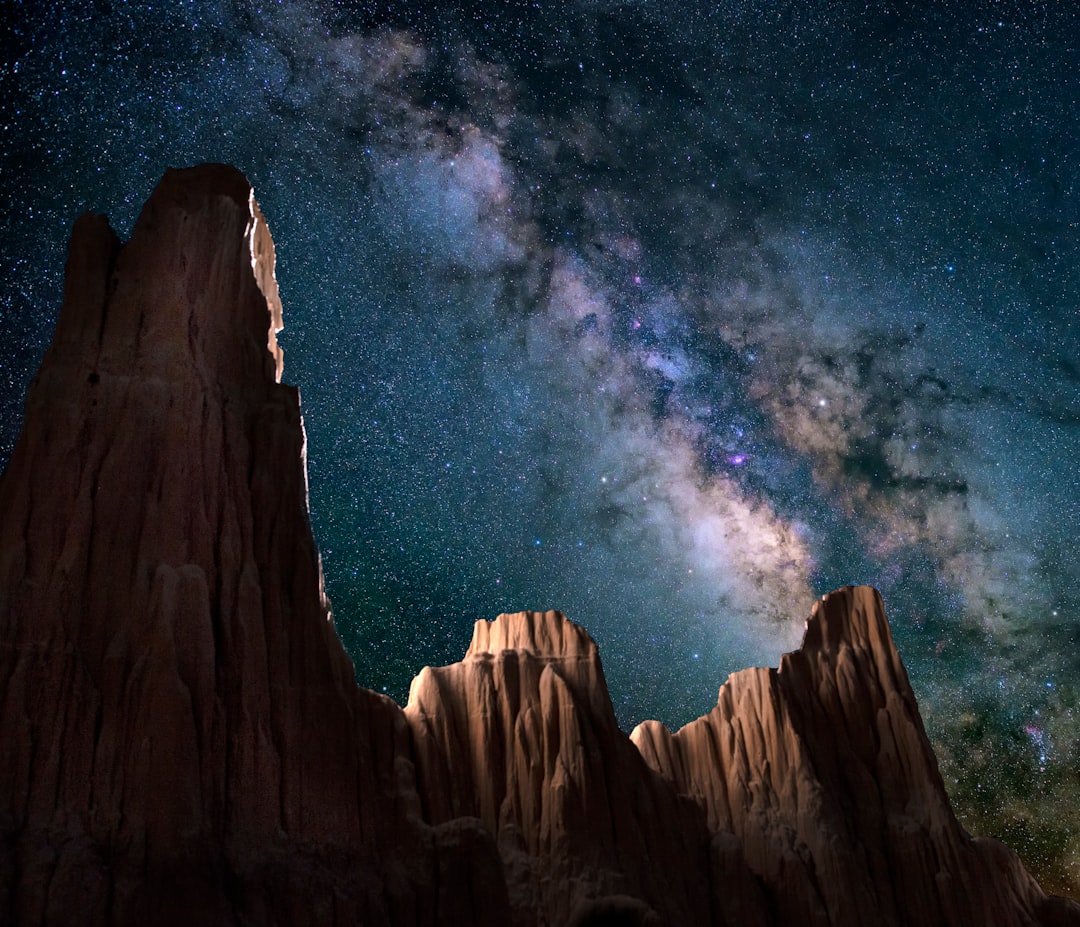
If you want to capture the ubiquitous beauty of a Milky Way, then we have some tips for getting your shot. Firstly, be mindful about when and where shooting begins. You’ll need to find an area that is as dark as possible so it can help set up the contrast between light and darkness in one image or video frame…
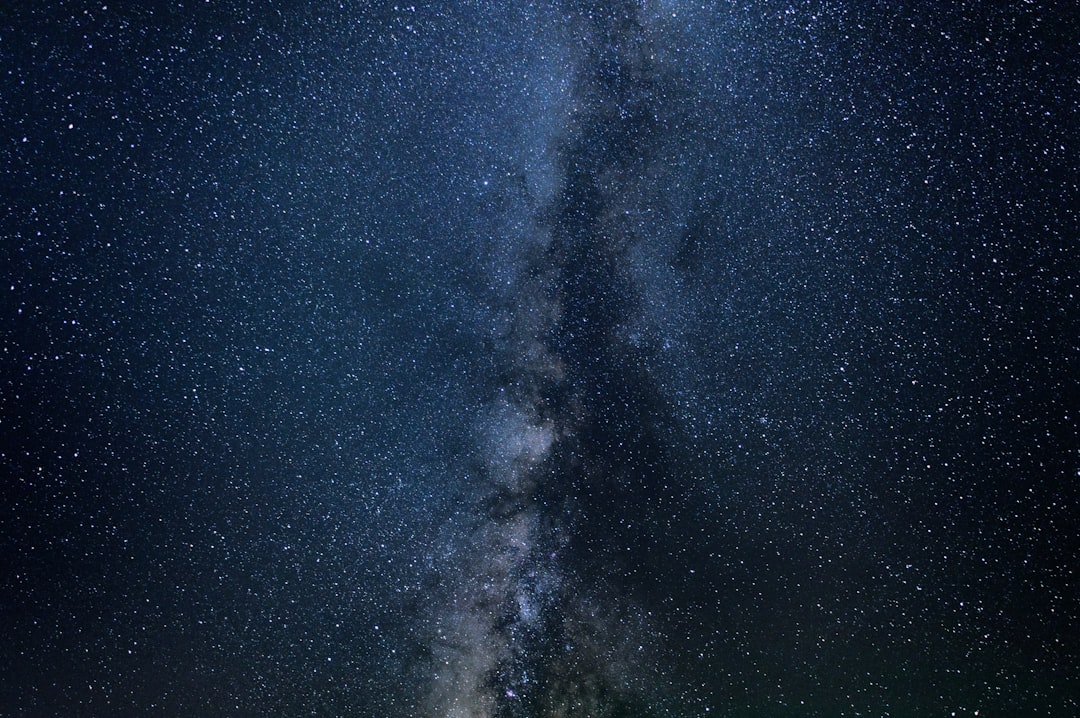
The Milky Way is so named because of its appearance as we see it from Earth – an irregularly shaped white band across our sky that extends around most of one celestial hemisphere.
The best place would probably be away from city lights like Los Angeles – even if this means driving far outside town on nights with clear skies (during fall months).
Shooting time should also begin during dusk before all stars are visible due to blue hour- otherwise they will appear white instead of their usual colors because there isn’t enough ambient light pollution within our atmosphere yet; but after sunset has fallen below horizon level. This is the time when the night sky is at its darkest.
The first thing you should do is think about your camera settings. The wrong setting can result in a blurry, unfocused photo that’s hard to edit later on. Next, pay attention to foreground elements and composition – this will help with the final product by making it more aesthetically pleasing for viewers. Capturing photos of the Milky Way could be tricky at times because they are often too high up into space or obscured by clouds but if successful then take some time post-processing them as well!
Tips to shoot night sky photos
Night skies present a photographer with different challenges than daytime, which is when most photographers shoot. They are darker and more difficult to capture detail in the darkness.
Here are some tips for night sky photos that help you take better shots:
* Shoot on an angle rather than straight down at your subject. The first thing is not to shoot straight down on your subject. This produces an uninteresting composition with nothing interesting or visible happening. Instead try shooting from an angle where there is more going on within the frame, such as having a scenic view below or even shooting upwards towards the stars themselves so they take up more space in the image..
* Turn off any flash or light on the camera as this could interfere with capturing stars. If you have a flash enabled on your camera or any other light, this could interfere with capturing the night sky.
* Shoot in RAW. Shooting on an angle is more effective when shooting in raw because it captures more detail and information from the night sky that might be lost if shooting at night JPEG format
* Use a tripod to avoid shaking from hand movement while taking photos of night skies. Be sure to use a sturdy tripod so there is no shake during long exposures for low-light photography!
* Take multiple exposures and stack them together to create one final shot (this can be done during post processing).
* Reduce noise by selecting “long exposure” mode. This will make sure colors come through clearer without any noise.
Frequently Asked Questions about Night Sky Photography
What is night sky photography called?
* night sky photos are called nightscape or astro photography, depending on the type of equipment used to take them
* night sky images include any photograph taken at night that includes stars and/or other astronomical objects in the foreground (e.g., constellations, comets)
* night skies can also refer to a photo including both day time and night time scenes together – however for this article we will be focusing on photographing only after sunset!
What ISO should I use for night sky photography?
The ideal settings for night photography is a high ISO (typically starting at 1600), an open aperture (such as f/2.8 or f/4) and the longest possible shutter speed, which could be calculated by using 500 rule with putting these three together to create images that are not too noisy but also do not have motion blur from subjects moving in front of your camera.
How do I shoot night sky with my phone?
The night sky is a beautiful sight to behold, but capturing the beauty of it with just your phone camera? That’s an entirely different story.
I’ll be honest: I was skeptical about whether or not my iPhone could actually take pictures worth framing and hanging on my wall at home. But after spending some time in search of inspiration for how best to capture this celestial wonder, I’m happy that we’re living in such technologically-advanced times because these photos are proof enough that even amateur shutterbugs can create stunning images without having years behind them before they start taking shots like professionals do!
Take night sky photography on your phone seriously. First, it’s worth turning off the flash when you’re taking pictures of night skies because not only will this prevent blinding other people in the vicinity with a powerful burst of light, but it will also help preserve details and colors in these photos. Second, there are apps out there that have been specifically designed to take high quality night sky shots. I personally recommend PhotoPills since they show where certain stars (or constellations) should be located at any given time so you can take advantage of their position for better photo composition!
If you don’t want to rely solely on your phone camera or if you simply prefer something more “professional” than even an iPhone has to offer, you should buy a profession camera. It will be easier for you to take photographs at night.
Night sky photography is a great way to find peace and solitude. When you take the time for yourself, it can be so rewarding to look up at the night sky without any other distractions in sight. The world around us moves really fast these days, with everyone always on their phones or computers looking down instead of up when they are outside. If this sounds like you, try setting aside some time each week–or even just once per month!–to venture out into nature and enjoy the beauty that surrounds us all year long! We hope we’ve given you an introduction to taking stunning photographs of the night skies- now go get your camera ready and start exploring!

2 thoughts on “Night Sky Photography: A Guide to Taking “Stunning” Photographs of the Night Skies”
Comments are closed.