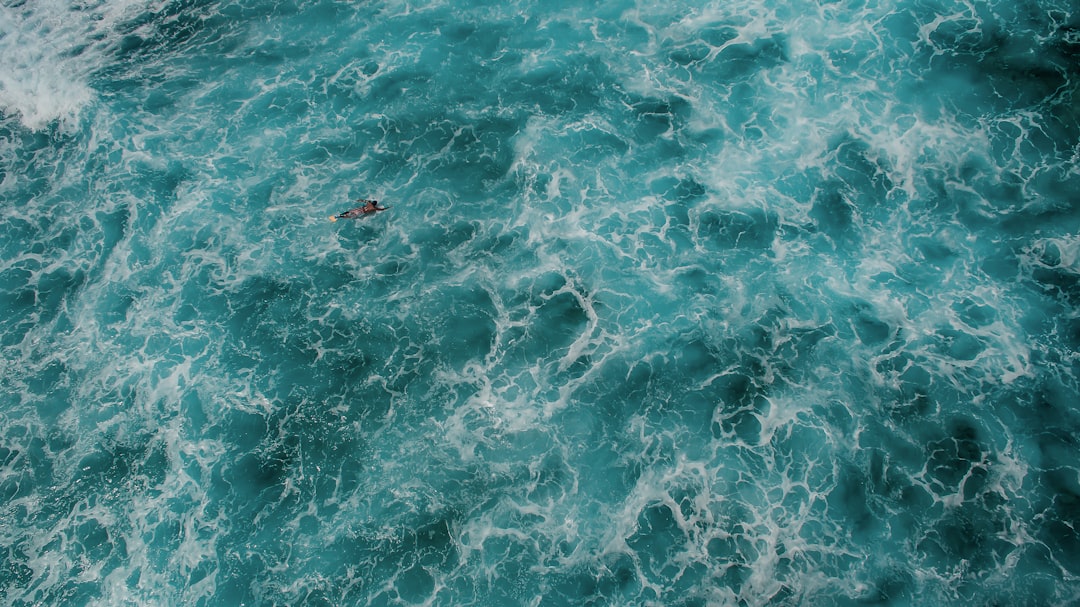
What is abstract wave photography?
Abstract wave photography is a term used to describe photographs which appear to show waves of water appearing and disappearing. The photo has been taken using long exposure, so that the motion of the waves becomes visible in the photograph. This creates an illusion of movement, similar to the ‘waterfall’ effect. The photographer can vary the speed of the waves, to create interesting patterns of movement.
Wave photography can be used for many different purposes, including underwater photography, landscape and cityscape photography, architectural photography and still life.
Best tips for shooting wave photography
Wave photography can be tricky but you can learn a lot of tricks to improve your chances of success. First, spend time practicing at home. Make sure that you have a safe and dry place to put your camera and that there is no wind, rain or spray to cause problems. Find out the light conditions, the length of waves you want to capture and how long you have to wait before the next set of waves arrives.
A long lens is useful for photographing waves, as it will let you include lots of the details. For instance, if you are taking a picture of a crashing wave, you might want to use a telephoto lens, such as a 100mm focal length. It will also help to use a shutter speed that is faster than 1/50th of a second (or even 1/125th of a second), so that you get the shutter open and closed quickly and can therefore capture all of the motion of the wave.
It’s important to experiment with different focal lengths. Some lenses have a built-in macro mode that lets you shoot really close up, which can be useful for capturing waves breaking over rocks, coral reefs or sandy shores. However, this mode can result in a lot of out of focus blur, so use it only for very short bursts of shots. Try using a longer focal length and a slower shutter speed. The best way to learn is to start with a low ISO setting, such as 50 or 100, and then increase it until you achieve the best results.
Be patient.
Shooting waves is a process. There are times when it seems that nothing is happening and then suddenly a wave comes crashing into view. It is not always possible to predict when the next wave will arrive. But, even when the water is flat, there will be some movement on the horizon. When the sea is calm, the air and sea currents will have a slight breeze. Sometimes, especially near the shore, there can be a strong current of air moving toward the shore. Try to take your shots at the peak of the wave, when it is just breaking over the top of the water. The higher up the wave the longer it will stay in focus. Try to shoot in a series of pictures and save the ones you think are the best. When you have taken your shots, don’t forget to put the memory card in a safe place to prevent any chance of data loss.
Take lots of pictures.
Don’t rely on one wave to give you a great shot. It’s probably more likely that you will capture a few interesting ones and then miss the chance to catch the rest of the waves. Try to take a series of photos, and try to keep the timing of the shutter open and closed the same. If you want to take a series of photos of the same wave, you can use the self-timer on your camera to help you. Set the timer to 10 seconds and then move back from the wave. This will give you enough time to prepare and take your photo.
Use the manual settings.
When taking your pictures, you might find it easiest to use the auto setting and then adjust the settings afterwards, either in post-processing or on your computer. However, if you want to get the best possible results from your shots, it is worth setting the camera to the manual setting and leaving the aperture and shutter speed as they are. You should also make sure that the settings you have chosen are the best for the type of wave you are photographing. For example, if you are taking a photo of a beach or rocky shoreline, you might want to select a longer exposure time, such as 1/250th of a second. However, if you are trying to photograph surfers, you might want to keep the shutter speed shorter, perhaps 1/250th of a second, so that you don’t get any blurred images.
Don’t use flash.
If you are using a flash to illuminate the subject, your photo will often look unnatural and artificial. If you are trying to take a photo of a surfer in the surf, you will have to wait for the waves to break and the light to be perfect before you can take the shot. So, unless you are in a place where you are able to wait, it is better to avoid using a flash.
Don’t forget to edit.
When you have finished taking your pictures, you will need to spend some time editing them to make sure they look the best. Don’t be afraid to make changes to the colors, contrast and brightness. If you think something looks a bit dark, you can change the exposure by adjusting the levels in your image editor. You can also change the color balance in your software. If you want to brighten up a picture, use the white balance setting to make the shadows appear less gray. It’s also a good idea to crop off the edges of your photo to remove unwanted areas. Finally, you can increase the saturation to make the colors more vivid.
