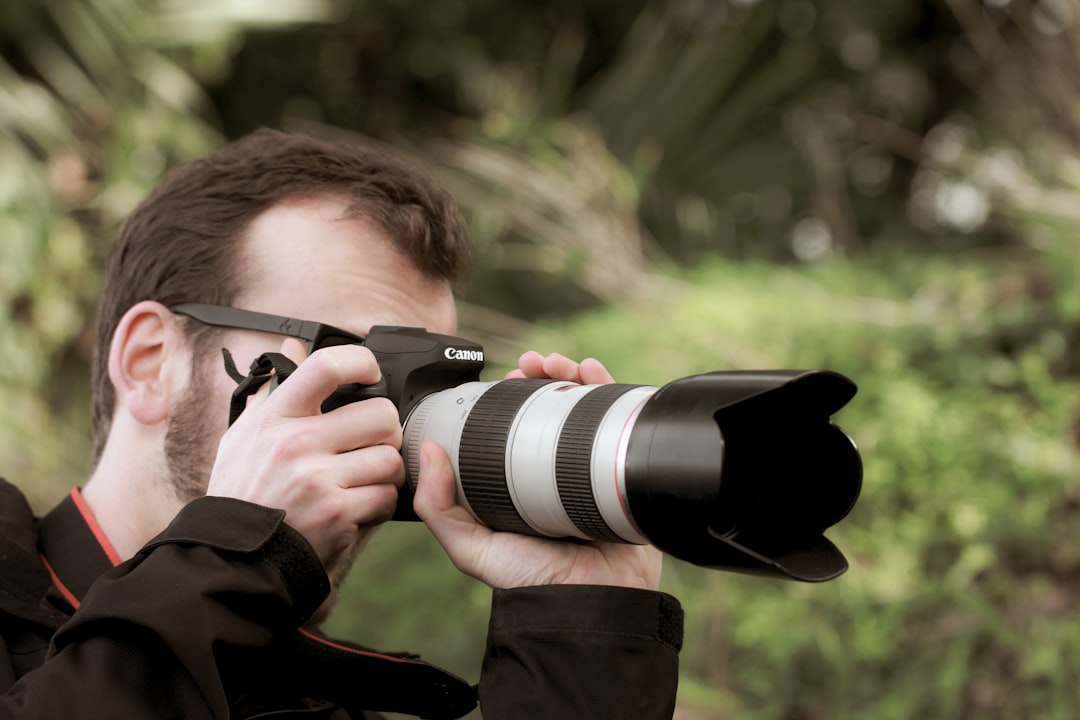
Everybody has a photography story. Whether you’re a beginner or an expert, photography is something that we all love to do and have fun with. But if you want your photos to be the best they can be, then there are some important photography tips that every photographer should know about. In this blog post, we will discuss 10 photography tips that will help improve your photos and make them look more professional!
Table of Contents
1) Find the right lens

Different lenses create a variety of different effects on photography subjects. It’s important to take into consideration what type of photography you are doing before purchasing a lens specifically. Wide-angle lenses can distort close objects but yield more expansive landscapes than normal lenses. Telephoto lenses narrow the depth of field, giving you a close-up view of distant subjects, such as wildlife photography.
Narrowing your depth of field with a telephoto lens will give you close-up views of distant subjects, such as wildlife photography.
You need to consider what type of photography you are doing before purchasing a lens specifically and the effects they have on photography subjects. Wide angle lenses can distort close objects but yield expansive landscapes than normal lenses.
2) Find the right time of day

You need to find out when is best for your subject because different times will create different lighting effects that may change how your portrait or landscape looks. For example, in early morning light there might be more shadows, while late afternoon light gives off warmer tones and softer shadows. Find out what works best with whatever photography project you’re working on!
3) Find the right angle
The photography project you’re working on may also be affected by what type of camera angle you use. For example, taking a photo from an eye level or high-angle perspective will show more dramatic perspectives and give off different lighting effects than if it were taken at ground level. Again, find out what works best for your photography subject!
For some photography projects such as portraits, it’s important to know which types of angles will work best with the project because they might create different sorts of light and shadowing that can make all the difference in how your photos turn out. Eye-level shots tend to have more dramatic perspectives while lower shots like ones from ground level are good for capturing broader landscapes. Find out what works well for whatever photography project you’re working on!
4) Capture movement

Capturing moving subjects can be tricky, but it’s important to make sure you get the right photography angle and exposure levels in order for your subject not to disappear. This could mean shooting at a slower shutter speed or with continuous bursts of photography if necessary! Experimenting is key when trying to capture different movements as sometimes having a camera that shoots continuously might work better than one that only allows up to 30 seconds per shot. For example, capturing water droplets or children playing may require faster speeds while photographing landscapes would need longer exposures. Remember: experiment!
5) Change your photography settings
The photography setting you choose has an effect on the photo that is taken. This includes different flash modes, shutter speed, and ISO level among others! Experimenting with these various photography settings will help you learn which ones work best for what type of photography project. For example, if shooting in low-light situations it might be necessary to increase the ISO so as not to create grainy photos while capturing landscapes may require slower shutter speeds or even a tripod to capture crisp images without shake. Again: experiment!
6) Make use of photography apps
Sometimes it’s not the camera that has all the right photography settings – sometimes a photography app can do what you need. For example, if taking self-portraits make sure to turn on your front or rear facing flash in order for yourself to be better lit: this will help create different kinds of light and shadowing than other types of photography projects may require! There are also many photography apps out there that have default setups so they’re perfect for beginners who know they want to take photos but don’t know how yet! Experiment with these too because ultimately, one might work better than another depending on the kind of project you’re working on.
7) Use photography filters
Photography apps aren’t the only way to edit your photos! There are photography filters you can use on Instagram and other photography editing software as well. Experiment with different photography filter types in order to see which ones work best for what type of photography project you’re working on – some may be better at highlighting certain kinds of light, or emphasizing a specific subject while others do more general edits like brightness levels, color saturation, etc. Remember: experiment! You might find a hidden gem that works much better than another.
The three most common photography settings are shutter speed (good for capturing faster movements), aperture (which affects depth-of-field so it’s good for portraits), and ISO level (used when shooting indoors).
8) Remember: experimenting is key
Experimentation is really important when trying out new photography techniques because ultimately no two photography projects are alike – they all have their own unique set of challenges and sometimes one technique will work better than another. Remember: photography isn’t just about taking photos – it’s also how you take them too!
9) Make sure to use natural light when possible

Natural light is the best photography lighting there is! Not only does it look more natural, but also photography projects that use artificial or flash photography can’t be done as easily in all circumstances. Natural and ambient lights are most often softer than other types of photography light sources so they’re perfect for capturing delicate subjects like flowers or food. Experiment with different ways to capture these kinds of photography projects – you might find a technique that works much better because of its versatility!
10) Know When to Use a Tripod

One photography technique that should be used sparingly is the use of a tripod – it’s not typically necessary unless photography projects require slow shutter speeds or very high ISO levels. However, for extreme low-light photography using a tripod will make sure all parts of the photo are in focus and capture crisp images without shake.
11) Experiment with cameras

Just because you’ve been shooting on your phone doesn’t mean there aren’t any other types of photography equipment out there! There are tons of different styles and brands to try out so give them all a chance if possible: some may work better than others depending on what type of camera photography project you’re working on such as macro photography or tilt shift photos which need specific lenses to take properly.
12) Use a Flash Properly
If photography projects require a flash, it’s important to make sure you have an understanding of what types work best for different photography environments. For example, using small flashes in close proximity will create harsh shadows and casts while slightly larger ones farther away can be more forgiving. A quick experiment with which photography light source type works better is worth the time investment!
13) Take Photos as You Go Along
Photos should never just be about capturing one moment – they’re a way of documenting your life so take photos all the time! Not only does this give you plenty of opportunities to capture interesting moments but also helps when making decisions on how to edit your images later on because you’ll have lots of raw material from which to choose.
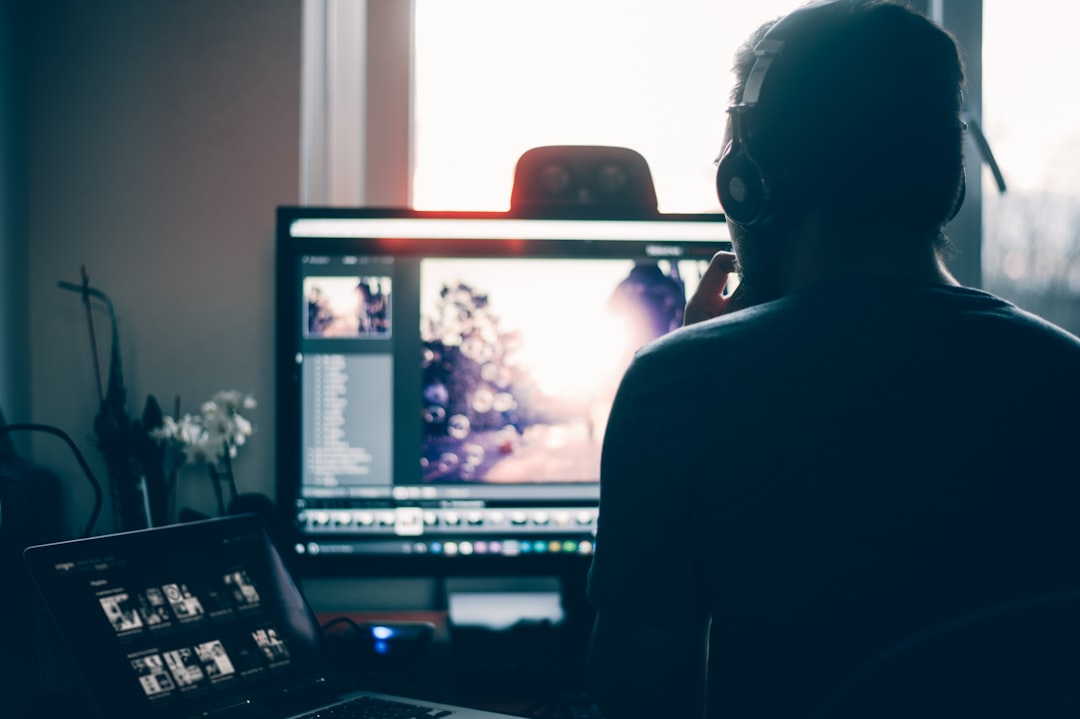
14) When Editing, Be Selective
The editing process is where photography projects really come to life. Think about it: the person you’re photographing may not be within your camera’s range of focus but by cropping or zooming in on this area they become the center of attention and draw more interest from viewers! Take time when making decisions about how to edit photography projects – cut out sections that don’t contribute anything so as not to distract viewers.
15) Experiment with Lighting Techniques
Just like photography settings, different types of lighting can produce drastically different results for photography project visuals (take a look at these photos and notice the difference between them!). Try using softboxes if shooting food while fluorescent lighting might work better for macro photography projects because it doesn’t cause the flash photography to over-expose images. Experiment with various photography light sources and see what works best for different photography projects!
16) Understand Depth of Field
Contrary to popular belief, depth of field is not just a function of camera settings but also lens focal lengths. For example: wide angle lenses have narrower depth of field than telephoto lenses because they capture more in front or behind while zoomed in cameras tend to be limited by their range when it comes to this particular photography technique. Knowing your lens can help you make wise decisions about how much blurriness you want on either side of the subject – use these tips as needed!
17) Know When To Crop Your Photos
Cropping photos will change them substantially and while photography projects can be very different, they all have one thing in common: the ability to use this photography technique! Experiment with cropping as you see fit – sometimes it’s best to keep images about a similar size so that viewers don’t get confused but other times using lots of varied crops is an effective way of drawing attention to certain aspects.
18) Capture Moments With People’s Faces In Them

Often we want photographs with people in them for photography project purposes which require memories or events featuring several individuals participating. It may seem daunting at first but capturing moments where faces are visible makes things much easier later on when editing because these subjects will always stay together even if cropped out elsewhere.
19) Backup Your Work
If photography is your side gig it’s important to back up all of the work you do. This will help you avoid any catastrophes that might occur if something should happen such as a computer crash or hard drive failure! Backup and storage options are plentiful so take time when deciding which option is right for photography projects – more expensive ones often offer better protection but also limit backup capacity.
20) Have a Good Photography Portfolio
The photography portfolio is something that every photographer needs to make sure they’re taking time with. Not only does it serve as a means of showing off photography projects and memorable moments captured but also provides potential clients or employers the opportunity to review photography skills before hiring you!
21) Never just be about capturing one moment
They’re a way of documenting your life so take photos all the time! Not only does this give you plenty of opportunities to capture interesting moments but also helps when making decisions on how to edit your images later on because you’ll have lots of raw material from which to choose.
22) Meet Awesome Photographers
It takes practice to get good at photography so try lots of different techniques in order to find what works best for you. Not everything will be perfect on your first few tries but keep experimenting
Part of photography is about learning from others.
23) Read Photography Blogs for Useful Tips and Inspiration
Take a break every now and then with photography blogs filled with all sorts of photography tips, tricks, stories and more – there’s always something new to learn which can help take your photography projects to the next level. Aspiring photographer? Check out these helpful blogging tips too! 🙂
24) Don’t worry if things don’t work out
Hopefully these ten photography tips will help improve your photographs while also increasing your knowledge about various aspects of photography! As always, I encourage you to experiment with each of these photographers tips in order find which ones suit YOUR needs the most. Happy shooting?
FAQ:
What are the basic tips for taking good photographs?
In today’s digital world, anyone can take a great photograph. This might sound too good to be true but it is not! All you need are the following four things: 1) A camera that has a manual mode and 2) Good light 3.) Composition skills 4). Technical knowledge about how your equipment works If you have all of these, then getting professional quality shots should be easy peasy lemon squeezy for any beginner photographer like yourself.
-Find a comfortable, well lit place to take your photos. The natural light of the sun and artificial lights in rooms will provide excellent lighting for capturing detail on skin tones. If you don’t have access to any type of light source other than ambient daylight or room lamps, try taking pictures indoors during the day when windows are open so that sunlight is streaming through them into your home as it would outdoors at noon time; this produces better photo quality because there’s more contrast between highlights (bright areas) and shadows (dark areas).
-Eliminate unwanted distractions from behind like power lines which could cast an unflattering shadow across someone’s face while they’re posing for their portrait
– find a spot with no background clutter such as trees.
-Get the scene as you want it to appear in your photo. Before snapping any photos, make sure everything is set up correctly and that there are no people or cars passing by.
-Create a balanced composition with foreground, middle ground, and background components of interest for each frame within what constitutes “good” photography where subject matter should be framed according to its importance relative to other objects within the photograph.
-The best way for getting good photographs is through taking time when composing shots; try various angles before settling on one so you can get different perspectives out of an object/scene without moving too much from place to place beforehand which could disrupt traffic flow around said location(s). This stage usually takes anywhere between 20 minutes.
How can I improve my photography skills?
It is always important to stay on top of your skills and constantly be learning new things. The more you learn, the better a photographer you will become!
Some ways to improve your photography skills are through looking at other people’s work and analyzing the differences. Make sure you take a lot of time for preparation before taking photos, such as finding good locations with unique lighting options. Finding out what type of camera is best suited for your needs can also be helpful in improving certain aspects like low-light or action shots.
Some tips on how you could get better at photography include studying others who have been successful and learning from their techniques by checking them out online or copying some creative ideas into yours when shooting pictures yourself; make sure that all areas including location selection, equipment types/types used (camera), light source(s) utilized during photo sessions are taken into account so they do not negatively affect any photography-related goals.
What photography equipment should I purchase to start out?
The best photography equipment you can buy are the following: A good camera with a lens that is easy to use, a tripod for securing your camera and taking pictures in low light/from an elevated location, filters of different types (optional), flashes or other lighting devices to compliment photography conditions, and a good camera bag to store the aforementioned items.
If I don’t have much money, what photography equipment should I buy?
Zooming in on pictures can be done with specific lenses for low-light shots; you could also get other types of lighting that’s affordable like flashes or lamps which are usually less expensive than bulky lights/strobes. A tripod is also an alternative if budget isn’t too much of an issue as they cost less than $100 and come in handy when taking photos from higher up vantage points where there might not be any natural light available nearby such as indoors (Tip: it helps to purchase a secondhand one because then you can save 50% off the initial price). Buy photography filters, photography equipment, photography tips.
What are the 3 elements of photography?
The 3 elements of photography are composition, light & time. Composition can be the arrangement or placement of objects within a frame and is an important element in any photo as it influences how viewers will feel about your image. Light refers to natural (sunlight) or artificial lighting sources that shape what we see; either shaping contrast between dark and bright areas or making everything look uniformly lit. Time captures when something happens – whether you’re capturing motion like waves crashing on a beach, freezing action with sports photos, breaking news images from around the world- all three make up different kinds of photographs!
How do I take photos like a pro?
You may already know this, but it is the photographer’s job to capture a unique moment in time and turn that single image into an everlasting memory. Photography requires many different skills including composition, lighting, processing techniques like sharpening or adding filters for artistic effects as well as color balance adjustments because what you see with your eyes isn’t always true depending on where you are standing when shooting.
The first step to becoming a professional photographer is understanding your camera’s settings. If you don’t know what ISO means, then it can be difficult for any amateur shots to look good – but not impossible! The key here is experimenting with the various modes and features until you find something that suits your needs well. Whether this involves shooting in RAW or adjusting shutter speeds from 1/125th of a second all way up to 30 seconds per shot, there are plenty of options available when taking photos like a pro today.
Whether you’re a hobbyist or an aspiring professional, taking better photographs can seem daunting. It’s not enough to just aimlessly take pictures anymore—you need direction and knowledge of the techniques that will make your shots stand out from the crowd!
How can I make a picture clearer?
There are a few simple ways that can make your picture clearer and more legible. I would recommend using the auto-enhance tool in Instagram, which will adjust brightness levels to give you better contrast between light and dark areas of an image. Additionally, adding some noise or grain may also help improve clarity by making it look like film instead of digital video quality footage.
The simplest way to do this is by opening the image in any photo editing software. Once you open it, go up to “Image>Adjustments” and select Brightness or Contrast depending on what feels right for your occasion. This should help fix any problems with contrast that might have been causing the problem before!
Or you can try:
1) Select the picture you want to make clearer in your photo editor and use a different brush size for underpainting or the Dodge tool, which reduces contrast by lightening areas of an image that are too dark. Next, fill in empty spaces with white paint using either these tools or any other desired method (e.g., via erasing).
2) Apply filters like blurriness to create airy effects without having it be obvious where they were applied
3) Finally mute colors slightly as well as contour lines so everything is more subtle
4) Lastly adjust levels on some pictures if necessary
What is basic photography?
Basic photography can be defined as the recording of images by a camera using light. It might also include digital manipulation, or artful enhancement through editing software such as Photoshop.
What are the 7 principles of photography?
Photography is a way of capturing the world around us. There are 7 principles to achieving this that you can follow when taking photos and videos: composition, exposure, focus point selection, depth perspective (background), lighting quality/contrast ratio (shadow or light), subject placement in frame and aperture settings- Aperture sizes not only affect how much your camera takes in at one time but also effects the sharpness of an image due to its ability to limit bright areas from spilling into darker ones.
Subject – The subject is key to any photograph since it can completely change a photo’s mood and emotion depending on what you are photographing or how you frame your shot around that specific subject matter. For example, if someone was trying to take an action shot but their main focus was inanimate objects like buildings instead of people they would get very different emotions from shooting with just one image than if all images had been framed so as not only include some background but also focused mostly (or entirely) on something happening within the foreground such as crowds watching performers or children playing games in an open field nearby; thus giving viewers more context for understanding who these individuals were and why they were so important to photography.
What is a focal length?
A camera’s lens has two main factors that you’ll want to consider: the aperture and what they call “focal length.” The focal length of a lens determines how wide or narrow your view will be, which also impacts how much detail can fit in one shot. Wide-angle lenses are around 17mm up to 21mm, while telephoto lenses range from about 100-500mm. You may also see numbers like 24mm used when talking about standard photography—this would typically represent something close to an 18-21 mm lens on 35 millimeter cameras (though it still varies depending on sensors). When looking for zoomed shots, think 50-400 mm.
What are photography workflow stages?
There are a number of photography workflow stages to consider when looking for success. They include: capturing an image or video, editing it in post-processing software (like Photoshop), and then publishing the final product online using various platforms like blogs or social media sites. Some photographers might choose only one stage before moving on to another while others may be more hands-on with each aspect of their work by taking care of all photography workflow steps themselves; either way is valid so long as you have a plan!

