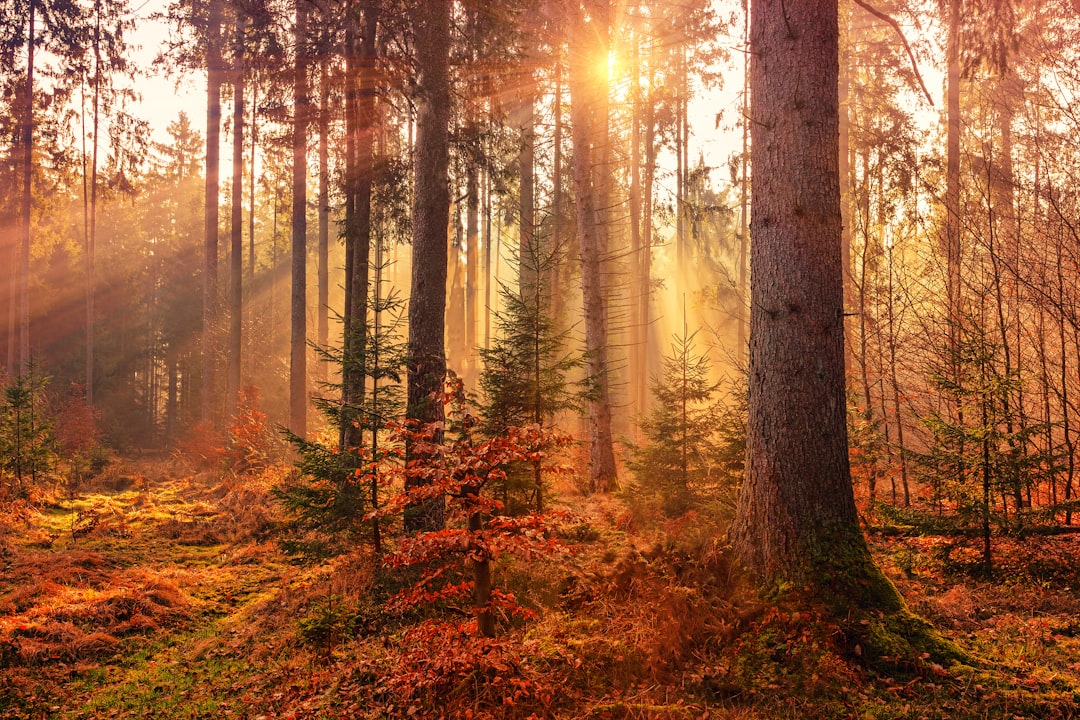
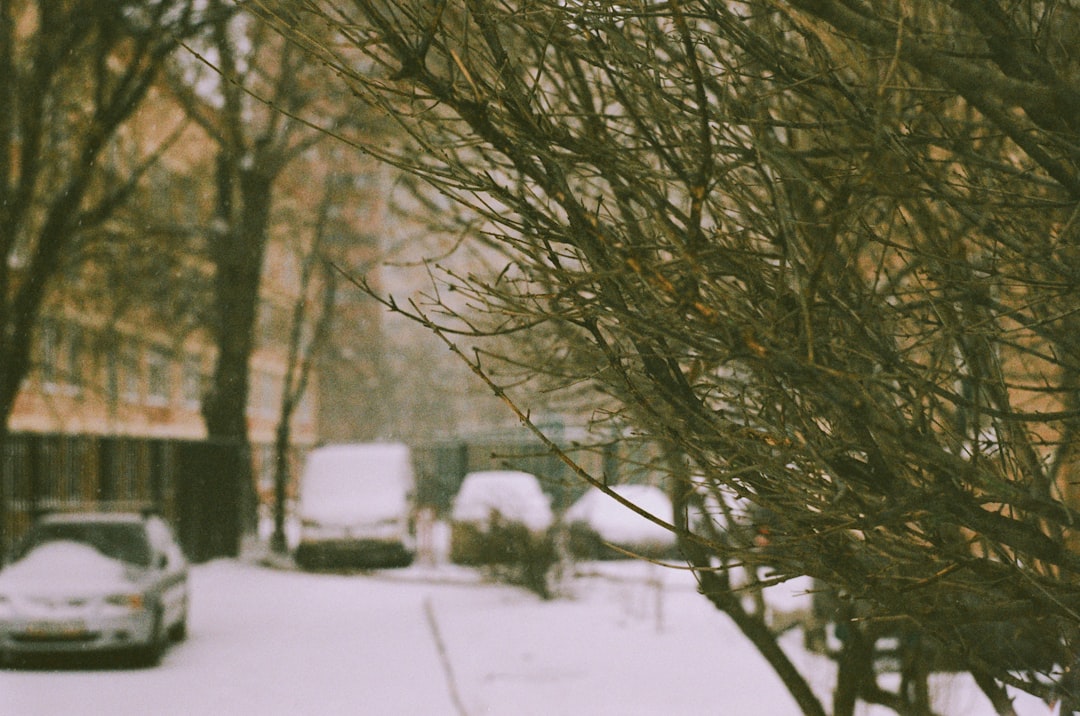
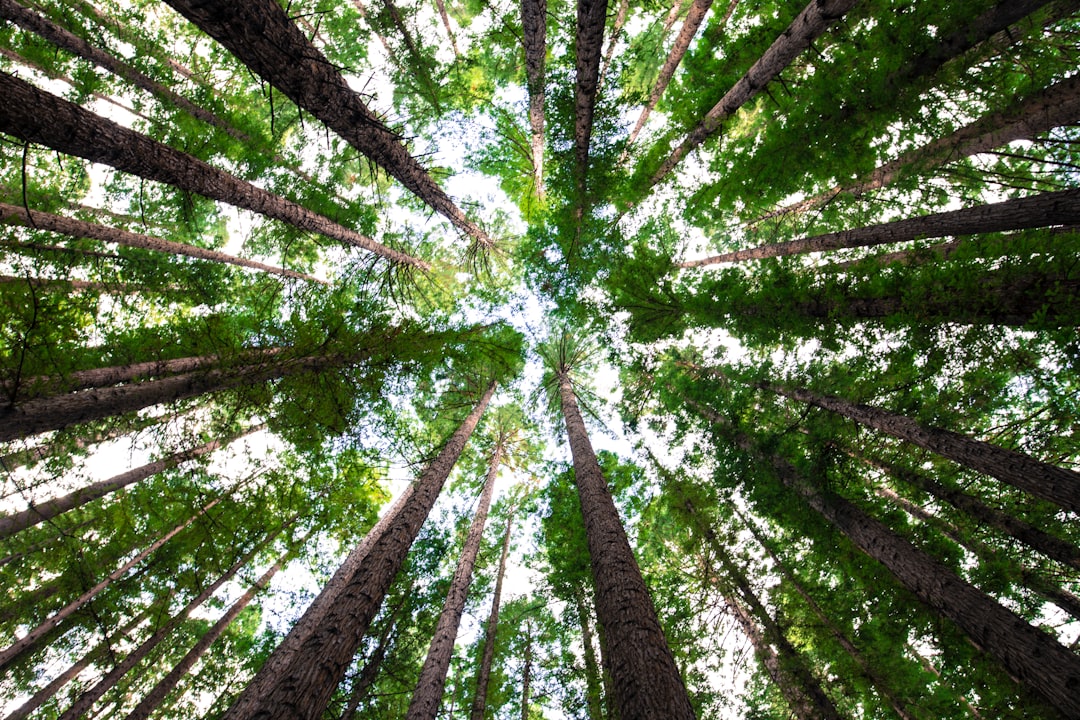
Taking pictures of trees is a popular pastime, especially at Christmas. It’s a great way to capture the seasonal beauty of nature, and also to share the wonder of trees with your friends and family.
However, tree photography is not easy. Tree trunks are rarely straight lines and can look like wobbly piles of sticks. Plus there’s the added problem that many tree branches are very thin and delicate looking.
If you do decide to get started with taking your own tree photos, we have some tips that might help you get a few decent results:
Table of Contents
Use a tripod.
You need a sturdy tripod to make sure you can take photos in difficult or windy conditions. Look for one with a wide base. You may need to use a table or similar support to steady the camera.
Try shooting from different angles.
The best way to capture the whole tree and give it a feeling of volume is to stand at various angles around the trunk. Don’t just shoot straight down from above, also look up at the tree from below and sideways. You may also be able to find other interesting views by using mirrors, and taking your photos in natural light rather than artificial light.
Don’t use the flash.
Unless you are taking photos of a tree in direct sunlight, avoid using the flash because this will make the tree look more ‘stiff’ and unnatural. Instead, take your photo with the sun shining behind you and with the trees in silhouette. This technique works especially well for tree silhouettes.
Take your time.
There is nothing worse than rushing into tree photography and snapping a photo without giving it enough thought. Try to take at least five different shots before you decide which one is best. Then go back and review each shot, before you crop them together in your chosen style.
When it comes to cropping the photos, you need to keep the focus on the main subject – not on the background. The trick is to crop the picture by selecting the most interesting area of the tree. You can often do this by choosing to crop off anything that seems uninteresting or extraneous. You could also play around with different effects: use a bright color (such as yellow) to make the tree look more vibrant and energetic.
If you are feeling creative, you could also experiment with different styles of photography, such as black and white, sepia, or color.
Try shooting close up.
If you are going for a natural looking image, try taking pictures from a closer range. This will make the tree look more ‘real’, as if you were standing right next to it. However, bear in mind that your subject may look smaller in the photo.
Don’t forget to include the background.
When you take a tree photo it’s easy to forget that the background is there. It can add extra interest to your photo, so don’t be afraid to include it. The key is to choose something interesting that doesn’t distract from your main subject. A nice sky can work well, for example, and a stream or pond is a great choice.
Other things to remember
If you want to take pictures of trees you need to understand some important things about photography. When taking pictures of trees, you should know that a camera’s shutter speed, aperture and ISO settings are important. Also, you will need a tripod and some type of camera stabilizer. You might like to take a course in basic photography before you start taking pictures of trees, so you know exactly what settings you should use.
You will also need some simple equipment. These include, a tripod, camera with a flash, lens hood, and filters. You will also need a light meter which measures the amount of light falling on the subject and helps you to control exposure. When you take your first picture you will need to find out the amount of light that is hitting the subject, and then adjust the settings so the light is balanced. When the subject is in shade you might like to add a neutral density filter to help balance the brightness of the image.

The best time to photograph trees is usually early morning when the sun is rising, or later in the day when the light has faded. If you are going to take pictures of trees in autumn you need to think about what to wear. It’s not a good idea to wear dark clothes when taking photos, because you will look like a shadow against the brightly colored leaves. On the other hand, you will need to avoid bright colors, for example, if you are wearing a white shirt, you will be too bright and make the leaves disappear in the shadows.
You might also like to think about whether you want to use a tripod. You can mount your camera on your tripod and then use your hands to position it exactly where you want it. However, this can make it difficult to take the photo with your fingers in the way. You might also prefer to set your camera up on a table so you can take photos with your elbows resting on the table rather than on your camera body.
A rule of thumb is that you should use a shutter speed of at least 1/60th of a second to stop movement from being captured. You might also want to increase the ISO setting, but not to settings above 1600. This will allow you to get more light onto the subject. In fact, ISO settings above 3200 will usually make your pictures too dark. However, you will still need to know how to use a tripod and stabilizer.
When it comes to using filters, you can use color filters for any type of photograph. However, you need to be careful when taking pictures of the sun. If you use a yellow filter, you will notice that the image will have a greenish tinge. This is because there will be some light reflected by the lens and the filters will act like sunglasses for your camera. When you are taking pictures in bright sunlight, you will need to use neutral density filters. These are special filters that reduce the amount of light coming into the camera so the image will look balanced.
If you want to take photographs of trees in a garden you will need to think about what position to take them. It’s best to get into a position where the tree is looking directly at the camera. This will help you to capture the fullness of the leaves, which are often quite beautiful. If you are photographing a tree at eye level, you will also have the advantage of seeing more of it. To avoid distracting backgrounds, you should place your tree behind the camera so you don’t have a distracting reflection on the lens.
If you want to photograph a tree from above, you might like to stand on the branches and use your elbows as supports for your hands. When taking pictures of small trees or shrubs, it is often better to get close to the subject so you can capture it in all its glory. You will also find it easier to keep an eye on the exposure settings when you are standing in front of the tree.
If you are photographing a tree in winter, you will need to think about the weather conditions. For example, if you are taking a picture of a bare tree in winter, you will need to take it when it is not raining or snowing. If you are taking pictures in the snow you should use a tripod to stabilize the camera. You can then carefully lower the camera until it touches the ground. You should then slowly lift it back up to get a clean shot of the tree.
Conclusion
The fact is, tree photography is easy when you have the right equipment. And there’s no better time than now to get started. If you’re new to this type of photography, there’s plenty of information on the internet.
It’s also really simple to get started. All you need is a camera, tripod, and some sort of lighting setup.

