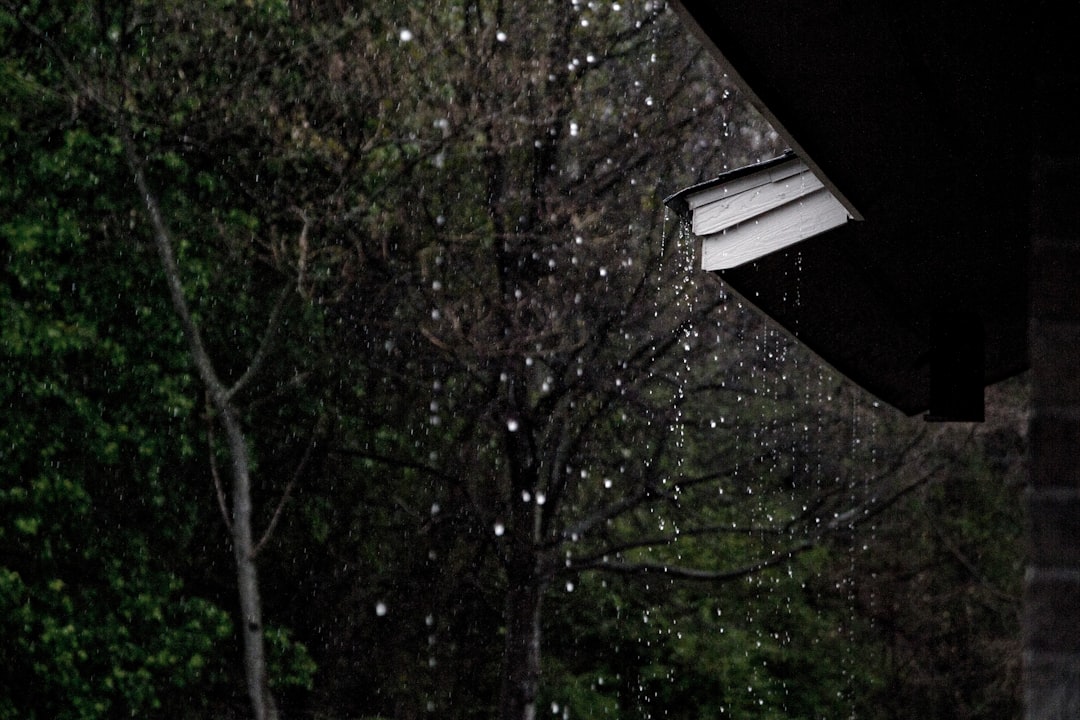
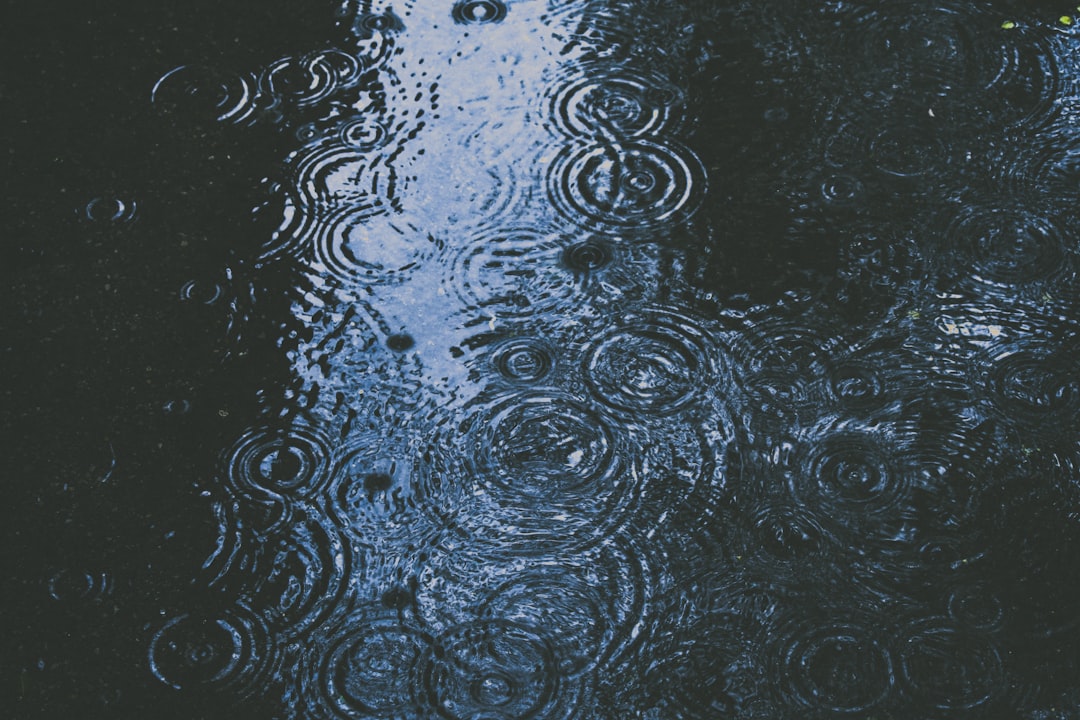
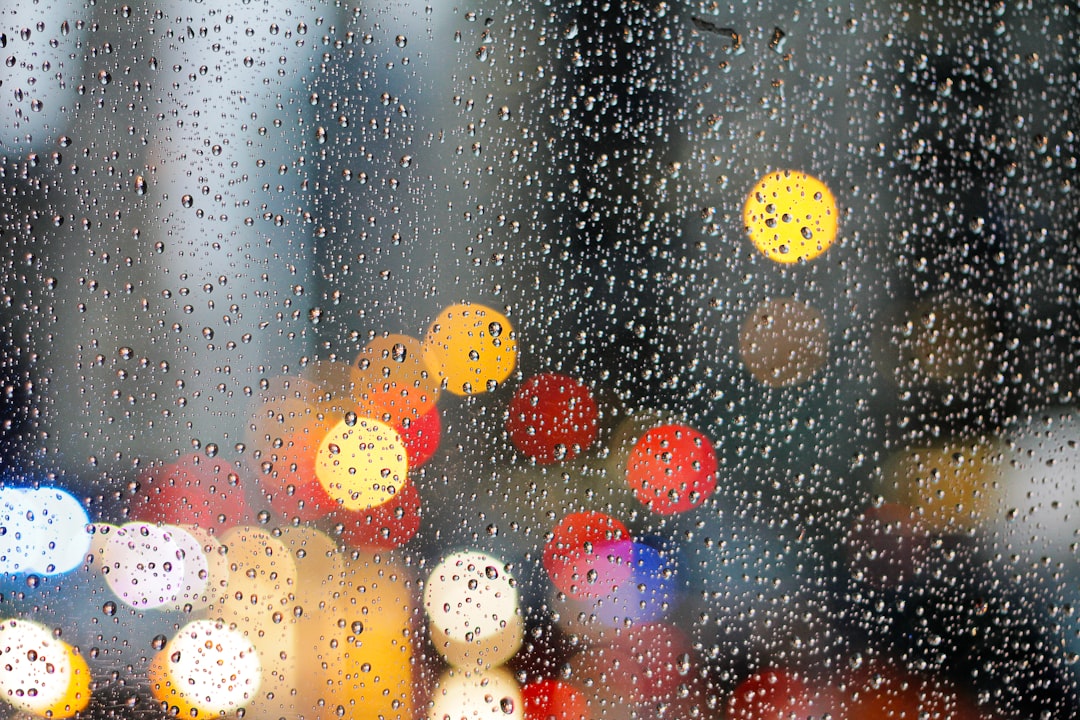
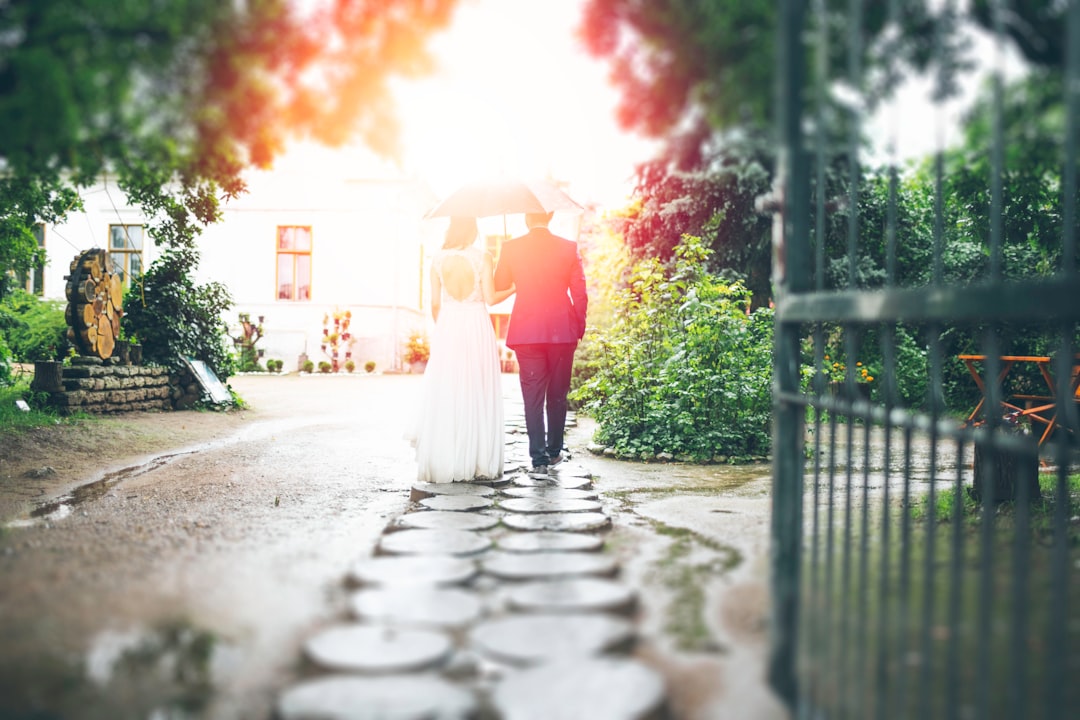
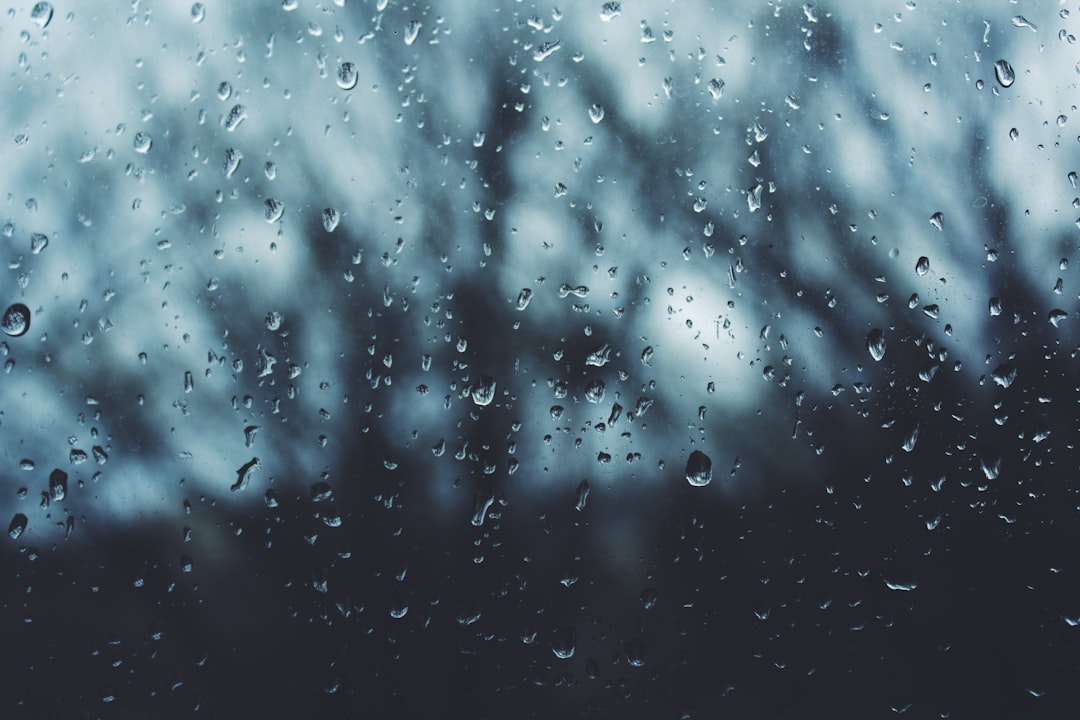
When it comes to photographing rain, I’ve tried different methods and methods of composition. However, there is one method that works the best for me, which is to shoot it as it is falling. That is not always possible because of the timing and also because there are too many factors that may impact how it looks and feel in the frame. But, when it does, you get the best results!
Table of Contents
The right camera
First and foremost, you need a camera that will let you capture the moment and the elements as they unfold in front of your eyes. So, you want to use something with a low ISO setting.
This will keep the image from being too grainy. Next, the camera must have a fast shutter speed. Shutter speeds faster than 1/500th of a second can be very difficult to manage with most cameras. But, if you do get it right, you will get a great photograph. Finally, you need a good lens that will allow for some shallow depth of field. If you don’t, the raindrops will seem like they are coming out of focus. You can also try a telephoto zoom lens (like a 100mm-400mm) or even a macro lens if you are a really keen photographer.
Lighting
When I first started photographing rain, I would use a flash to illuminate the scene. This was actually the best way to shoot it! But, I quickly learned that a lot of times, the flash would catch the raindrops and make them look like they were moving in the frame. The problem with the flash is that it can be harsh and bright. So, I now rely more on natural light. However, this means you may have to wait until it’s darker before you can shoot.
Composition
I always like to position myself as close to the rain as possible. The reason for this is that it lets me capture the movement of the drops and how it looks through the frame. If you are too far away, you may miss out on this. Once you have taken the shot, make sure that the composition is good. Do this by turning the photo into black and white or using a color filter. The goal here is to make the rain appear more dramatic and visually appealing. This will help you sell your images.
Editing
When it comes to editing, I use Adobe Photoshop. This software allows me to do a lot of things like adjust exposure, brightness, saturation, contrast and more. The most important thing to remember when editing is to let your creative self guide you. If you don’t, you can easily lose the original concept that you had for the photograph. But, if you are using the software as a tool to help you achieve the look you want, you will have more control over the final image.
Post-production
When you have finished editing the image, the next thing to do is post-production. In this step, you can really make it stand out. I like to change the tone and contrast of the image to make it more dramatic. I also like to blur the background or selectively focus on only the raindrops in the frame. All of these things will help sell the image to people and also give it an edgier look.
Social media
Last but not least, when you are ready to share your image, make sure you post it on social media. People love rain photos! It’s one of the best weather pictures. So, when you take one, share it! People will love seeing it! I hope these tips help you with your photography projects.
Weather
The most important part of rain photography is the weather! It can be very tricky to get great pictures when it rains, but once you get the timing right, you can still achieve great results. The most important factor is having a light source that doesn’t wash out colours and highlights in the image. One way to do this is to use a flash that’s positioned at an angle with the subject and then bounce light into the scene from another point of the room. This works really well on cloudy days. On a clear day you will also need to have some sort of backlight to make the clouds look dramatic. Using a reflector on the floor behind your subject can work very well for this.
Pay attention to your subject
The second most important thing about rain photography is keeping your subject calm. When it rains, your subject will naturally get wet, so make sure that they are comfortable and relaxed. This means that you may need to move them around. It’s always best to keep your subject’s feet out of the puddles as much as possible. A tent set up in the garden or near to the edge of the property will allow them to stand in the puddles without getting wet. You could also try moving them away from trees that are in the way of the light.
Be patient
The third most important part of rain photography is having patience. Sometimes when it rains the skies are grey and the clouds are low, which means that there’s no sunlight coming into the scene. In this case you may have to wait a little longer until the clouds clear up and more light hits the scene. This is often the case on overcast days too, so you may need to set up a long exposure if you want to capture some great pictures.
Composition
The final thing about rain photography is composition. When it rains, it can make the colours in your photos look very washed out. You can solve this by using a reflector to bounce light back into the scene from another area. You can then adjust the lighting to make sure that the highlights are bright. This will help keep your colours and contrast in the image sharp and vibrant. Another trick is to use a black & white filter over the lens to add some colour to your images.
Choose a position and take advantage of the light.
The first thing to do is to find a position that will enable you to use the light. This could be in a park, at the beach or by a window. The best time of day to photograph in a rainy weather is in the morning or early afternoon when the sky is clear, but you still have light. If you have a window in your house it will be useful, but you also need a clear view of the sky. Once you have found a position that works, it is important that you choose the right spot, one that allows you to control light. By the sea, for example, the light coming from the sky will be diffused, and so will the light reflected from the water. You’ll find it hard to control the light with this type of situation. But if the sky is overcast, you will be able to control the light and the contrast will be much more noticeable.
Do you want to use your tripod?
The first thing to think about is whether or not you want to use a tripod. This will enable you to take pictures in low light without having to use flash. The tripod can also enable you to have a stable shot. You can also place a reflector on the ground behind you, which will also improve the quality of your picture.
Is the weather too bad to move?
If you are not moving, your chances of taking great pictures are greatly reduced. Your pictures will be taken in a rush and you may not have time to experiment and get a good shot. If you do have some time, you will probably be more successful than usual. It is worth noting that if you want to take a shot, you should not hold back. If you hesitate you will never take a picture.
Take the time to plan ahead
You need to think about the type of shots you want to take and plan ahead. This means you need to have a clear idea of what you are looking for, and what effect you want to achieve. In addition, if you are in a public place, it is important to think about whether you want people to look at your picture or not. You need to consider how you would like to be seen when you look at your photos in the future.
Choose your camera settings wisely
You need to choose the settings wisely, making sure that you take the best picture you can. You should also think about whether you will have time to change settings during a shoot, if you are using flash. The quality of your images depends on the quality of the settings you use.
Keep it simple
Don’t try to get everything right on one photo. Try to have some fun, experiment, take lots of pictures and get as many good shots as you can. Do not be tempted to change settings too often. You should only make adjustments if you notice something is not working. Otherwise, you could take a picture that does not work.
Don’t forget the post processing
Once you have finished taking the pictures, don’t forget to have a look at them in the computer. You may want to use the image editor on your camera and check for any problems there. If you see a problem, fix it before printing out your photos.
Use a flash
If you are shooting in low light, or when the sky is overcast, you need to use a flash. Even if you are using natural light, you can still use flash. However, if you are using flash, it is important to place it correctly. You need to be aware of where the sun is coming from and place your flash so that it will illuminate the subject properly. You need to make sure that it doesn’t create any shadows.
Find a good tripod
The tripod is essential if you want to take sharp pictures in low light. It can enable you to take some great shots in the rain. But if you don’t have a tripod, don’t worry, as there are some alternative solutions. For example, you could use a railing, an easel, or a table. If you have a DSLR camera, you can use a monopod or a slider.
Place the camera at a low angle (to the ground)
In order to eliminate the backlighting of the raindrop, the camera should be at a low angle to the ground. The camera will still capture the water, but there will not be much light coming from the sun. Also, with this low position, you will not need to worry about getting wet.
Use a macro lens
The macro lens is used for isolating a specific object. In this case, the raindrop. Using the macro lens, you can crop away the rest of the picture, leaving just the raindrop and then turn it into a stunning shot.
Rain Photography Ideas


Conclusion
To ensure you get the best pictures out of rain, you will need to be prepared for any type of weather. If you don’t know what to expect, you could rent a light tent or hire a professional photographer who has experience in working with inclement weather. A good rain photographer will also know when to leave the property and go home before the rain begins. They should return when it’s clear and the sun is out again, so that they can take advantage of the next light source.

