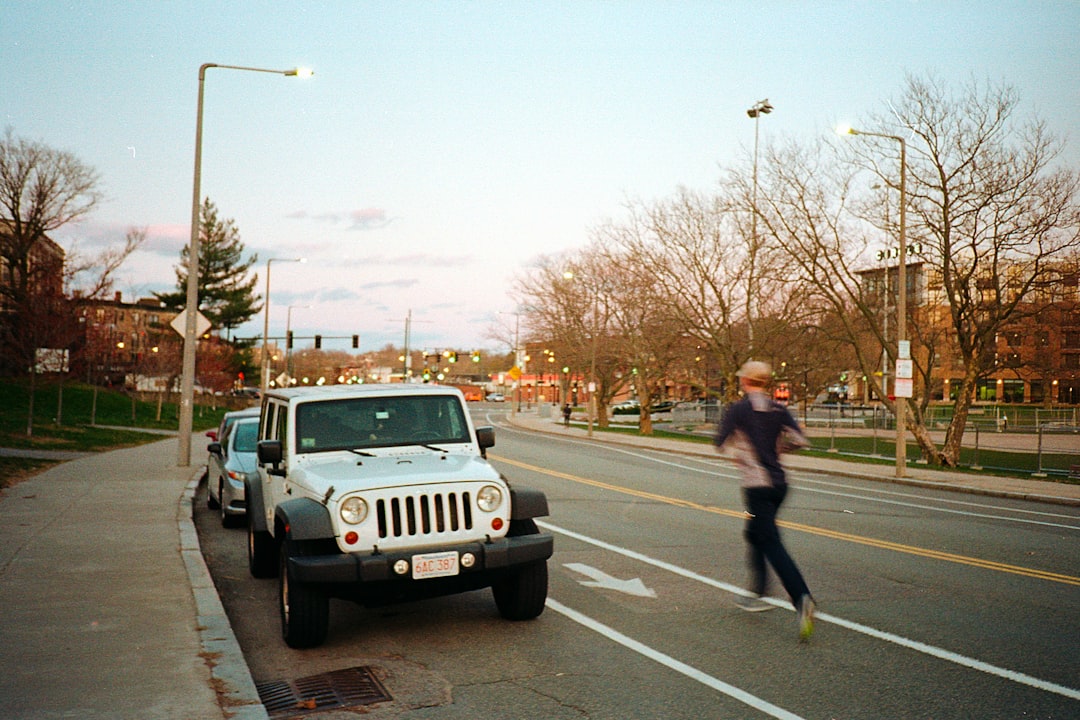
Facts about Lighting
If you’re a photographer, then lighting is important. But what does that mean? Let’s find out.
Lighting is basically the science of illuminating subjects in photographs. Think about it this way: if you were in a dark room and wanted to see an object, what would you do? Well, you would turn on the lights, of course! That’s the same thing that we photographers need to do: turn on our lights to illuminate subjects for the camera.
So let’s get practical. First off, what types of light do you have? For most professional photographers, studio lights are the most common. This is a light that is attached to a stand and usually placed above the subject’s head. Another type of light, known as flash, is also used by many photographers, but is used to add extra light in situations where natural light is not sufficient. In this case, the flash is used in close proximity to the camera, and is most commonly pointed towards the ceiling.
Lighting:
- Is there too much of it?
- Can it create shadows?
- Is there enough light on the subject?
- What color does it look like?
- Is it flattering?
So, how do you get the best lighting for your subject? Start with the shape of the room, and think about where you are placing your lights and how to best illuminate your subject. You will also need to consider the following:
- Where is the subject? Is it a person, a flower, or something else?
- What is the subject’s position relative to the lights?
- What is the distance from the subject to the lights?
- Does the subject need a fill light, or is it just fine in shadow?
- How do you control the light? Will you use studio lights or a flash?
- Think about what you want your photo to look like: a great shot should always have excellent light! You can find out more about this on our blog.
Other small tips about Photography for you to Combine with Lighting Skills
1. Start With A Camera You Can Control!
A DSLR is ideal. It gives you complete control of how the picture is taken and allows you to focus on other aspects of photography. It’s great to be able to experiment and use any camera, but when you are starting out, a DSLR will allow you to make adjustments without having to rely on post-processing software. However, you need to get used to the size and weight of the camera.
If you have a point-and-shoot camera, you may find it difficult to get the settings right. It can be easier to rely on the auto settings and just adjust the settings later.
2. Experiment With Different Settings
Once you have a camera you like to use, you can start experimenting with different settings. For example, the aperture determines the depth of field. The shutter speed controls how quickly the shutter opens and closes. The ISO setting determines how sensitive the sensor is.
3. Be Patient!
I find patience a difficult quality to develop but it is vital to getting the best results from your camera. Most of the time you won’t see anything happen and that’s OK. Focus, exposure, and focus are all things you will get better at over time. Just enjoy the process!
4. Look Into Post Processing Software
Although it isn’t essential to use the camera’s in-built software, you may find it useful. Adobe Lightroom, Apple Aperture and Photoshop Express are all free to download and use.
5. Have Fun!
This is what it’s all about. Having fun is the most important part of photography. You’ll never become a successful photographer if you don’t enjoy it.
6. Keep Learning
There’s always something you can learn and try. There are so many websites, books, magazines and classes available online to help you learn more.
7. Get Inspired
Get inspiration from the artists you admire.
8. Find a Hobby
Having a hobby is a great way to relax and recharge. It will also help you work on some of the skills needed for a creative career.
