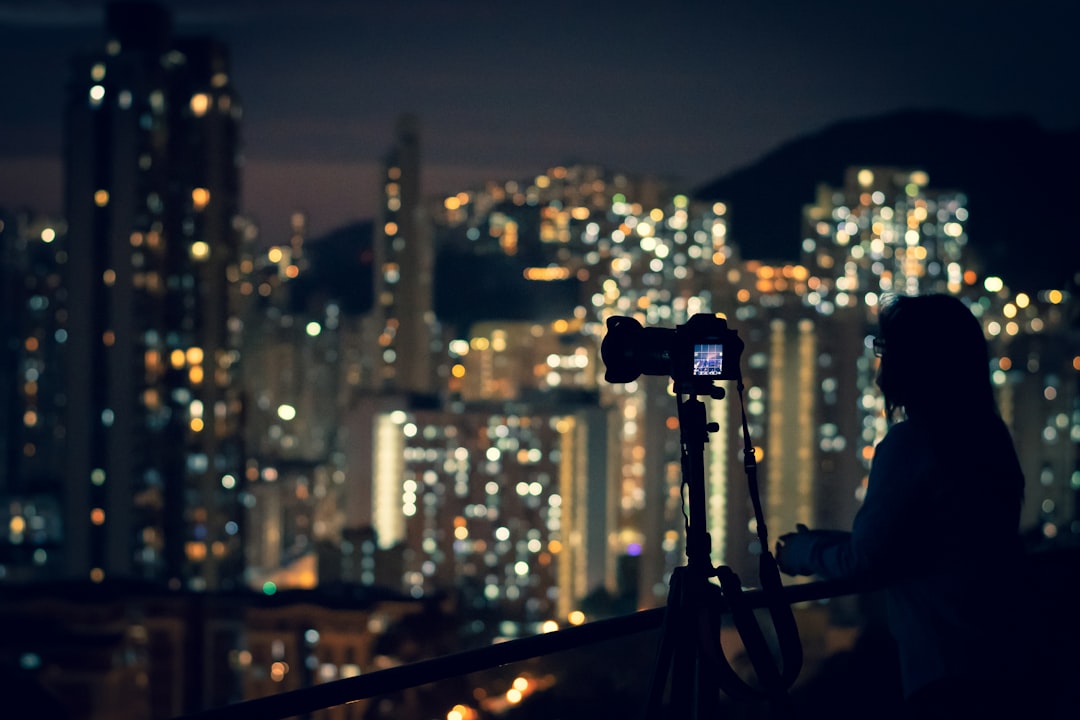
There are many great things about night photography. The subject matter is usually much more dramatic and there are fewer lights which means you can create more interesting images. Night photography is also great for getting a feel of the surroundings and atmosphere of a place, especially if you live somewhere where light pollution is a problem. Another advantage of night photography is the quality of light and the fact it’s free. All you need to do is set your camera to night mode and start shooting.
Here are some tips to get you started:
*Use a tripod. The best way to ensure sharp images is to use a tripod. Make sure the image is exposed correctly first and then move the tripod to the spot where you want to take the photo. This means you can work quickly and focus on composition. Once you’re happy with your composition, adjust the settings and take your photo.
*A good camera is key. A great camera is even better. Look for a camera that has a good build quality. Don’t be afraid to look at other people’s photos on Flickr, YouTube or elsewhere to get ideas. If you can’t afford a new camera but still want to get into night photography, the best option is to invest in a decent lens. This is a good starting point as the quality of your photographs will depend on the quality of the lens you buy.
*The ISO setting. The ISO (ISO) setting determines the sensitivity of the camera. You can increase the ISO setting to take pictures at a faster shutter speed. However, increasing the ISO setting can also make the picture appear grainy. There are different settings for low, normal, high and extra high ISO. Experiment to find what works best for your camera.
*Shutter speed. Shutter speed is the time you allow the shutter to remain open. You can control the shutter speed with the shutter button. A higher shutter speed means you can use a longer exposure time. For night photography, this means you can use a slow shutter speed to capture a more dramatic scene. You can also use a high shutter speed to freeze a fast moving subject, such as a car or train. The slower the shutter speed, the more light you will capture so if you want to capture a bright scene, choose a slow shutter speed.
*Aperture. Your aperture setting controls how much light gets in to the camera. You can experiment with different apertures to find one that suits your subject and lighting.
*Flash. If you want to take a flash photograph, make sure you have a flash unit. There are many options available. One of the most popular options is the Yongnuo YN560-TX. It’s compact and light, and the wireless technology allows you to fire it from a distance of 6 meters.
*Focus. To ensure a crisp, clear image, you must use the correct focal length. You can adjust the focus using the dial on the side of the lens.
*Background. When taking a landscape image, make sure you have the correct background. You don’t want a foreground object in your picture, especially if it will obstruct your main subject. You can experiment with the different settings to see what looks best.
*Take a few images. Once you are confident in your night photography skills, take a few more images. Once you have mastered the process, you can be more creative with your composition and settings. You can then share your results on the web.
Night Photography Resources
Night photography can be tricky. You may have lots of different settings available and struggle to choose the perfect ones. In this question we’ll take a look at the settings used in night photography and offer a few tips on how to use these effectively.
Here’s what you need to know about using these settings in night photography:
* To ensure clear pictures, keep the shutter speed as high as possible. As you increase the shutter speed the camera may produce blurring but the higher the number, the better the quality of the image.
* If you are taking photos indoors, you will probably find that your camera has an auto focus option, so you do not have to focus manually. However, if you want to focus manually, ensure that the camera is set to manual focus. You should only have to do this for a brief moment, when taking the photo, as it will be easier to switch back to automatic focus when shooting.
Tips for night photography:
* Your camera may have night modes that automatically adjust the ISO, shutter speed and aperture to take the best picture. This feature will usually be enabled by default, so you don’t have to worry about enabling it. Simply shoot your images and let the camera do the work for you.
* You can also set the white balance in your camera. This is useful if you are taking pictures of a white object under light conditions where the colors are off and the image appears washed out. Using the camera’s white balance function, you can correct this problem.
* If your subject is moving, you may have to keep the shutter speed at a lower level. Try reducing the amount of light coming into the lens by using a flash or using a diffuser.
* When taking photos of the city at night, use a tripod and stand to steady your camera.

