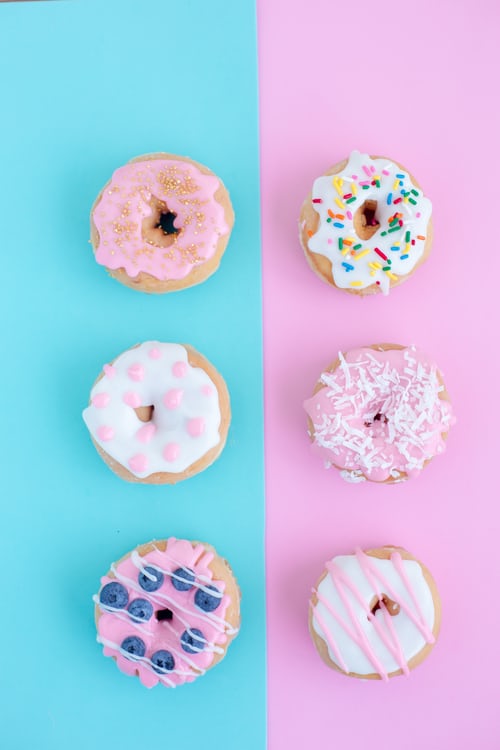
Candy photography is a fun and creative way to showcase your favorite candies. You can create beautiful images with candies of all kinds, from chocolate bars and jelly beans to gumballs and gummy bears.
Candy photography is a fun and easy way to take a break from regular photography. Candy photography is not only for children, but adults too. If you want to try something new, this article can help you get started with your own candy photography.
Here are some tips and ideas for taking candy photos:
Use natural light.

Candies look best when you use natural light for your photos instead of artificial lighting. Natural light helps bring out the color in the candies, making them more vibrant and beautiful. If possible, use sunlight or another source of bright natural light such as window light when you’re taking candy photos.
Use props for added interest.

You can add interest to your photos by using props like flowers or other small items that go well with the theme of your candy photo shoot. Try using complementary colors like red flowers with red fruit-flavored candies or green leaves with green jellybeans for example.
There are many different kinds of accessories available these days and you should choose those that complement each other perfectly so that they look good together when photographed from every angle possible – this will help create an interesting background and give your viewers something interesting to look at!
Use props like a cup or spoon when taking pictures of candy. This will give the picture more depth and make it look realistic. You can also use props such as flowers and leaves to make your pictures look more interesting and colorful.
Experiment with angles and composition.

Experimenting with different angles and compositions will help you create new looks for each photo shoot. You can take your photos from above or below the candy making it look like it’s floating in midair! This makes for an awesome shot that kids love seeing!
The best time to take candies
The best time to take candies is when they are fresh out of the oven or when they are still warm from being in the sun. This will make them look shiny and bright in your photos, which is always good for any occasion!
Use Simple or Colorful Backgrounds

You don’t want anything that’s too distracting in the background of your shots. It’s best to use a solid color or patterned wall behind your candies so that they stand out more clearly in the frame without getting lost against an interesting backdrop like a patterned wall or a busy print fabric.
You can also use colorful backgrounds such as blue and green depending on what type of candy you are going to use in your photo shoot. If possible, try looking at different websites that sell different types of backdrops so that you will have an idea on which ones would work well for your photo shoot.
Get Close Up on Those Details

Your eyes want to go first to whatever is closest to them in any scene — so make sure that all of your detail shots are close ups! You can also get creative with creating different depths by stacking up multiple candies on top of one another or putting them inside another object like an empty jar lid or an upside down glass bottle cap.
Use different types of candy for different colors.
Candy comes in many colors, including white, brown, green, orange, blue and yellow. This can be used to create different color backgrounds when taking photos of your subjects.
Take Candid Shots

Candid shots are the best way to capture real emotions, so don’t be afraid to take a lot of them! Candid shots also show off the true nature of your subject matter and make it more interesting to look at. If you want someone’s reaction in particular, try asking them questions while they’re eating candy. This will probably get them talking about their favorite candies or what they do when they’re not working. They may even tell you stories about themselves that you didn’t know!
Other Tips

1. Choose candies that are not overly processed or refined as these types of candies tend to have more natural colors and textures than those that have been heavily processed.
2. Choose candies with interesting shapes, such as hearts or flowers, instead of round ones like gumdrops or jelly beans which tend to blend into one another when used together in groups.
3. Use props such as cake stands, plates or even paper napkins with interesting patterns on them for added interest in your images. These items will help separate each piece of candy from one another so they don’t all blend together into one big blob of color!
4. Use shallow depth of field (high f-stop) to focus on only certain parts of the candy dish or arrangement.
5. Use multiple lights to emphasize different parts of the arrangement or dish and create different lighting effects!
6. Shoot at an angle (up or down) so that your photos don’t look like they were taken directly from above or below a piece of candy!
