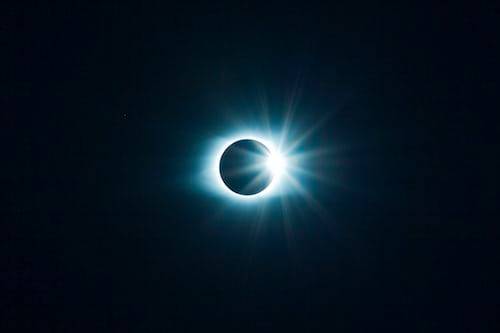
Astrophotography is a fascinating hobby that can reveal some of the most beautiful sights in the universe. The field of astrophotography has been constantly evolving over the years, as new technology and techniques are being developed every day.
Astrophotography is a challenging and rewarding genre of photography. It can be very easy to get bogged down in the technical side of things, but it’s also important to remember that astrophotography is supposed to be fun! So, if you’re looking for some tips on how to improve your star photography skills, here are some must know composition tips.
Table of Contents
The Importance Of Composition
There are many reasons why you might want to take photos of the night sky: maybe you’re an amateur astronomer who wants to document what you see with your own eyes, or maybe you’re a landscape photographer looking for new challenges. Whatever the case may be, having a solid understanding of astrophotography composition will help you capture the best shots possible.
Composition refers to the way in which elements within an image are arranged relative to one another. A well-composed photo will be pleasing to look at because it balances all of these elements in such a way that they work together as one piece rather than as separate entities competing for attention.
Here are some must-know composition tips that will help you take better astrophotos:
Use a Tripod
A tripod is one of the most important pieces of equipment for any photographer, but when it comes to astrophotography, it is absolutely essential. When shooting landscapes, you can get away without using a tripod because most landscapes are static; however, when shooting stars and other celestial objects, which move across the sky quickly due to Earth’s rotation, a tripod is an absolute necessity. Without one, your images will turn out blurry due to camera shake.
Use a Remote Shutter Release Cable
Remote shutter releases offer many benefits over using your finger on the shutter button. Besides helping with reducing camera shake caused by pressing down on the camera button itself, they also give you more time between pushing down on the button and taking a photo — this helps prevent “jello effect” in your images where stars begin to appear blurry due to vibrations.
Find Your Composition
The first thing to do is find your composition. Start by scouting locations during the day and looking for interesting angles and vantage points. When you’re ready to shoot at night, use the same approach: start with a wide-angle shot and then move in closer if needed.
Use Foreground Interest
When composing an astrophotographic image, it’s important to include some element of foreground interest. This can help ground your image and give it context — especially if you’re shooting something like the stars or moon alone in the sky (which can look kind of boring). It also draws attention to one area of your photo rather than spreading it out across the entire frame like a blank canvas would do for example.
Shoot In RAW Mode
If you’re serious about astrophotography, you should be shooting in RAW mode at minimum — preferably RAW + JPEG (if possible). Shooting in RAW allows for much more flexibility when editing your photos later on.
Know Your Equipment
The first step towards becoming an astrophotographer is to learn about your equipment. You’ll need to know how to use it properly, what settings should be used for different situations, and how to troubleshoot problems if they arise.
You might not know exactly how each piece of equipment works just yet, but you should know where everything is located on your camera body, as well as how each button operates (ISO, white balance, shutter speed etc). Also learn about different lenses and how they perform at night.
Choose Your Location Carefully
Once you’ve learned about your equipment, it’s time to choose a location for shooting stars. A dark site away from city lights is ideal because it will allow you to capture stars with more clarity than if they were surrounded by light pollution from street lamps or other sources of artificial light.
If you’re planning on taking photos of the night sky, consider where you want to take them from. Some locations will be better suited for astrophotography than others because of light pollution or other factors that may affect how bright the stars appear in the sky. You might also want to consider whether or not there are any local regulations regarding photography at night (such as using flashlights or fires). It’s always best to check beforehand to make sure that there aren’t any restrictions in place before heading out into the field.
Shoot Wide Open
When photographing at night, use an aperture between f/2 and f/4 to maximize depth of field while keeping ISO settings low (ISO 400 or less). This will allow more light into the lens, which helps prevent blurry shots caused by camera shake or subject movement. Aperture also determines how much starlight is captured in an image; wider apertures result in brighter star trails because they allow more light into each frame.
Astrophotography Composition Examples and Ideas


